











Wi-Fi Timer Switch Setup: Real Install Guide for Pakistan

The Biggest Mistake People Make With Smart Switches Here
Most customers I meet think a Wi-Fi timer switch is just a fancier version of the old MORA mechanical timer you’d screw into a wall socket. Then they buy one, install it, and get frustrated because it keeps losing connection or the app won’t find the device on their network. The real issue isn’t the switch itself, it’s that they’re treating it like a dumb device when it actually needs proper network setup and, honestly, a bit of electrical discipline on your panel side to work reliably in Pakistani conditions.
A smart Wi-Fi switch isn’t just a timer. It’s a tiny computer that has to talk to your phone over your home network, remember settings when the power cuts, and handle voltage swings from WAPDA supply that would kill a regular microcontroller in hours. Get the installation wrong, and you’re just buying an expensive paperweight.
Before You Buy: What You’re Actually Installing
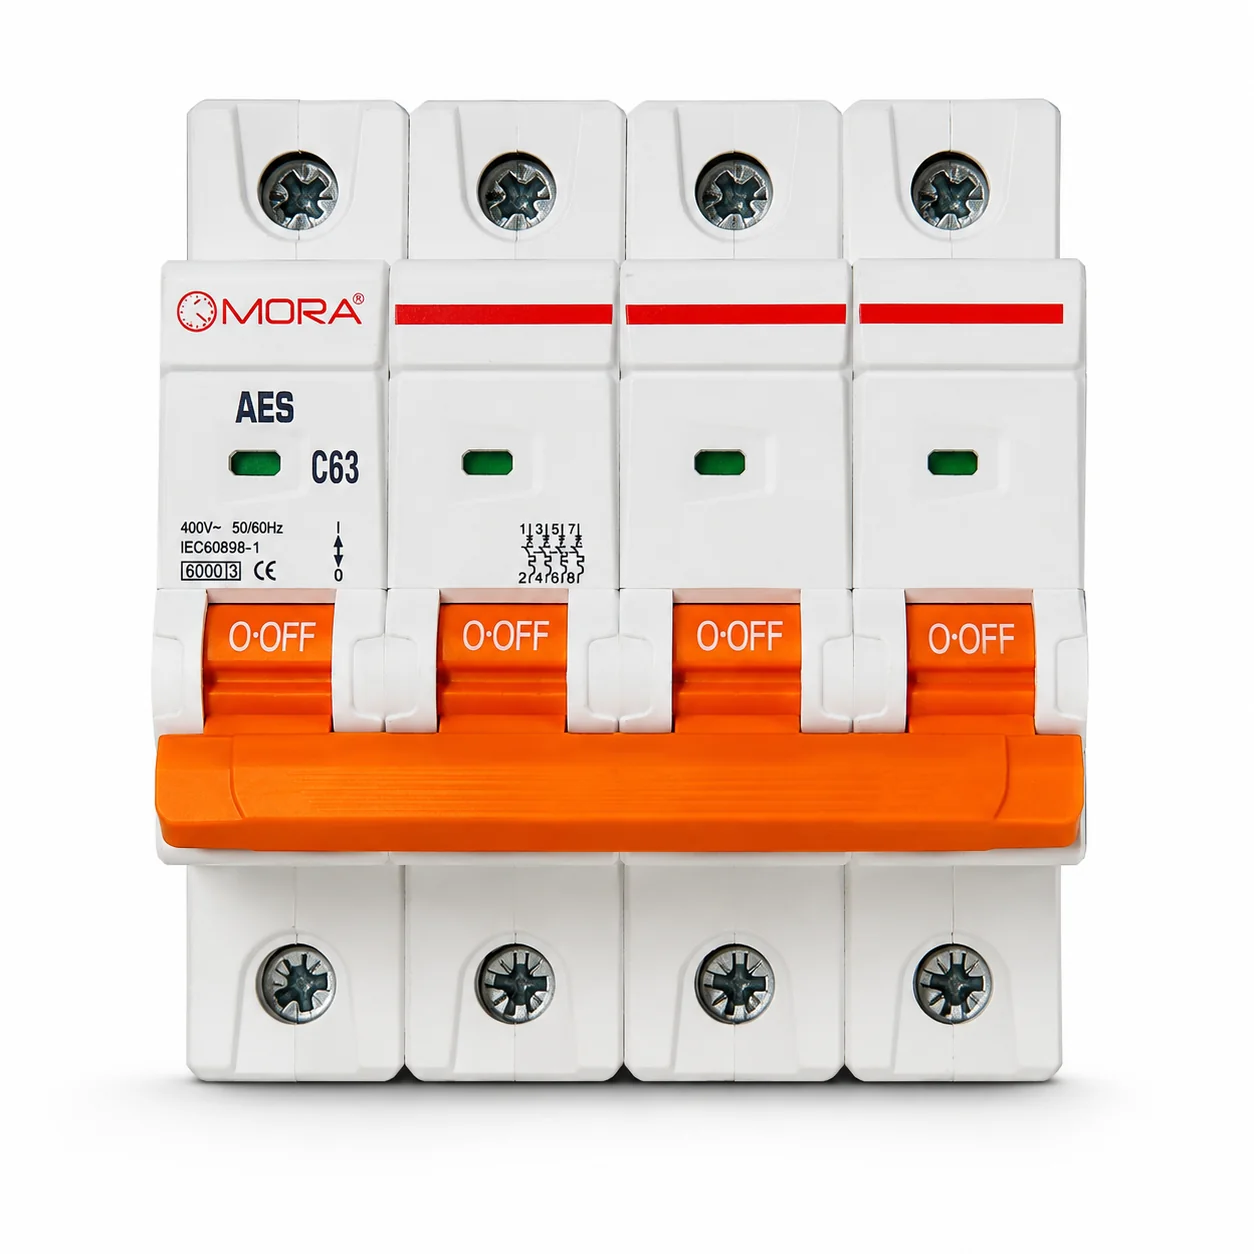
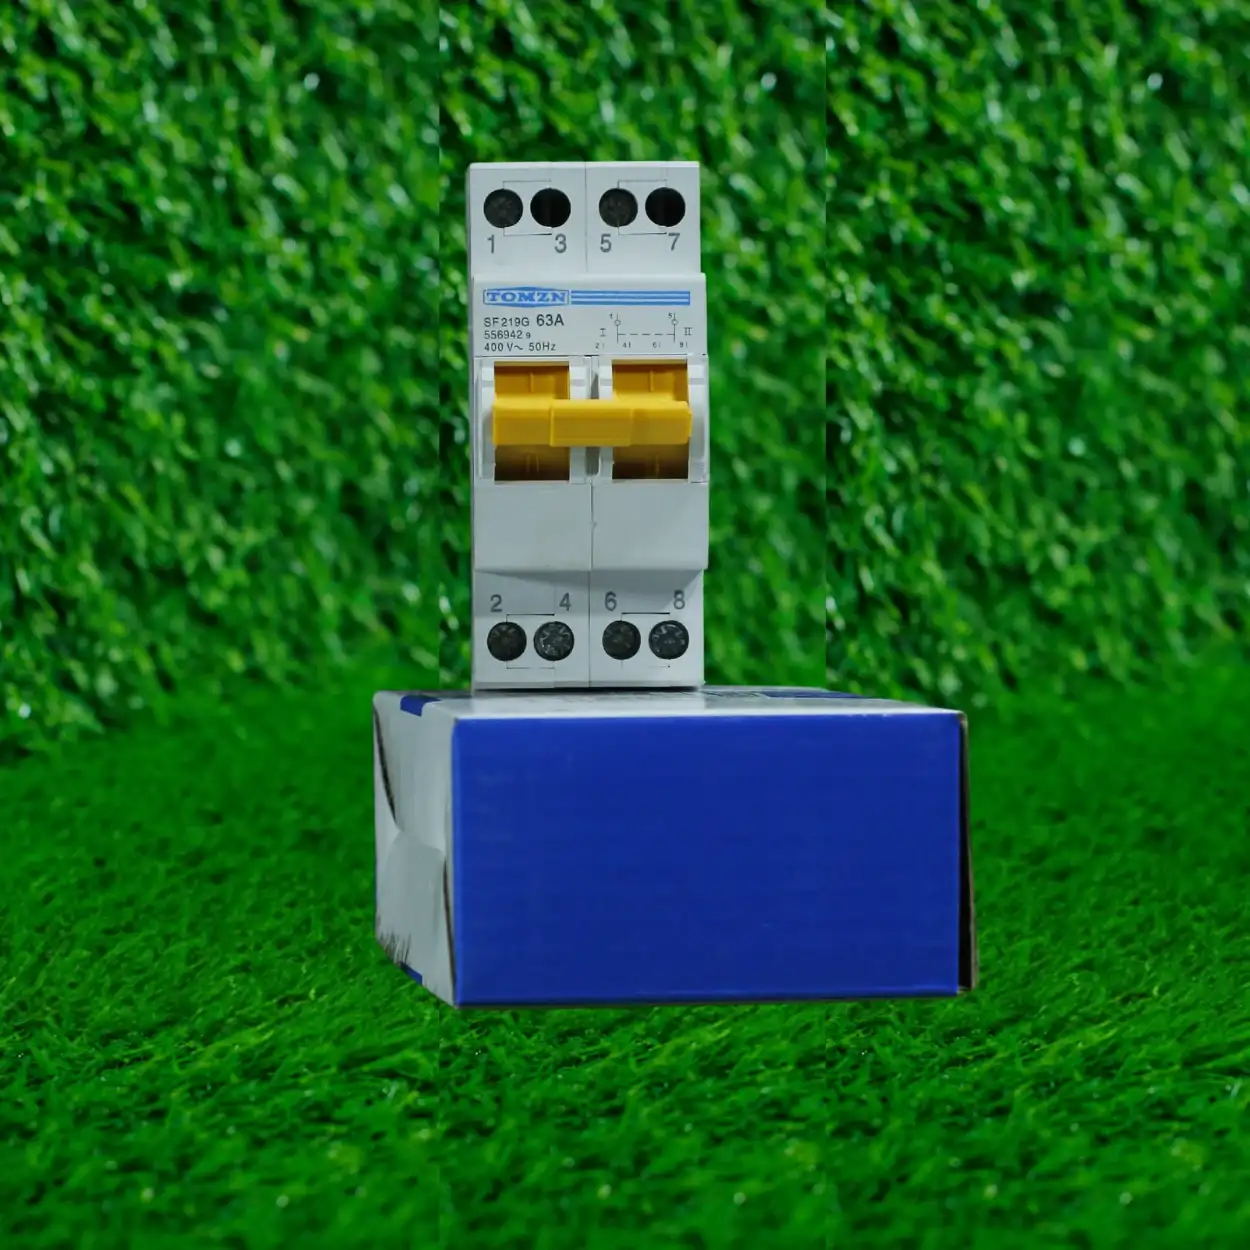
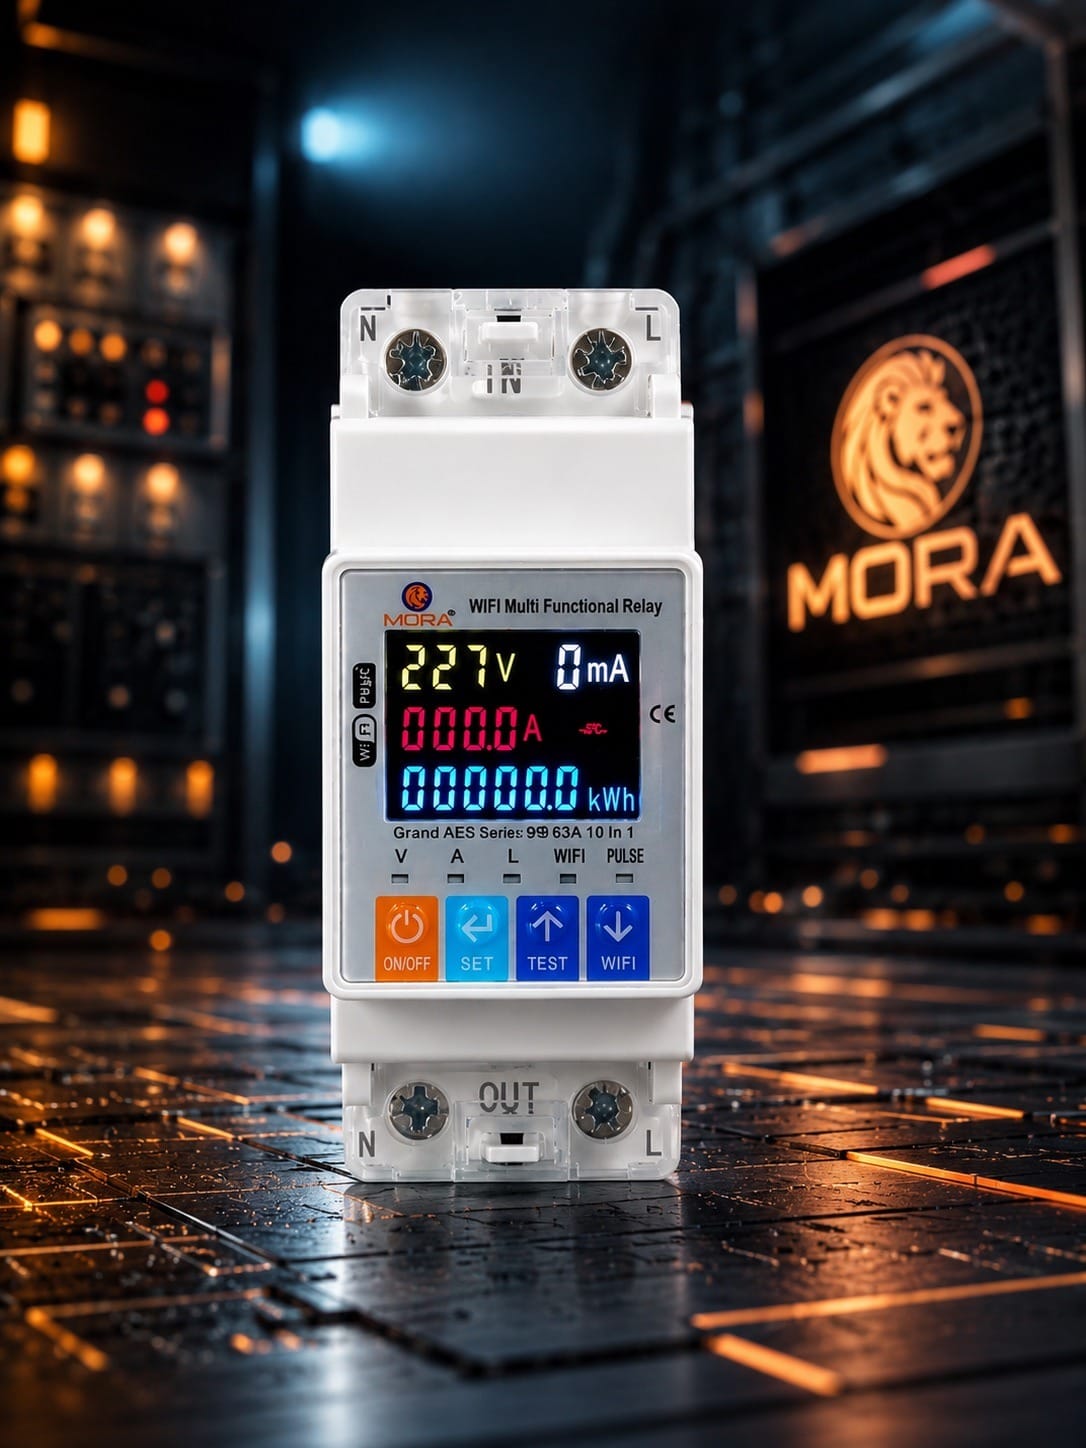
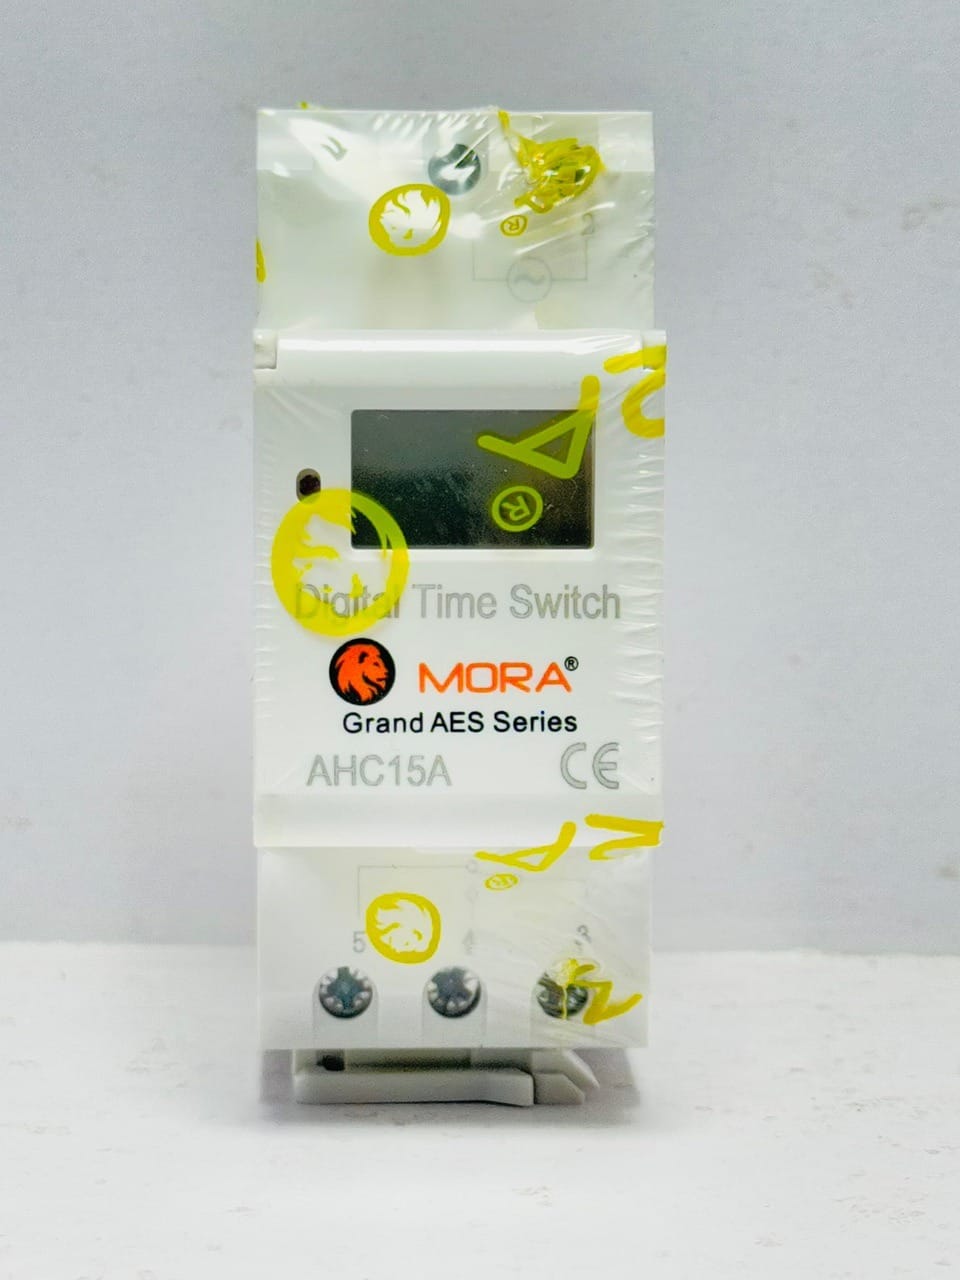
A Wi-Fi timer switch (sometimes called a smart relay or Wi-Fi contactor in heavier applications) sits in your distribution box or wall plate and controls the AC power to a circuit. Unlike a basic programmable timer that only turns things on and off at set times, a Wi-Fi timer lets you also control it from anywhere via an app, automate it based on conditions, and usually logs what it’s done.
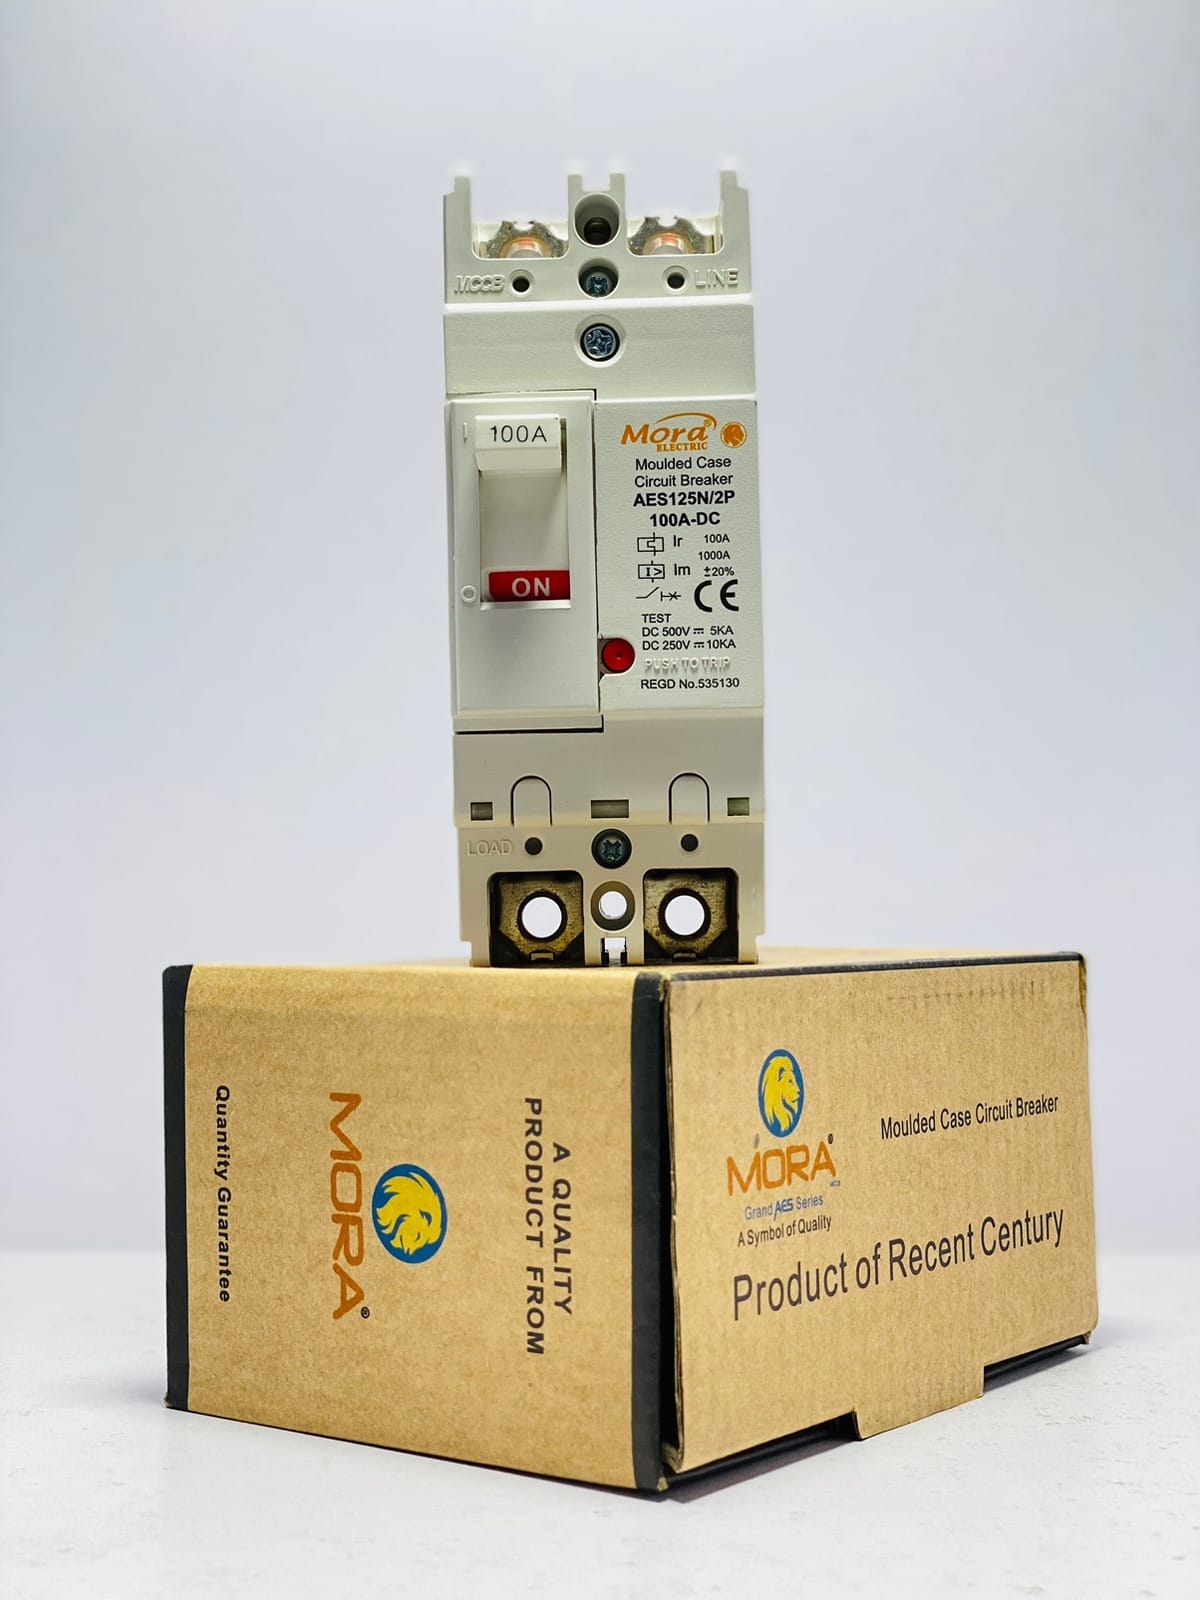
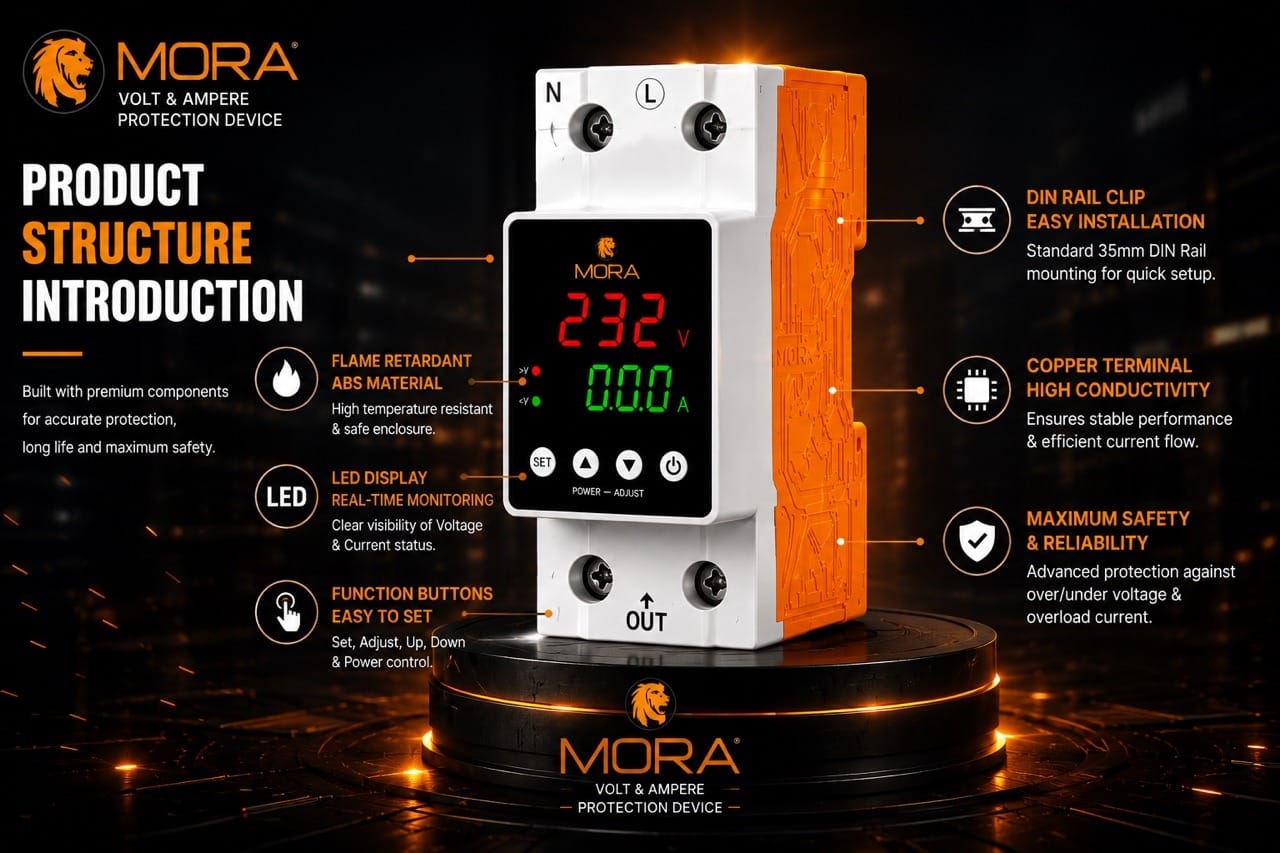
Here’s what matters for Pakistan: the voltage rating (will be 220-230V for single-phase or 380-400V for three-phase), the current capacity in amps (usually 10A, 15A, or 20A at the switch itself), the breaking capacity (how much fault current it can safely interrupt), and whether it has decent protection against voltage spikes from generators kicking in or WAPDA blackouts cycling your load. If it’s a cheap knockoff with no surge suppression inside, I’ve seen them brick themselves the first time a generator synchronizes badly to the grid.
The app setup is the second part of your investment in time. Most good units come with QR codes or simple pairing procedures, but they still assume you have a stable 2.4GHz Wi-Fi network (many units don’t like 5GHz), that your phone can see the network, and that the device can actually reach your router from inside the distribution box. Distance and metal enclosures kill signal, so plan accordingly.
Physical Installation: Wiring and Mounting
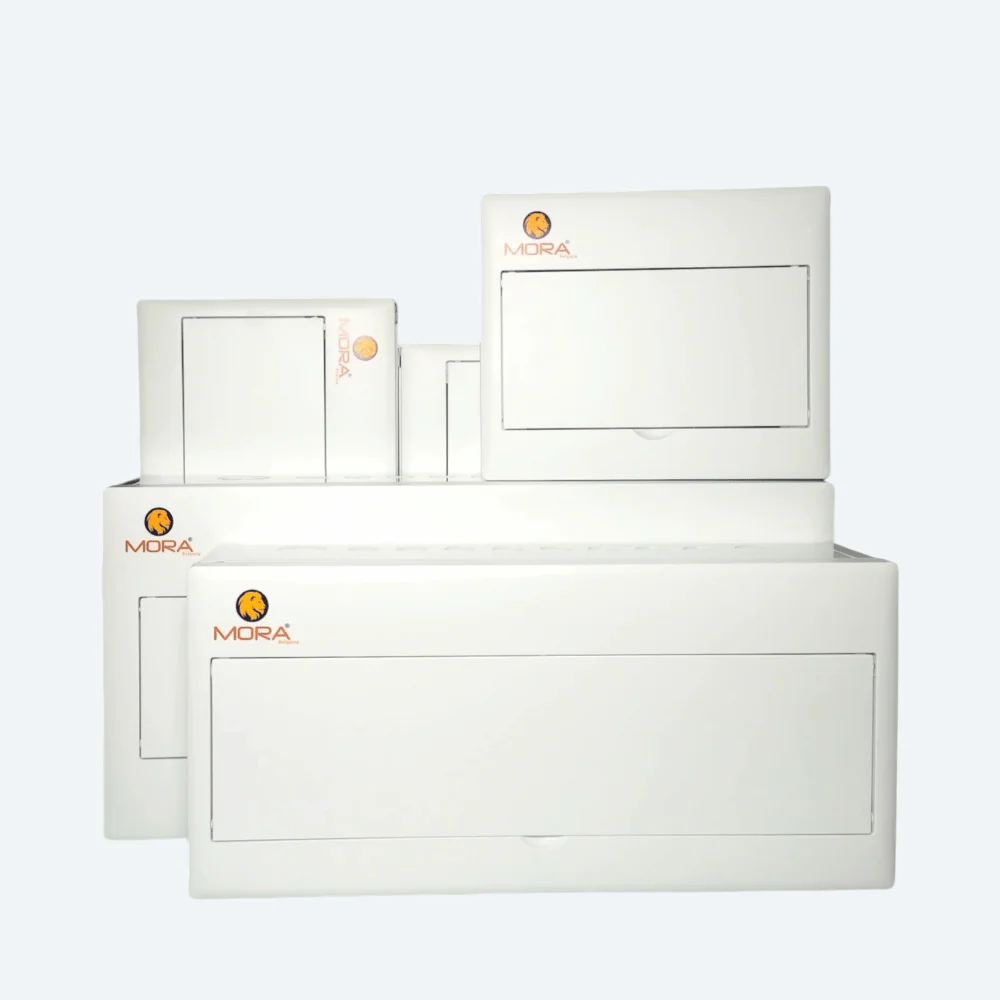
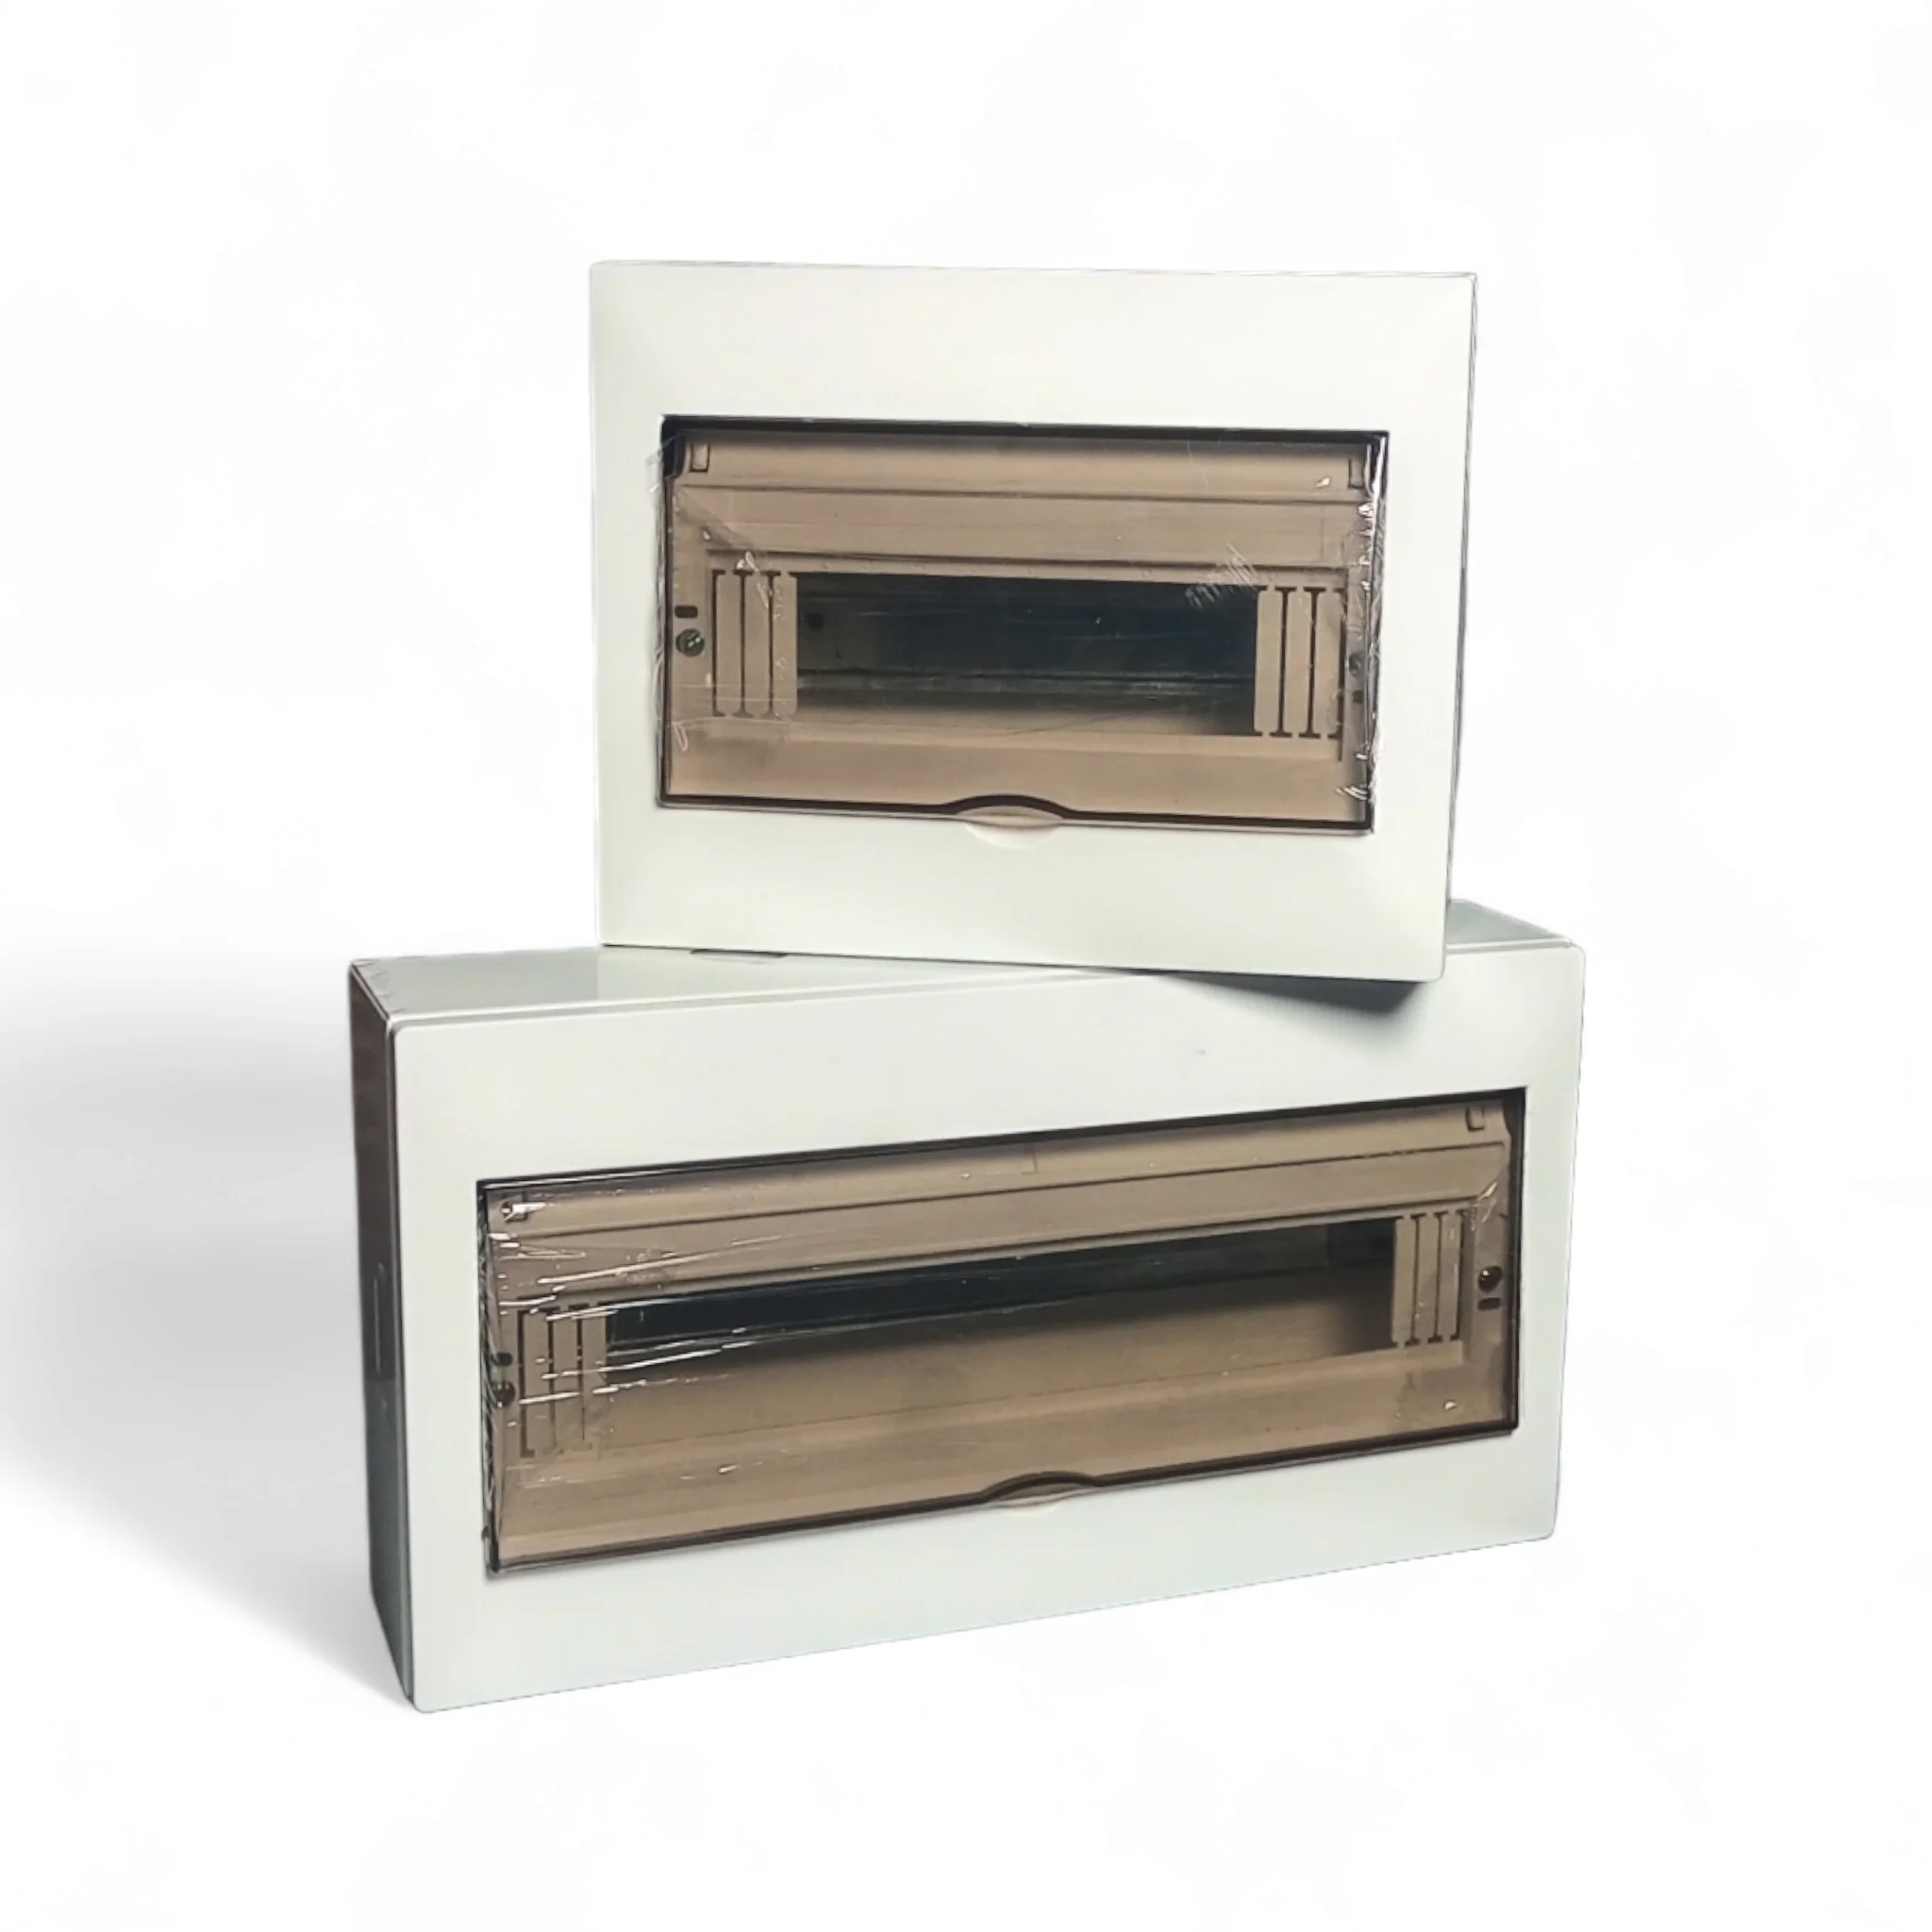
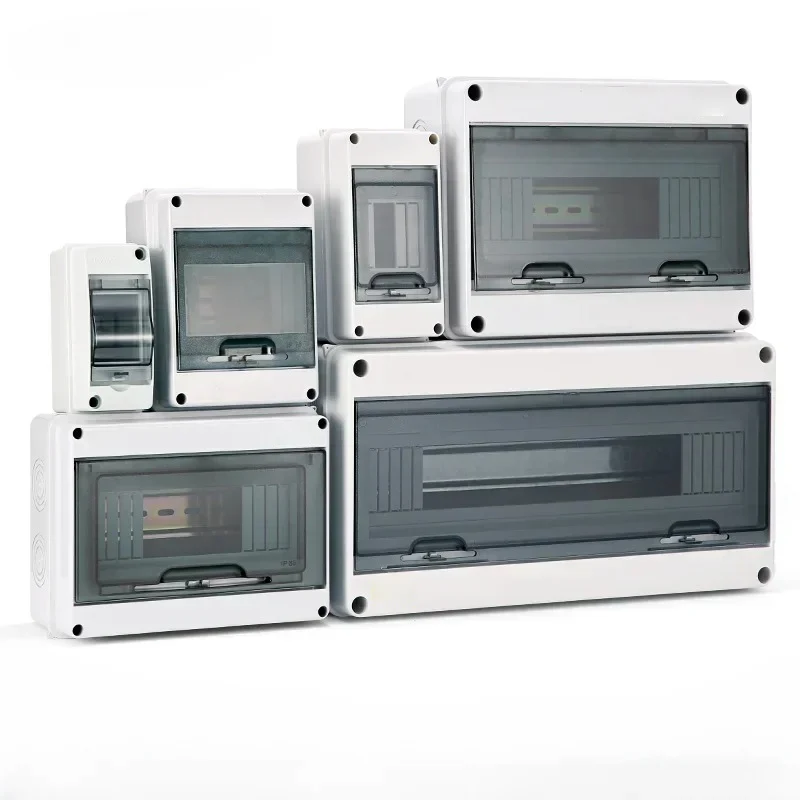
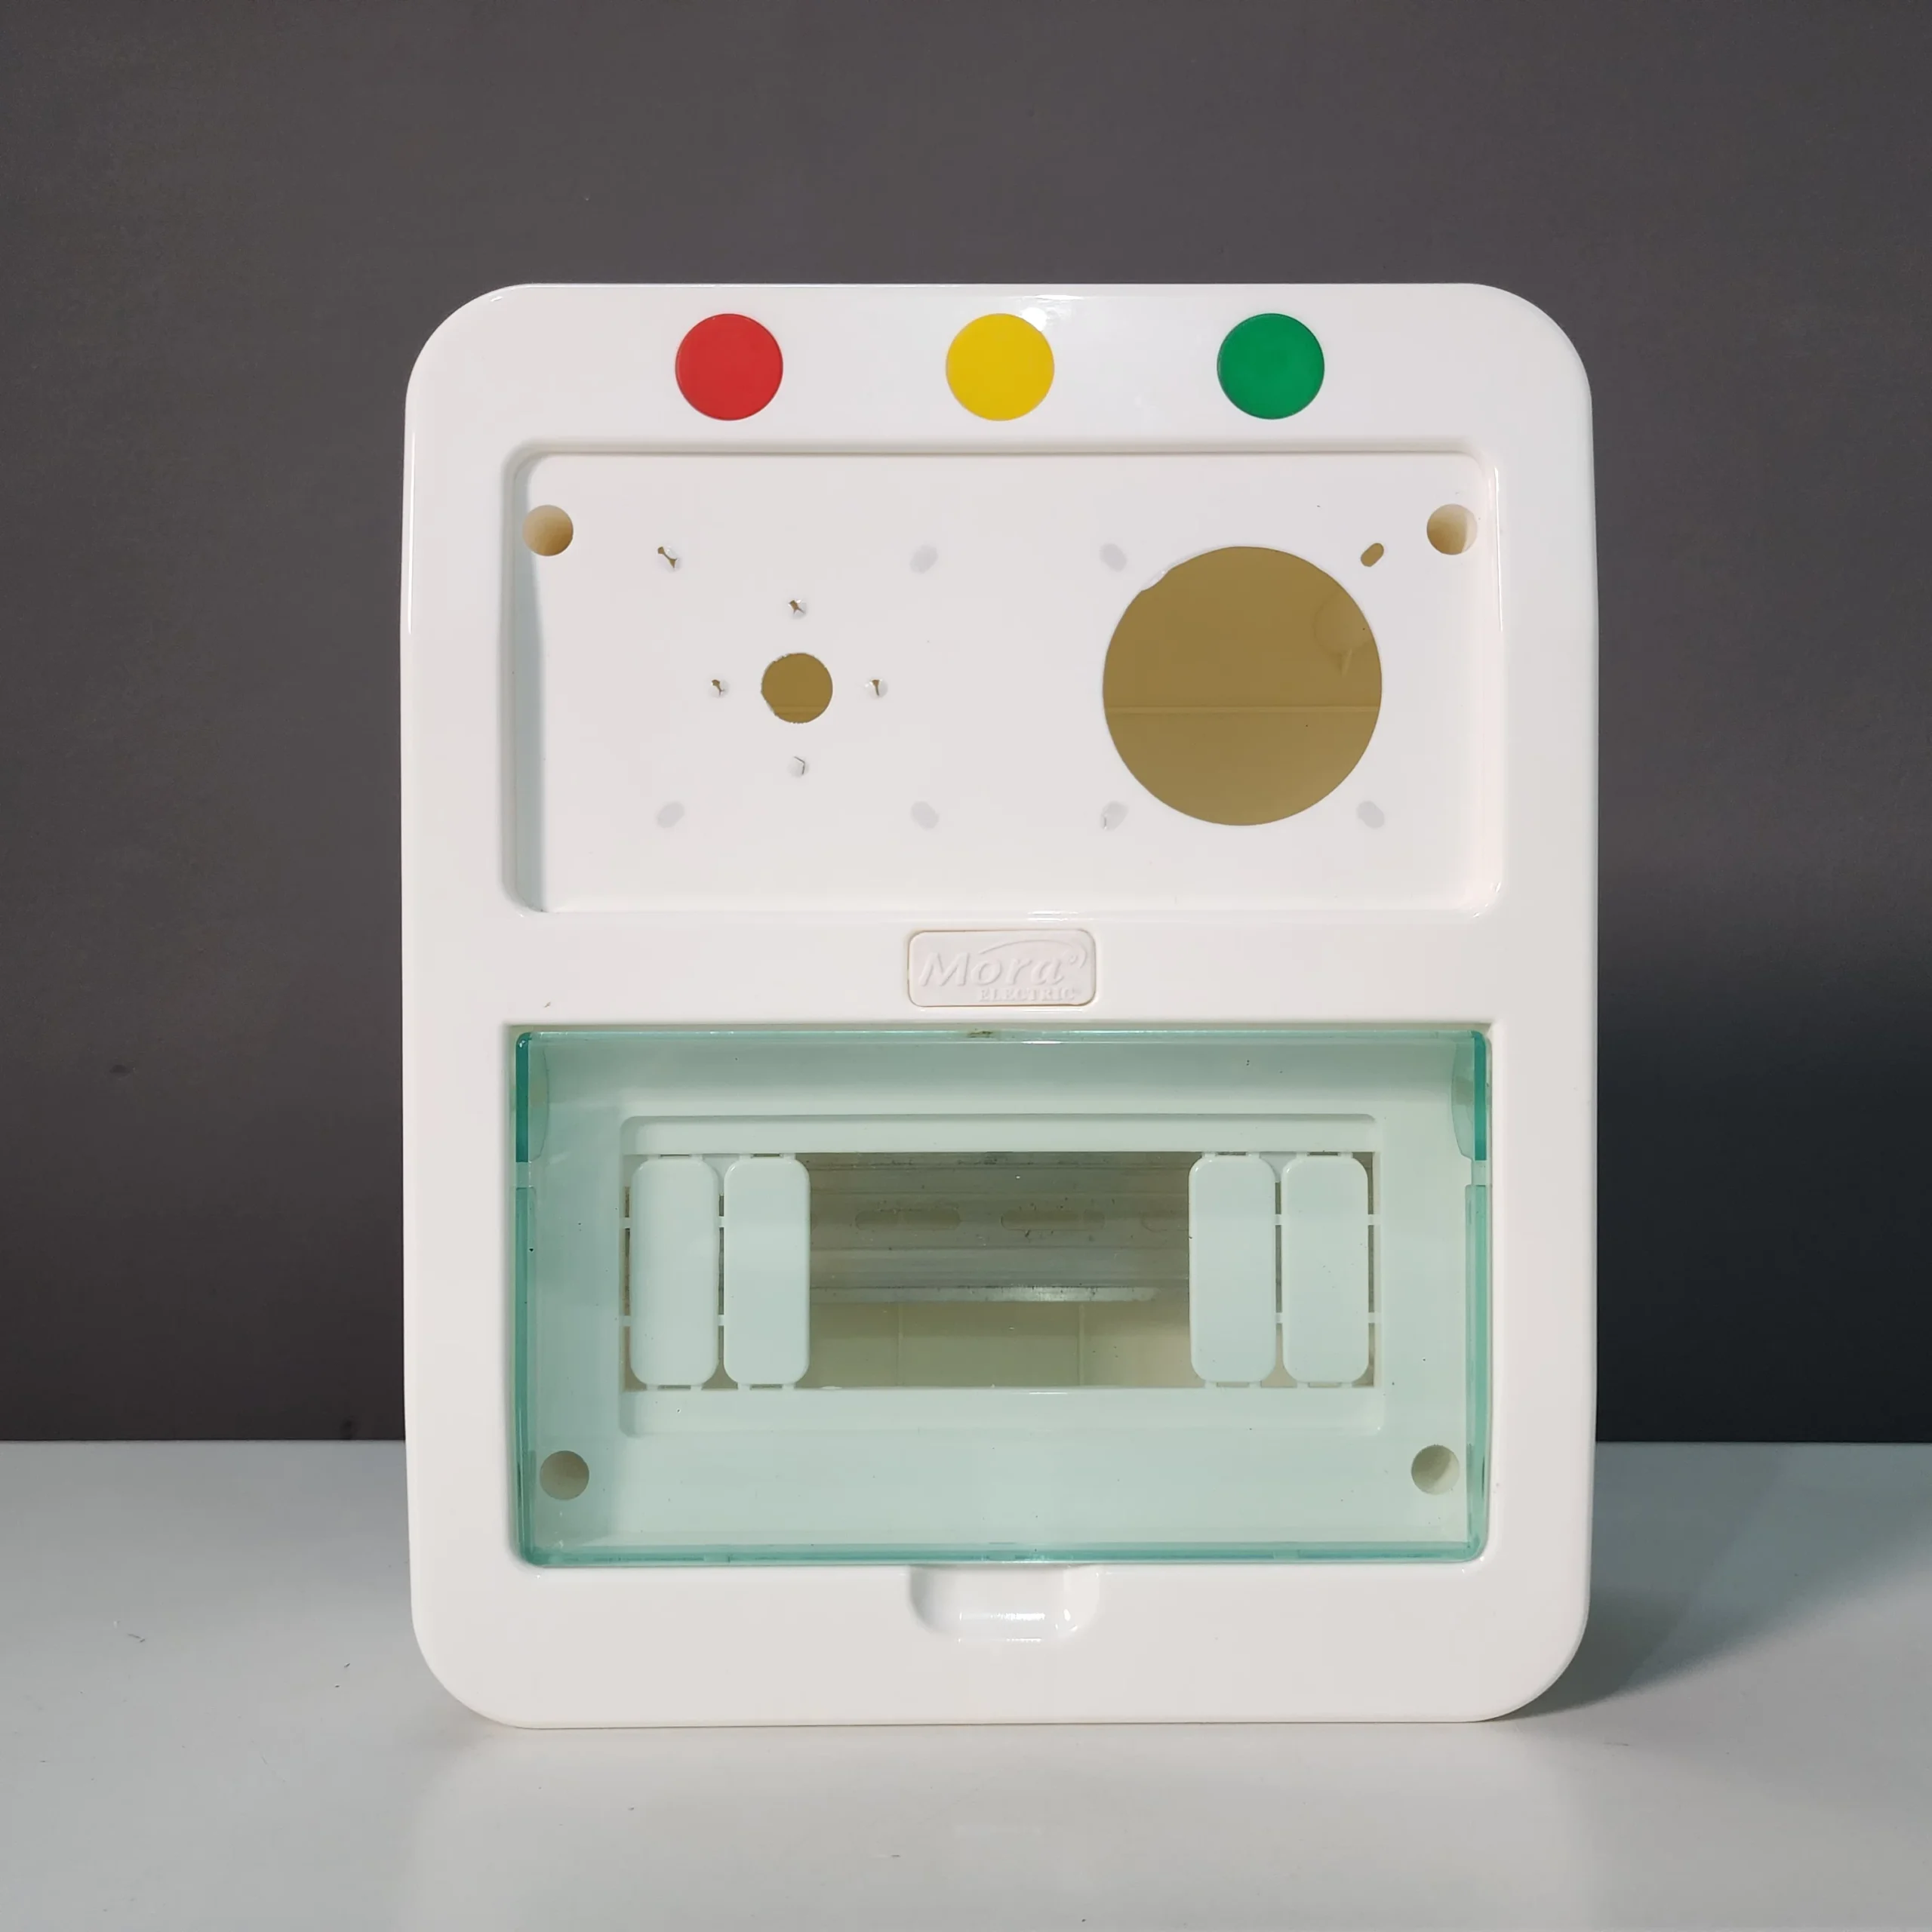
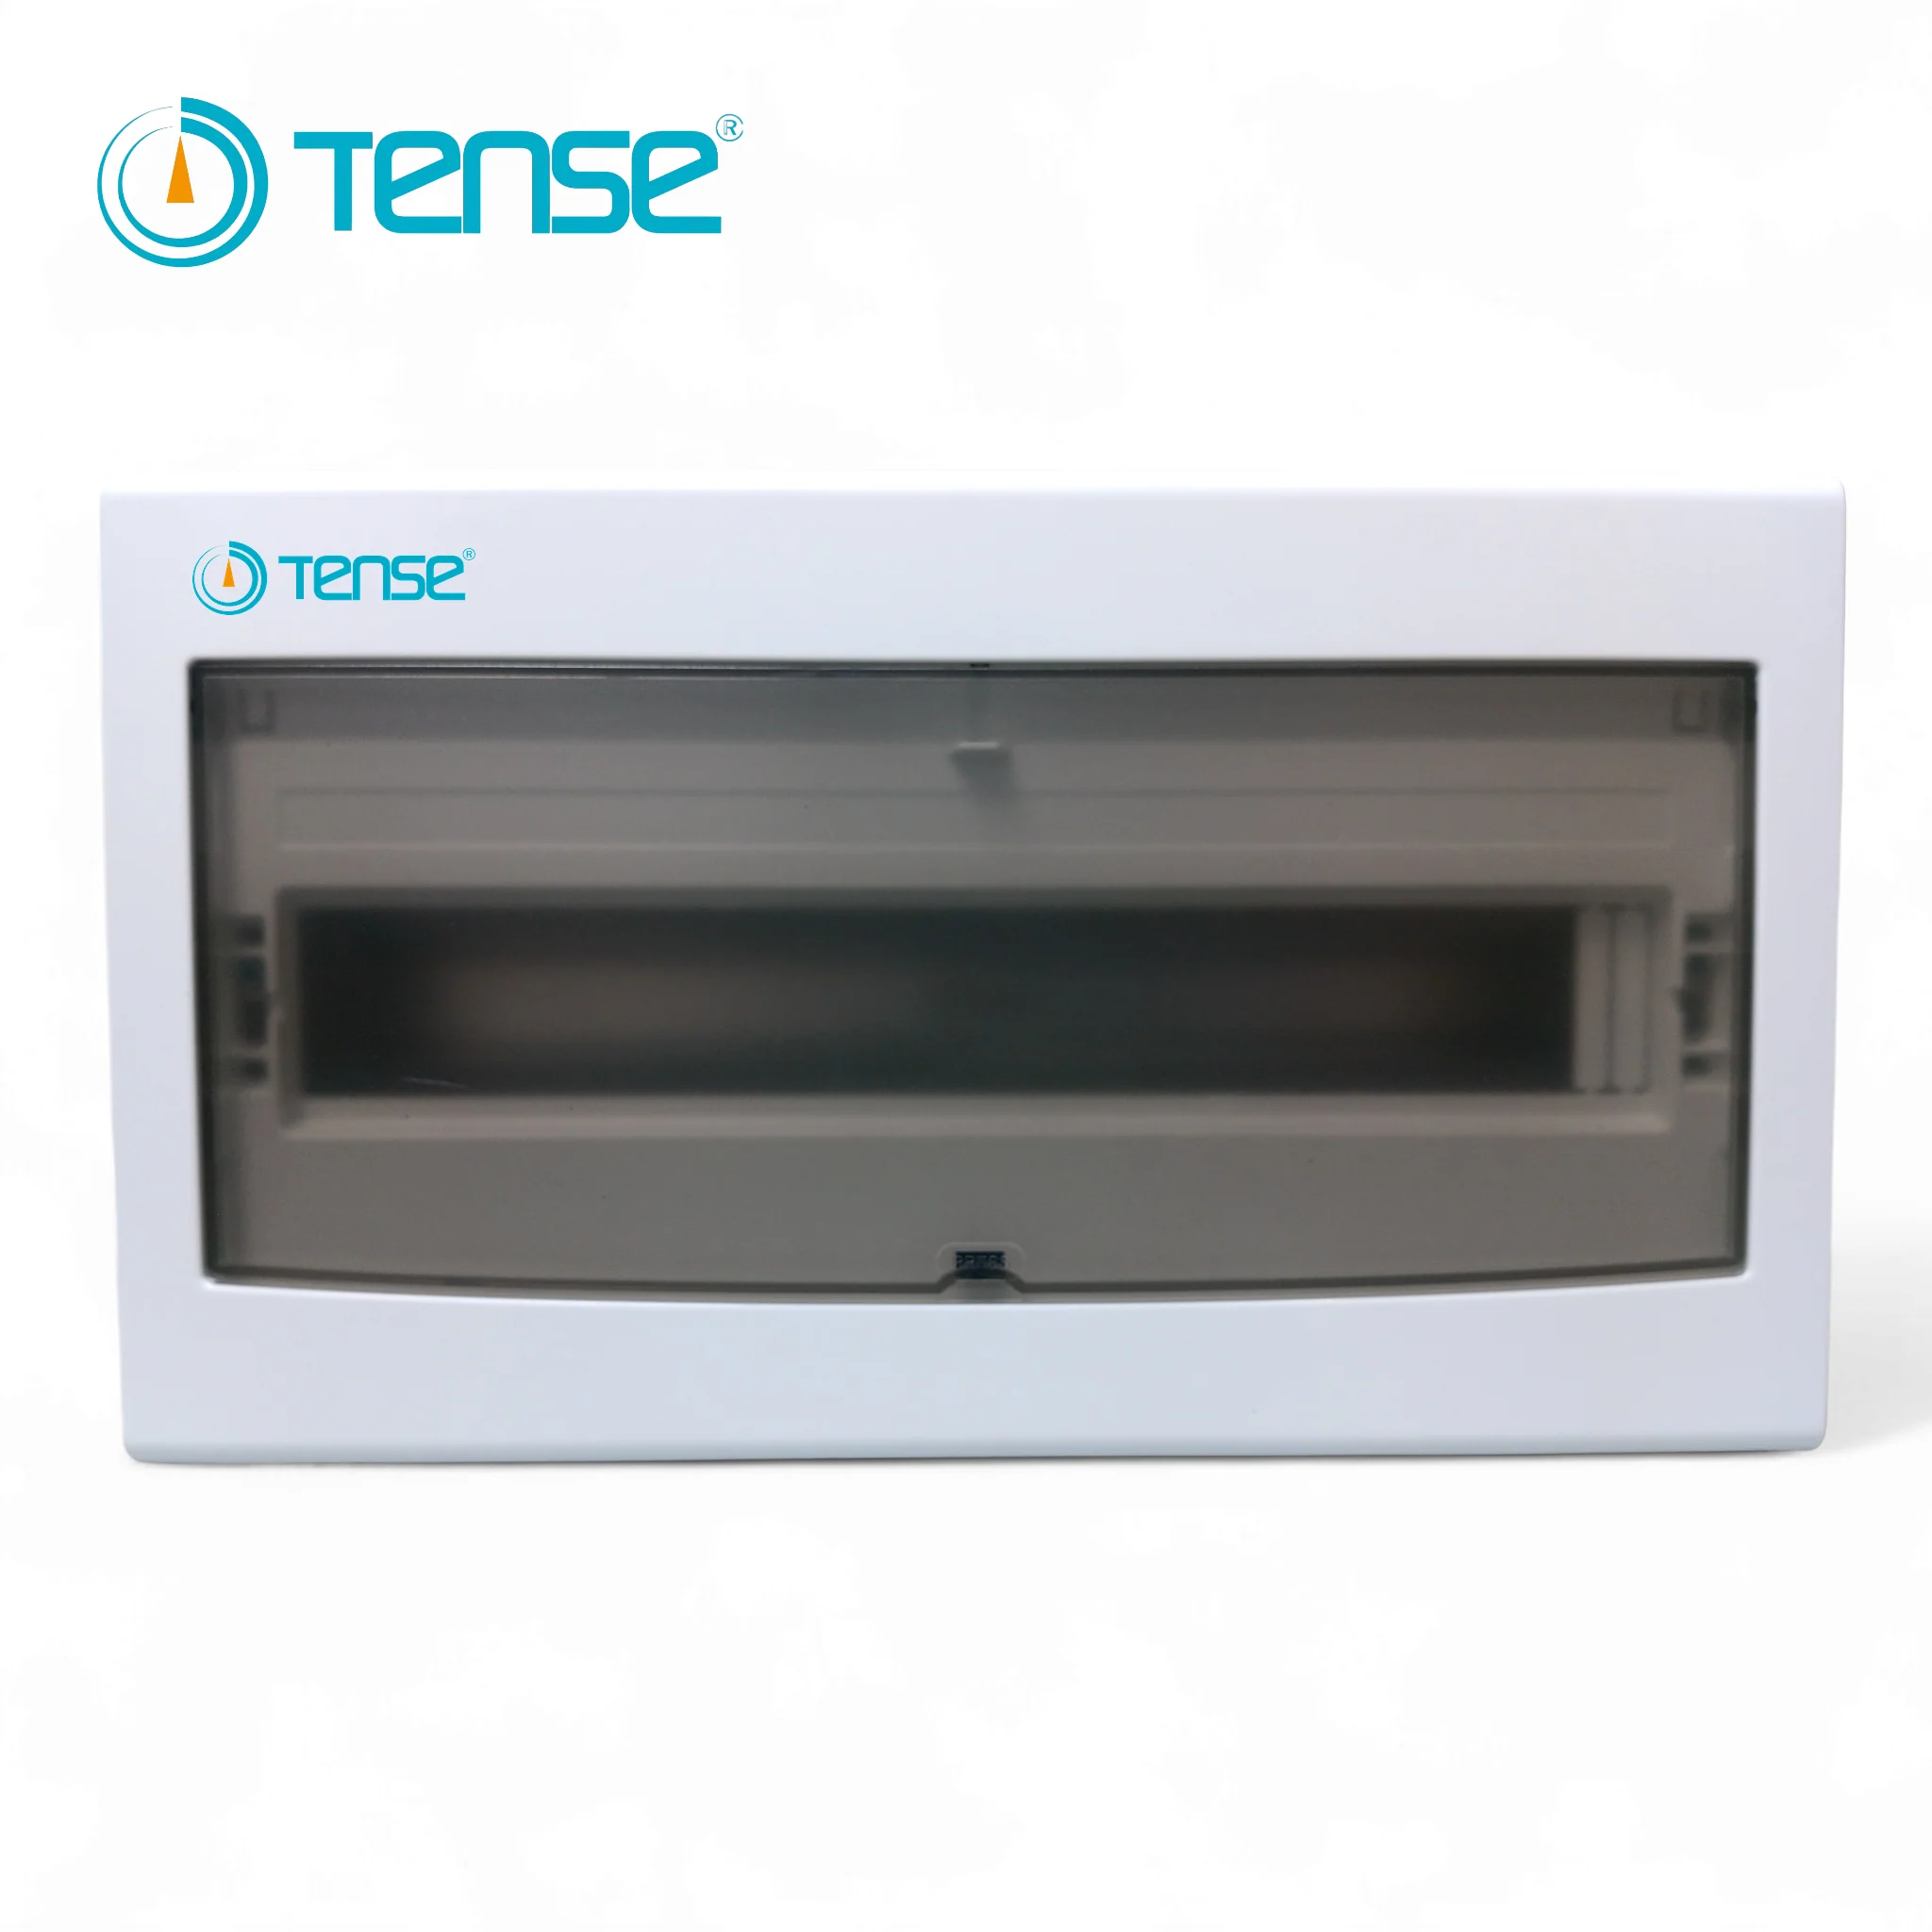
Your Wi-Fi switch needs to be mounted in a safe, accessible spot. Most models come as DIN-rail units for the distribution box, wall-plate switches for socket replacement, or inline devices that sit between a cord and plug. On a typical residential job in Lahore, I’ll mount it in the distribution box feeding the circuit I want to control, usually near the main isolator.
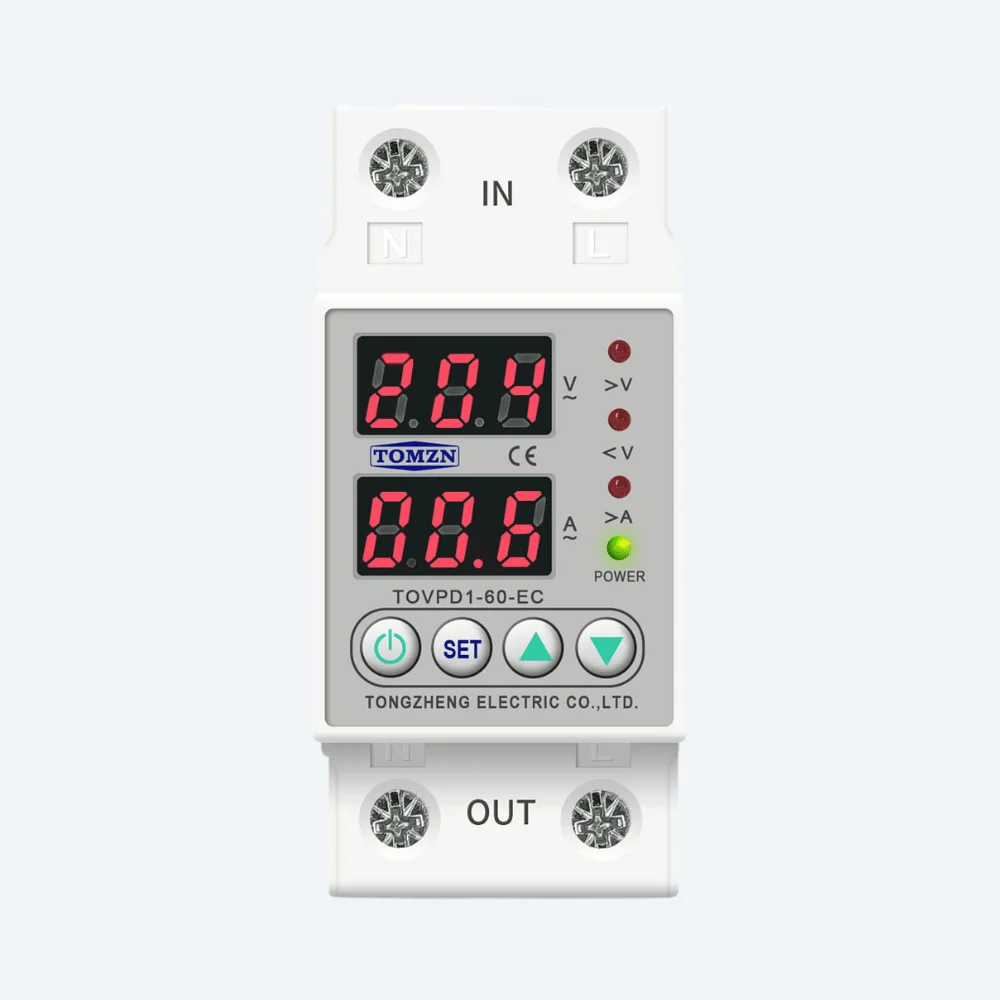
The wiring is straightforward but you must get it right. A smart timer is a relay, so it has an input side (where power comes in) and an output side (where the load connects). On a 220V single-phase installation:
- Live (red wire) comes in to the L terminal on the input
- Neutral (black wire) comes in to the N terminal on the input
- Load line goes from L-out to your circuit breaker protecting that circuit
- Load neutral goes from N-out back to your neutral bar
- Earth (green wire) bypasses the switch entirely and goes to your earth bar
A critical point: the earth connection must never go through the switch. It’s a separate, permanent connection. If your building’s earthing is poor (and in older Lahore properties, it often is), a good earth connection becomes even more important because voltage transients during load-shedding cycles will try to find a path back to ground, and they’ll fry the switch’s electronics if there’s no proper earth.
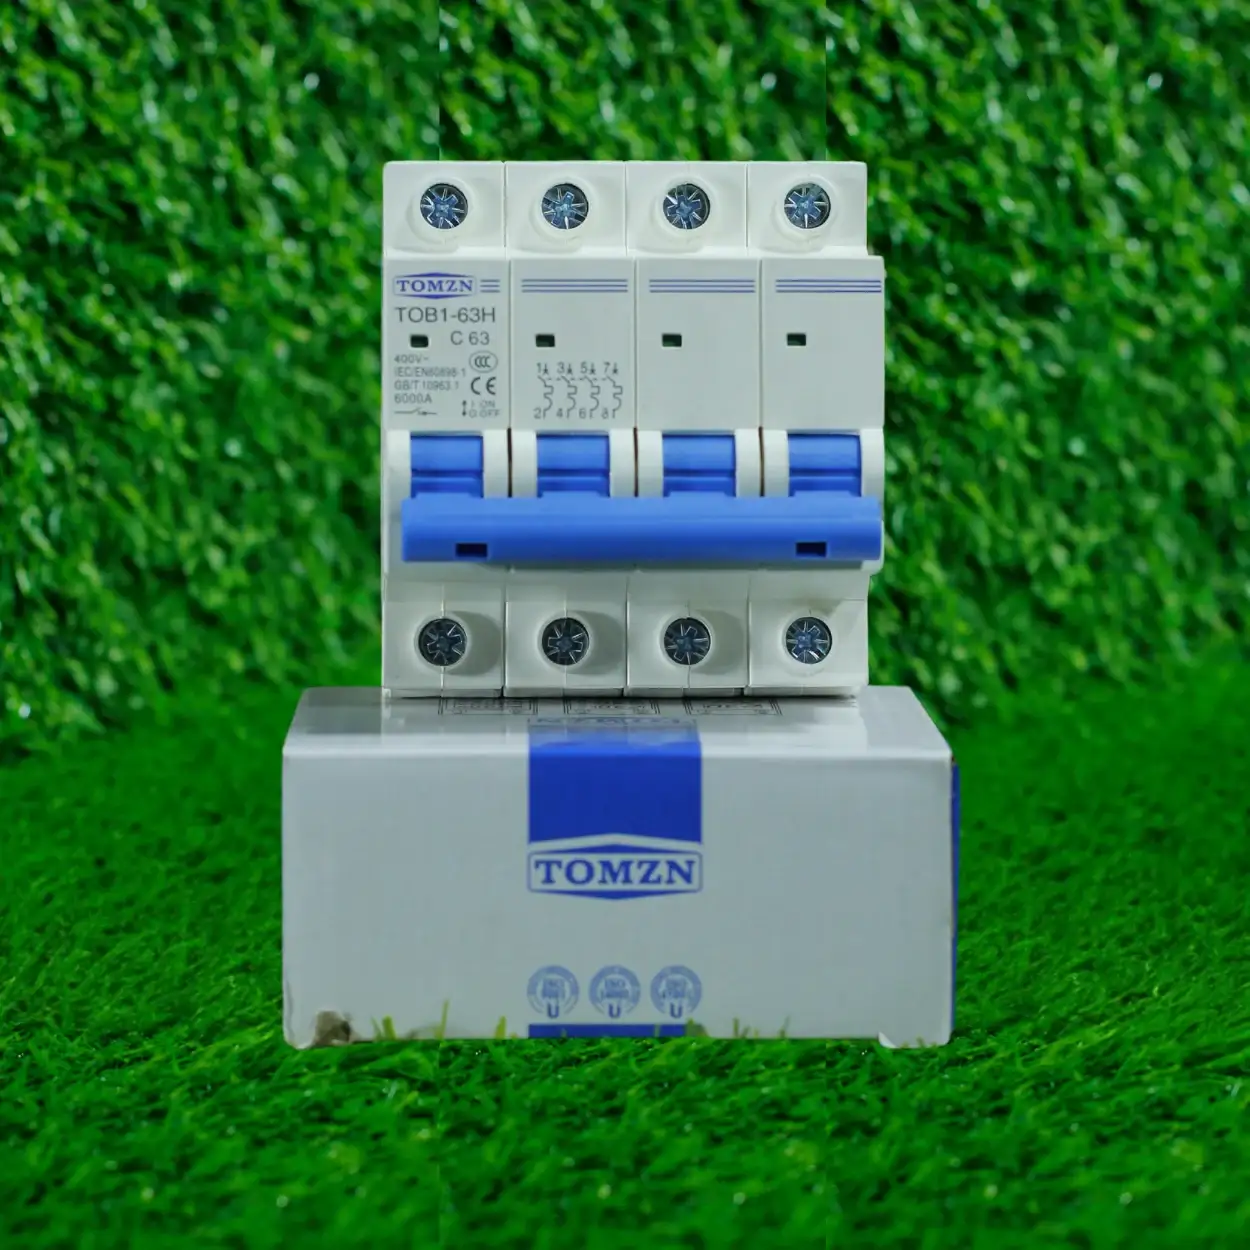
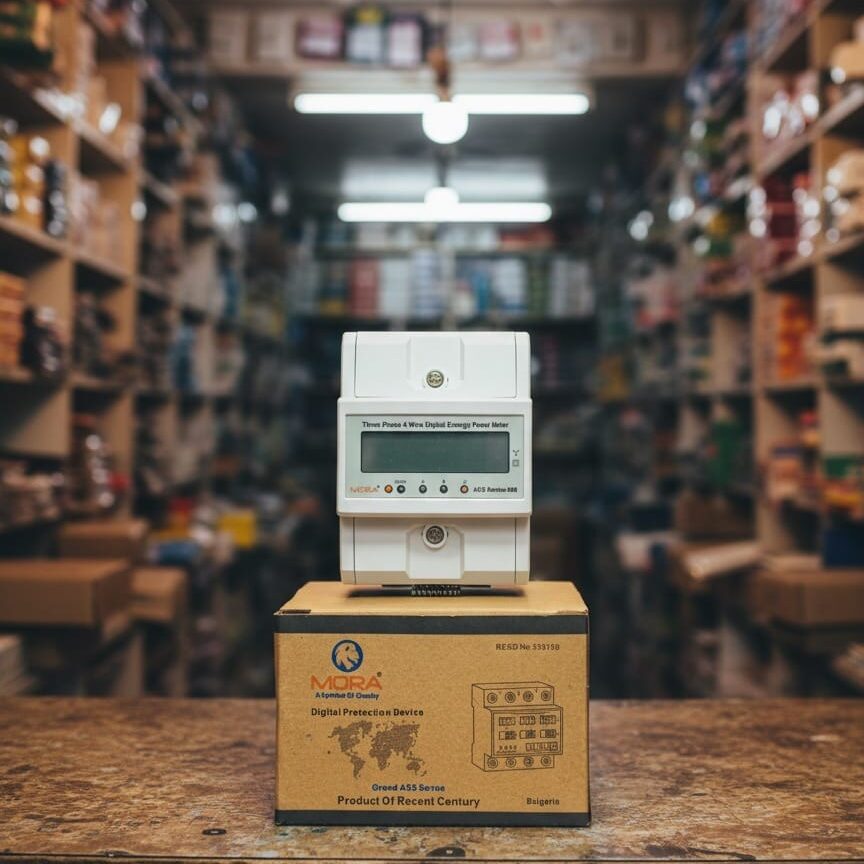
For three-phase installations (400V), you’d typically control one or all three phases depending on the load. For a poultry-farm setup with three-phase motors on automatic timer control, you’ll need a three-phase rated unit, which is less common in the Wi-Fi market. Most residential and small commercial jobs use single-phase.
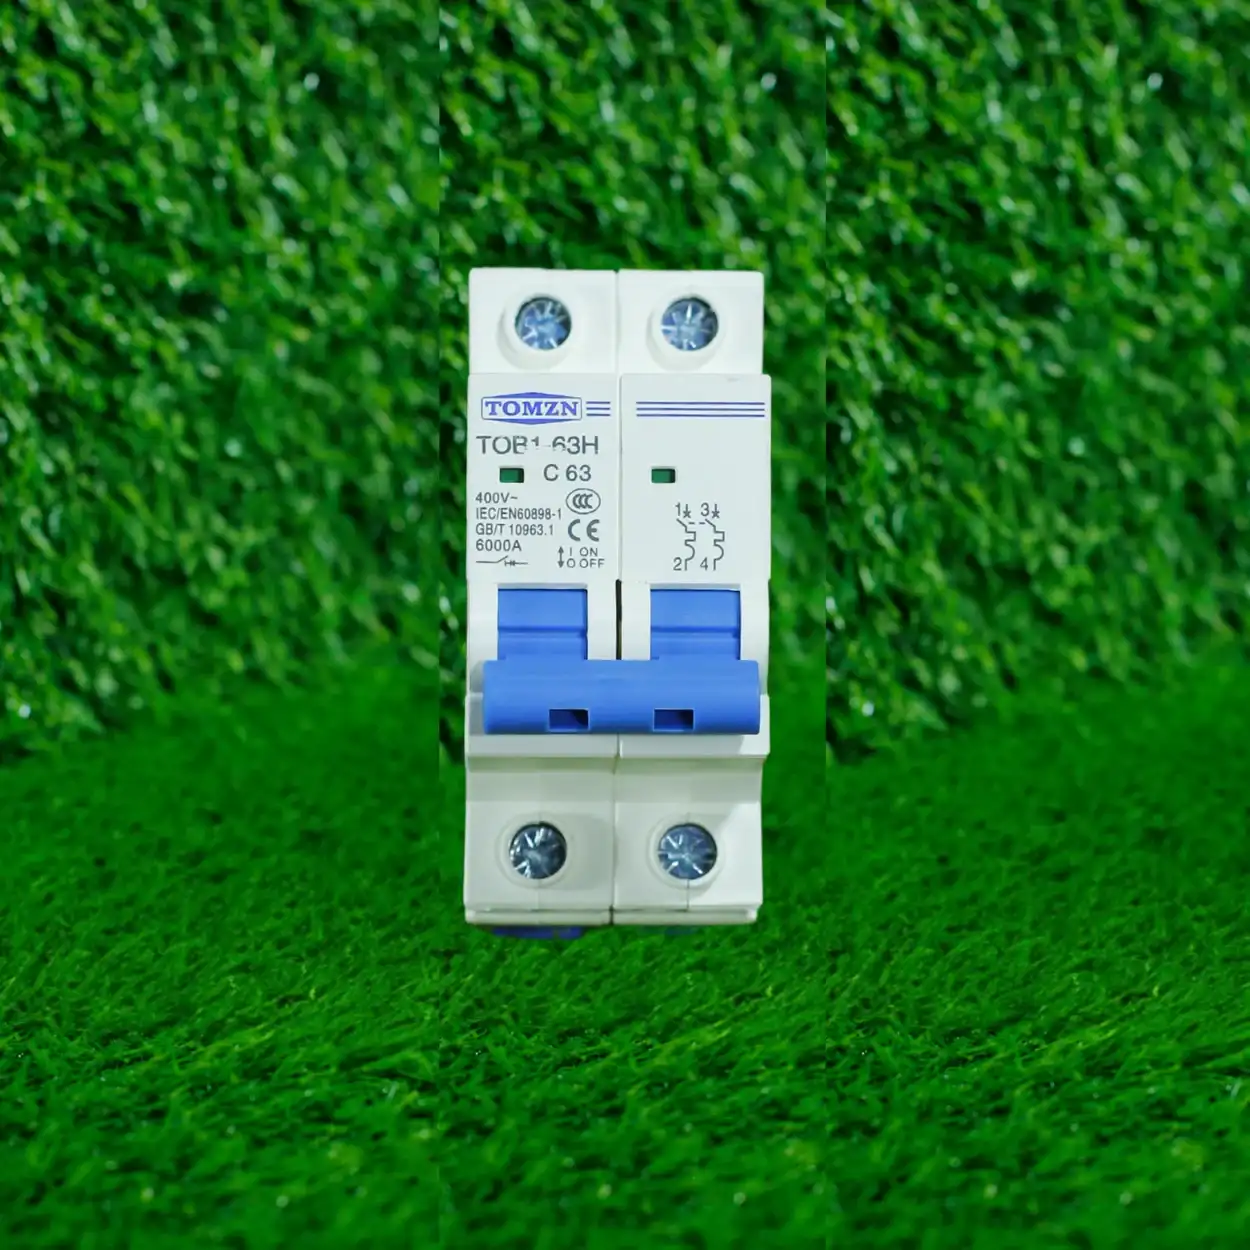
After wiring, test the circuit before connecting the Wi-Fi module’s power supply. If you’re feeding a 15A load, your outgoing breaker should be 20A (C-curve, 6kA breaking capacity minimum for household use). Make sure the switch itself can handle 15A; many Wi-Fi units are rated conservatively at 10A max, so check the nameplate before you commit.
App Setup and Network Configuration
This is where patience beats speed. Once the unit is powered on and mounted, it will either broadcast its own Wi-Fi network or join your home network. Check the manual for the factory default SSID (network name) and password.
The typical sequence is: find the device’s Wi-Fi network on your phone, connect to it, open the app, and tell it to join your home network by entering your Wi-Fi credentials. The device then reboots and tries to connect. If it doesn’t find your network, check three things first. One, make sure you’re giving it your 2.4GHz band, not the 5GHz band (most smart home devices here still can’t handle 5GHz reliably). Two, if your router broadcasts a hidden SSID, you’ll need to enter it manually in the app instead of selecting it from a list. Three, if your router has Wi-Fi MAC filtering enabled, you’ll need to add the device’s MAC address to the whitelist, which you can usually find printed on a sticker under the unit.
After it connects, the app will prompt you to create an account (usually cloud-based, sometimes with a local server option). This is where security matters. Use a strong password, enable two-factor authentication if the app supports it, and don’t use the same password you use for your bank app. Once logged in, you should see the device dashboard, current status, and scheduling options.
Naming your device clearly (e.g., ‘Kitchen Geyser Timer’ rather than ‘Switch1’) helps if you ever add more devices. Set the local time correctly, especially important in Pakistan where you might want to schedule something based on seasonal daylight changes or prayer times (some customers run water pumps on automatic sunrise-to-sunset timers). Most apps let you choose time zones; select Asia/Karachi to be safe.
Programming Schedules and Automations
Once connected, you can now set schedules. A basic timer schedule might be on at 06:00, off at 08:00, weekdays only. Most apps give you preset templates (weekday, weekend, once per day, custom) and let you stack multiple on-off events in a single day.
Here’s something I see go wrong often: customers set a schedule in the app, it works perfectly for a week, then the device goes offline (Wi-Fi drops, router reboots, power blip in the area), and when it reconnects, the schedule sometimes resets to factory defaults or doesn’t sync properly. To avoid this, always check if the app has an option to save schedules locally to the device, not just in the cloud. If the device has internal memory for schedules, power loss won’t wipe them out.
Some higher-end Wi-Fi switches also let you set conditional automations (turn on if a sensor detects motion, turn off if another device sends a signal, etc.). This requires a smart-home hub or compatible ecosystem. If you’re just starting out, stick to time-based schedules until you’re confident the device is stable on your network.
Test your first schedule by setting it for a time five minutes in the future. Check that the device actually switches at that time and that the app shows the event in the history log. If the switch didn’t fire, power-cycle it, reconnect the app, and try again. Sometimes the cloud connection is slower to update the device than the local app is, so don’t panic if the app shows ‘on’ before the physical relay audibly clicks.
Handling Power Loss and Voltage Swings
This is where most generic advice about smart switches falls apart in Pakistan. Our supply isn’t like US 120/240V splits or stable European grids. You get voltage swings of plus-or-minus 20V regularly, blackouts lasting hours, load-shedding cycles that bounce the power on and off every few minutes, and when a generator synchronizes to the grid, transient spikes that can exceed 300V momentarily.
A cheap Wi-Fi switch with no internal surge protection will die the first time one of these transients hits. The microcontroller inside just gets fried, and you’ll replace it next week.
A decent unit (and I’ve installed MORA 15A Wi-Fi timers on dozens of jobs) will have onboard MOV (metal oxide varistor) suppression and filtered power inputs, so the control electronics survive the spikes and only the output relay takes the stress. Even so, I always recommend adding a surge protector in the distribution box upstream of the Wi-Fi switch. A good quality SPD (surge protective device) rated for 220V, 10kA breaking capacity, DIN-rail mount, costs about 4,000 PKR and will save you the cost of replacing the switch when the next bad generator synchronization happens.
If you have frequent blackouts (like during load-shedding in Lahore), the switch will power-cycle repeatedly. Most Wi-Fi units have a ‘restart behavior’ setting where you can tell it to ‘remember last state’ (turn on if it was on before the blackout) or ‘stay off until manually toggled’ (safe default for safety-critical loads). For a geyser timer or pump, use ‘remember last state’. For something where you don’t want it to just start running after a blackout, use the safe default. Check your manual for this option.
Troubleshooting Connection and Relay Issues
If the app connects but the relay won’t switch, first check the load. The device might have a maximum current rating that’s lower than your actual circuit load. I once had a customer whose 20A submersible pump wouldn’t trigger on a 15A-rated Wi-Fi switch. It would show ‘on’ in the app, but the relay mechanically stalled because the load current exceeded the contact rating, so it drew more current than the electromagnet could pull in cleanly. Simple fix, but it taught me to always verify load current before choosing the unit.
If the relay clicks but doesn’t deliver power to the load, the problem might be the switch’s contacts are worn (rare if it’s new, but possible if it’s a returned unit or been sitting in a dusty warehouse). Try switching the load on and off rapidly 10 times from the app to clean any oxide off the contacts. If it still doesn’t work, the switch is faulty and should be replaced.
If the device keeps losing Wi-Fi connection, move your router closer, reduce interference from microwaves or cordless phones on the 2.4GHz band, or add a Wi-Fi range extender nearer the distribution box. If that doesn’t help and the device is more than 10 meters from the router through multiple walls, consider using a powerline adapter (like TP-Link) to extend network reach via the electrical wiring itself. It’s not elegant, but it works in Pakistani homes where Wi-Fi dead zones are common.
If the device connects but doesn’t remember its schedule after a power cut, it’s losing its internal settings because either the battery backup is dead or there’s no battery backup at all. Check the manual. If it has a built-in capacitor rather than a battery, that capacitor may have degraded (they don’t last forever, especially in hot Lahore summers). A replacement unit is cheaper than troubleshooting at that point.
Long-Term Reliability and Maintenance
A Wi-Fi switch installed in a dusty environment (like a farm equipment shed or near HVAC output) will collect dust on the heatsink and inside the enclosure. I clean the DIN-rail breaker and switch assemblies on poultry farms every six months with compressed air. Dust is an insulator and traps heat, so a switch that’s rated for 15A might overheat and derating itself at 12A if it’s covered in dust. Keep the distribution box clean.
Test the schedule at least once a month, especially after a blackout. Don’t assume it’s still working just because the app shows it connected. Physically verify that the relay actually switches at the scheduled time. I’ve seen devices that stayed connected to Wi-Fi but stopped switching the relay because the electromagnetic coil degraded or there’s a timing fault in the firmware.
Update the firmware if the app offers it. Manufacturers sometimes push fixes for Wi-Fi stability or scheduling bugs. Don’t ignore those notifications, especially if you’re using the device for something critical like a water pump or heater.
If you’re running multiple Wi-Fi switches on the same network (which is common on larger jobs), make sure each one has a unique name and MAC address in your router’s connected devices list. Duplicate or conflicting names will cause one to connect and the other to drop off repeatedly.
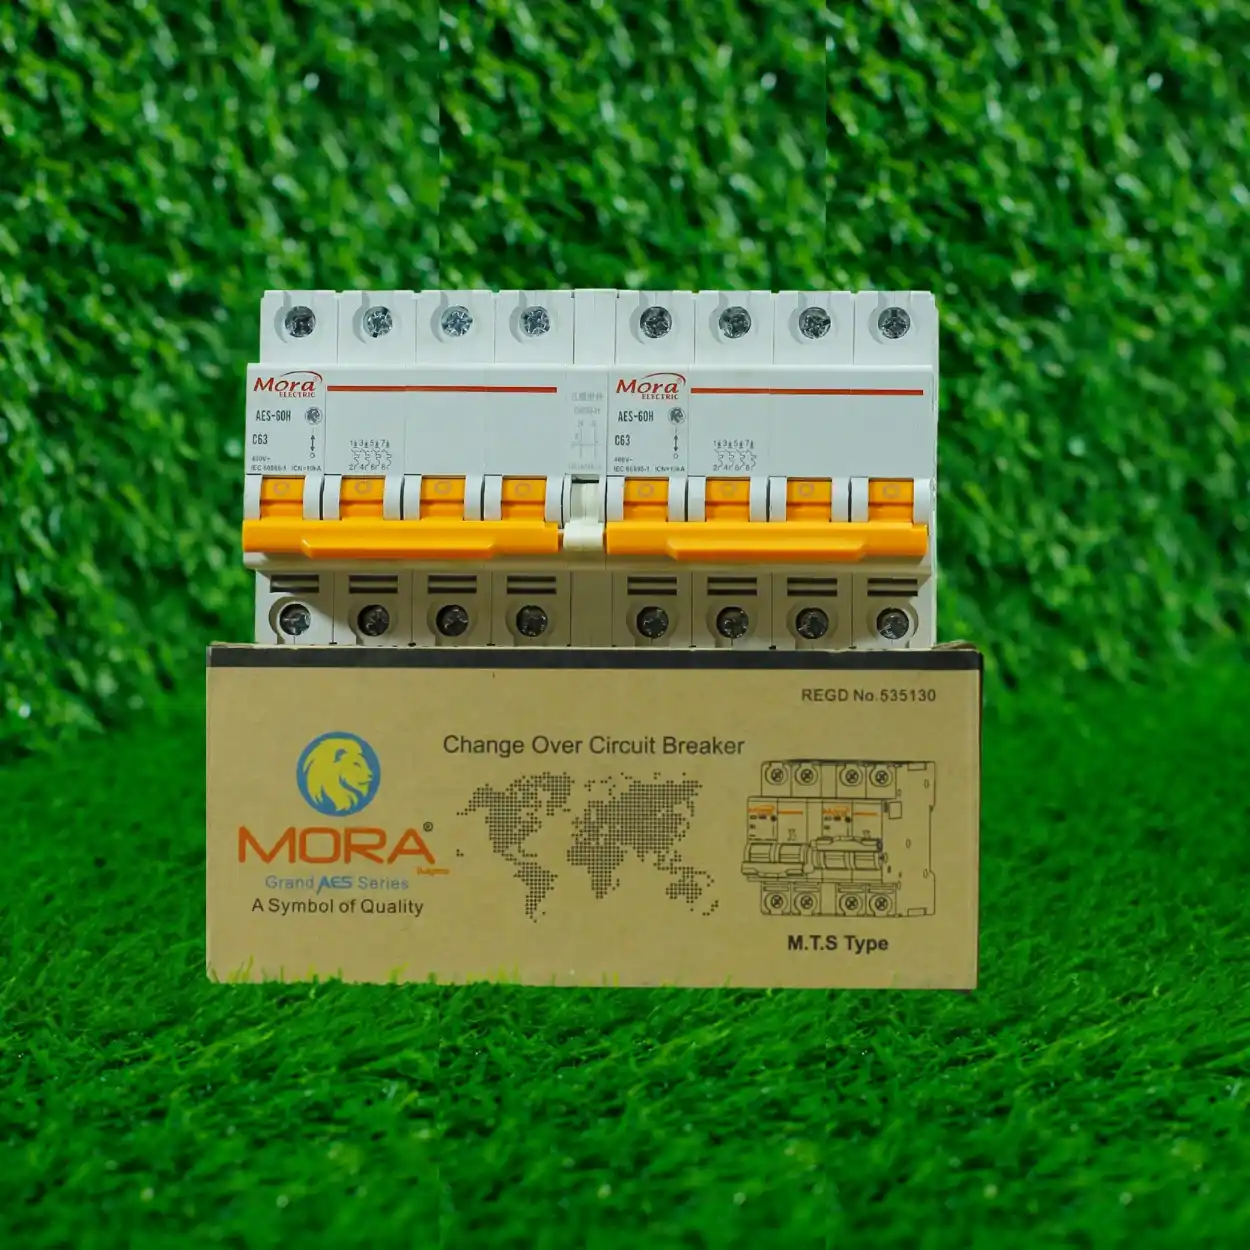
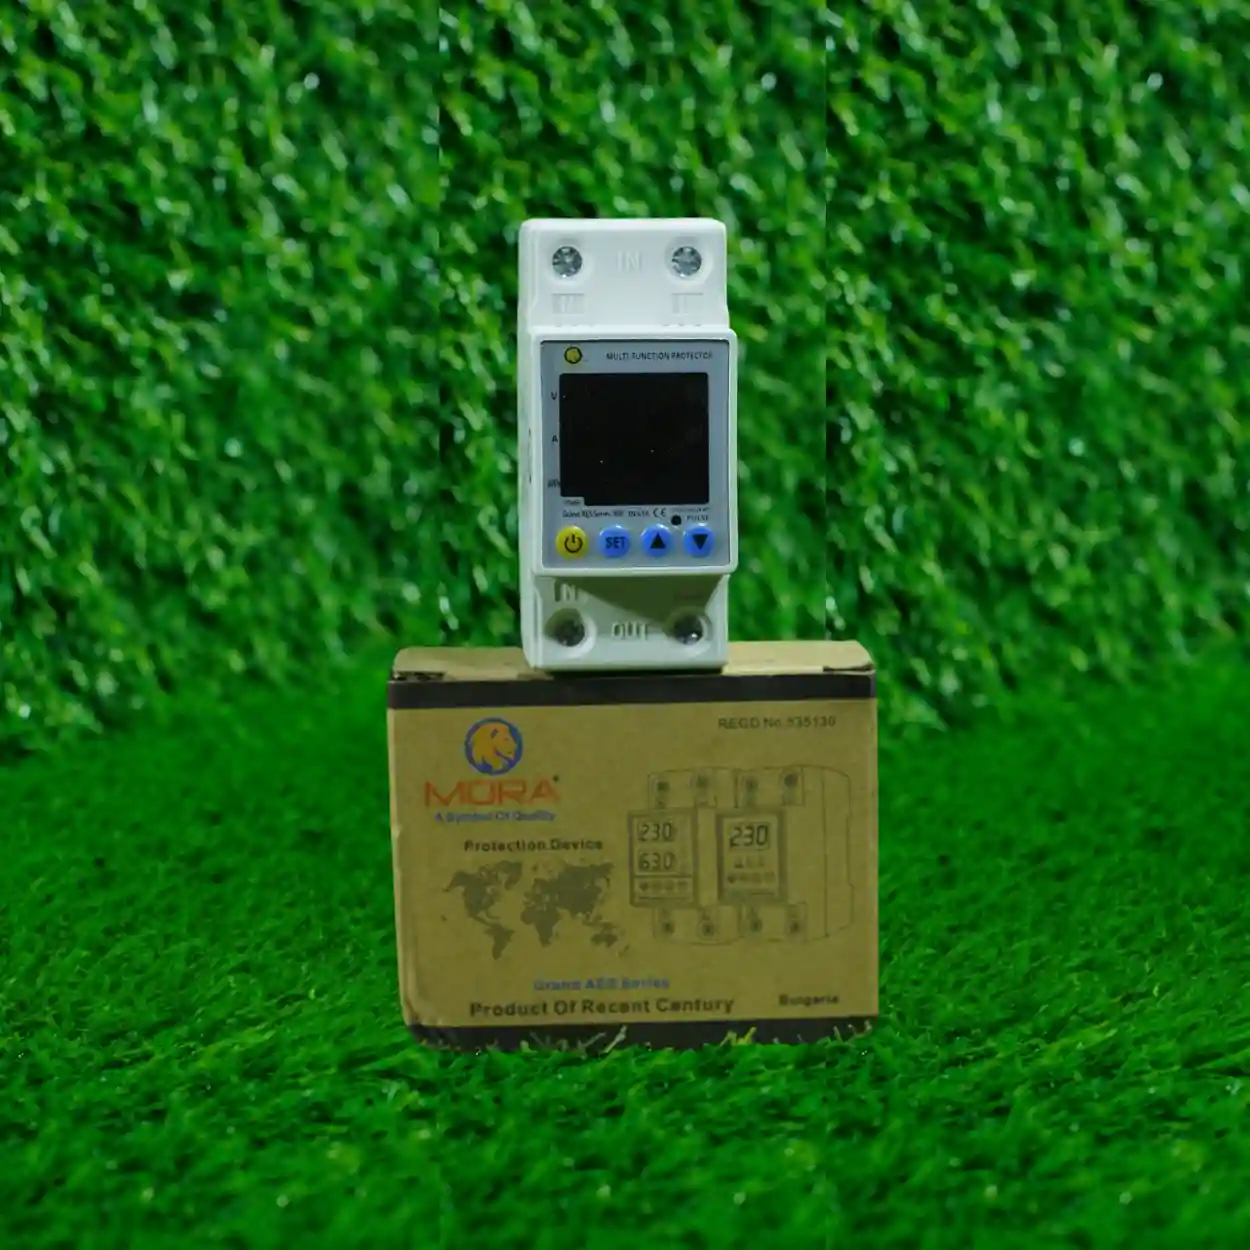
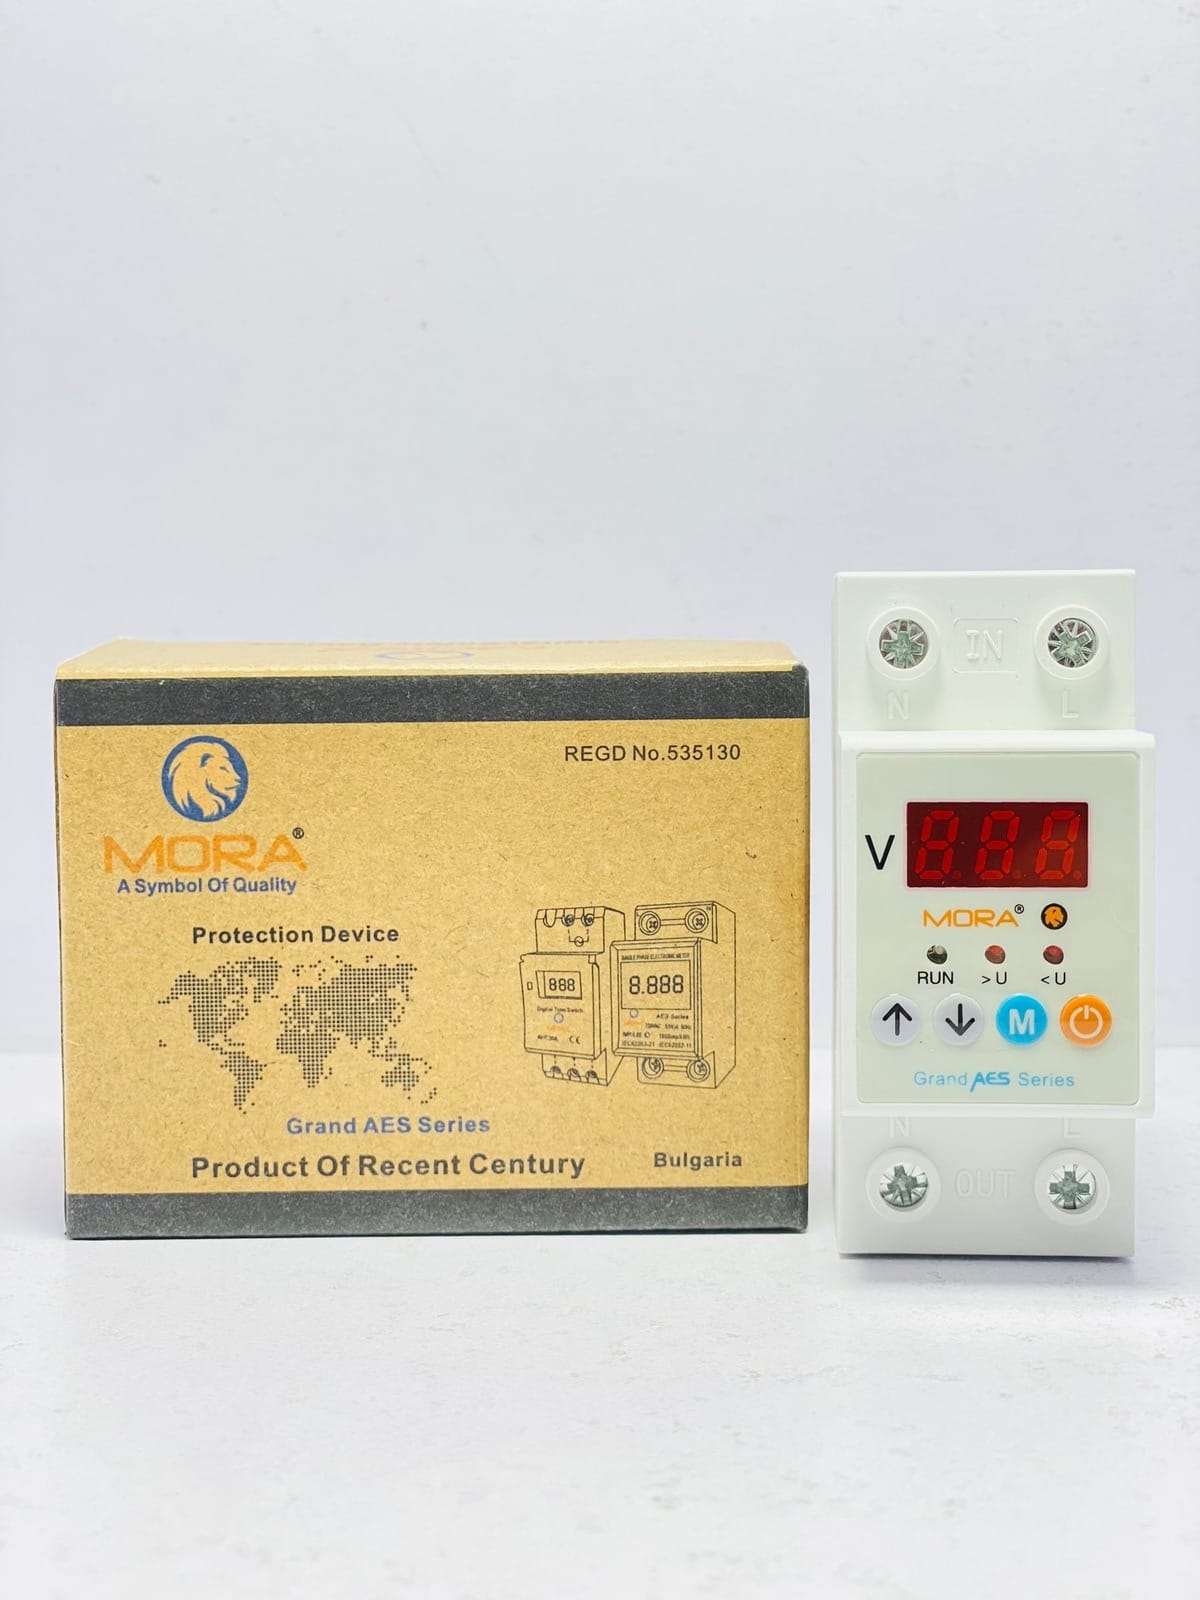
When choosing a brand, MORA units have been reliable on my jobs because they’re designed with slightly more robust power conditioning than pure budget knockoffs, and they integrate well with the rest of the component ecosystem here (DIN-rail mounts fit standard distribution boxes, 220V default rating, 50Hz configured at factory). That said, the difference between a 6,000 PKR MORA and a 2,000 PKR generic unit from an online market often shows up in year two when the cheap one stops holding settings or the coil gets stuck. You’re trading upfront cost for three to five extra years of actually working. For a home installation, I’d choose MORA. For a temporary setup you’ll replace in six months anyway, save the money.