













Solar Distribution Box Installation Mistakes to Avoid

Understanding Solar Distribution Box Installation Basics
A solar distribution box, often called a combiner box or solar combiner, is a critical component in any photovoltaic system. It centralizes the electrical connections from multiple solar panel strings, consolidates the output, and provides protection through circuit breakers and fuses. Proper installation of this equipment directly impacts your system’s safety, efficiency, and longevity.
Despite its importance, many installers and DIY enthusiasts make preventable mistakes during installation. These errors can lead to reduced system performance, safety hazards, equipment damage, and failure to meet electrical codes. Understanding these common pitfalls is essential whether you’re a professional electrician, a solar contractor, or someone planning a residential solar installation.
The stakes are particularly high with solar systems because they operate at high voltages and currents. A poorly installed distribution box can create fire hazards, increase maintenance costs, and void warranties. This guide walks you through the most frequent mistakes and provides practical solutions to help you get it right the first time.
Common Solar Distribution Box Installation Mistakes
Inadequate Planning and Sizing
One of the most frequent mistakes occurs before installation even begins. Improper sizing of your distribution box leads to numerous downstream problems. Many installers select a box based on immediate needs without accounting for future expansion. While your current system may have four or six solar strings, you might want to add more panels in five years.
Beyond future expansion, sizing errors include:
- Underestimating current requirements: Failing to accurately calculate the combined current from all connected strings means selecting inadequate breakers or fuses. This can result in nuisance tripping or, worse, failure to protect during actual fault conditions.
- Ignoring voltage drops: The distance from your solar array to the distribution box affects wire gauge requirements and voltage losses. Improper calculations lead to inefficiency and potential equipment damage.
- Neglecting temperature derating: Solar installations in hot climates require derating of current-carrying capacity. Components rated for 25°C may only handle 80% of their rated current at 45°C ambient temperature.
Solution: Perform detailed load calculations following NEC (National Electrical Code) standards. Consult with a qualified solar engineer and account for a 25-30% capacity buffer for future additions.
Incorrect Wire Sizing and Gauge Selection
Wire sizing directly affects safety and system performance. This is a technical area where precision matters enormously. Common mistakes include:
- Using undersized wiring: Wires smaller than required create excessive voltage drop and generate heat. This reduces output and creates fire hazards. NEC 690.8 requires that voltage drop between the array and the first DC disconnect not exceed 2%, and up to the service entrance not exceed 3% combined.
- Ignoring temperature and bundling effects: When multiple wires run together in conduit, they cannot dissipate heat effectively. Current-carrying capacity must be reduced accordingly, but many installers overlook this requirement.
- Mismatching wire insulation ratings: Solar wiring operates in harsh conditions—direct sunlight, extreme heat, and potential UV exposure. Using standard PVC-insulated wire instead of UV-rated, temperature-resistant solar wire (like USE-2 or PV-rated cable) leads to premature degradation.
Solution: Always use manufacturer-certified solar-rated wiring. Consult detailed ampacity tables and apply all derating factors. Have calculations reviewed by a second qualified professional before purchasing materials.
Poor Physical Placement and Accessibility
Where you mount your distribution box matters as much as how you install it internally. Placement mistakes include:
- Mounting in direct sunlight: Distribution boxes contain semiconductors and electronic components sensitive to temperature. Mounting in unshaded areas causes components to operate above their rated temperatures, reducing lifespan and reliability.
- Placing in areas prone to moisture or corrosion: Installing near saltwater, in damp basements, or where condensation accumulates accelerates rust and component failure. Choose a distribution box appropriate for the environment—outdoor-rated boxes have enhanced corrosion protection.
- Blocking access for maintenance: Boxes mounted behind pipes, conduit, or in cramped spaces make troubleshooting and component replacement difficult. Local codes typically require at least 36 inches of clear working space in front of electrical equipment.
- Exceeding height and reach requirements: Distribution boxes should be mounted between 4 and 6 feet from the ground for safe, comfortable access during maintenance and emergency procedures.
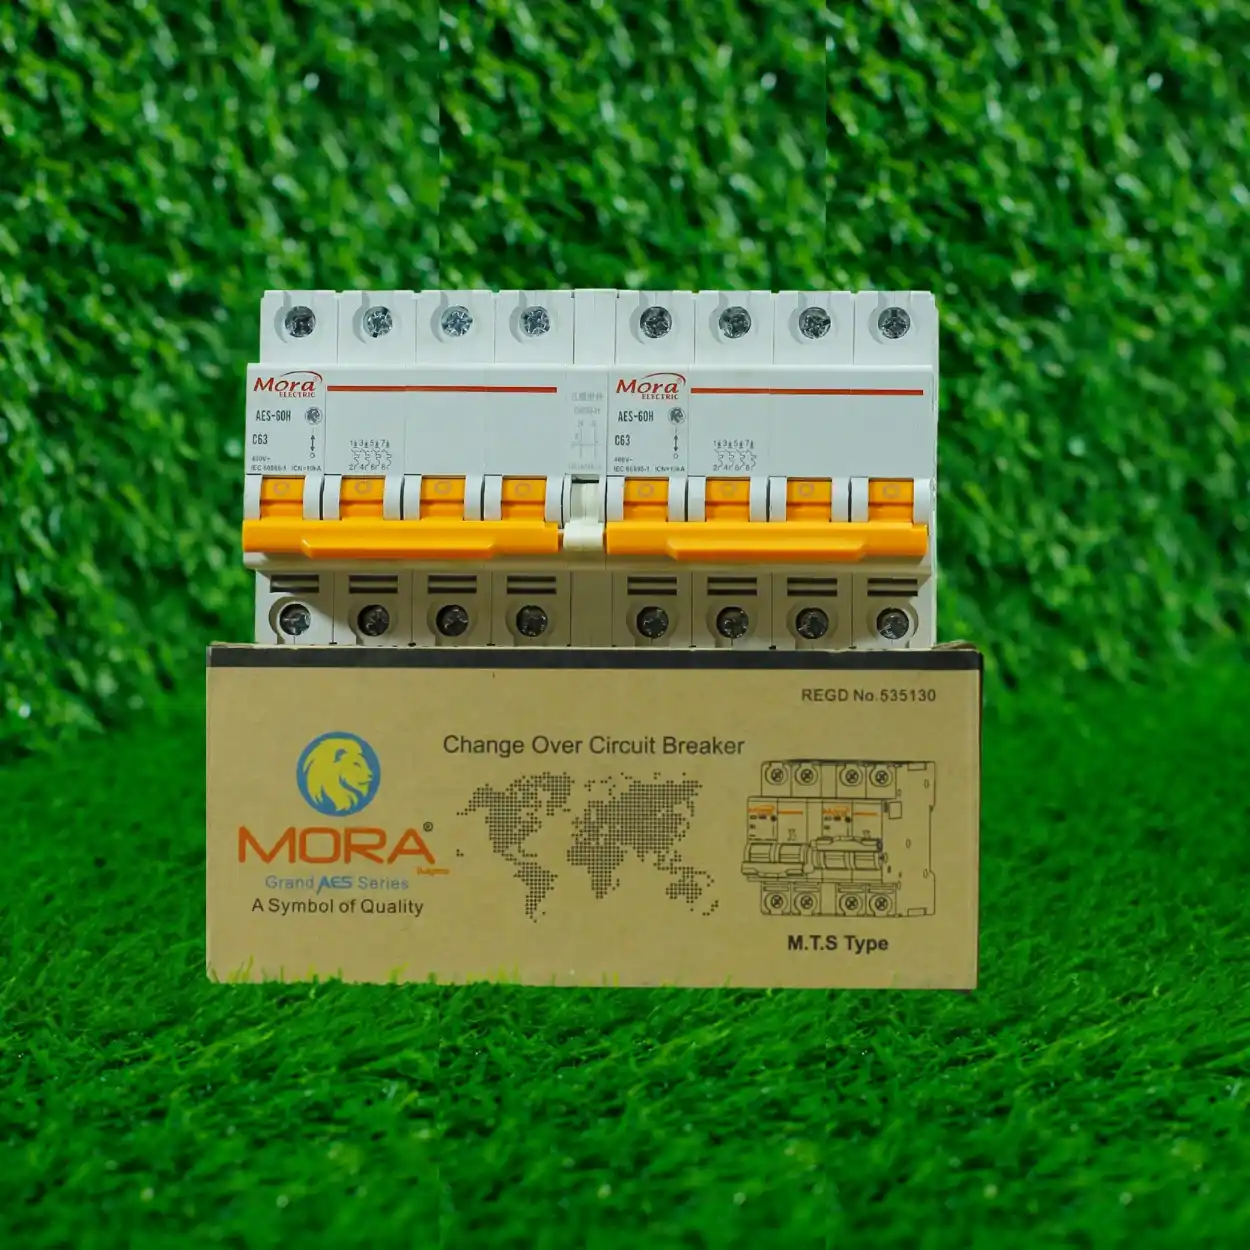
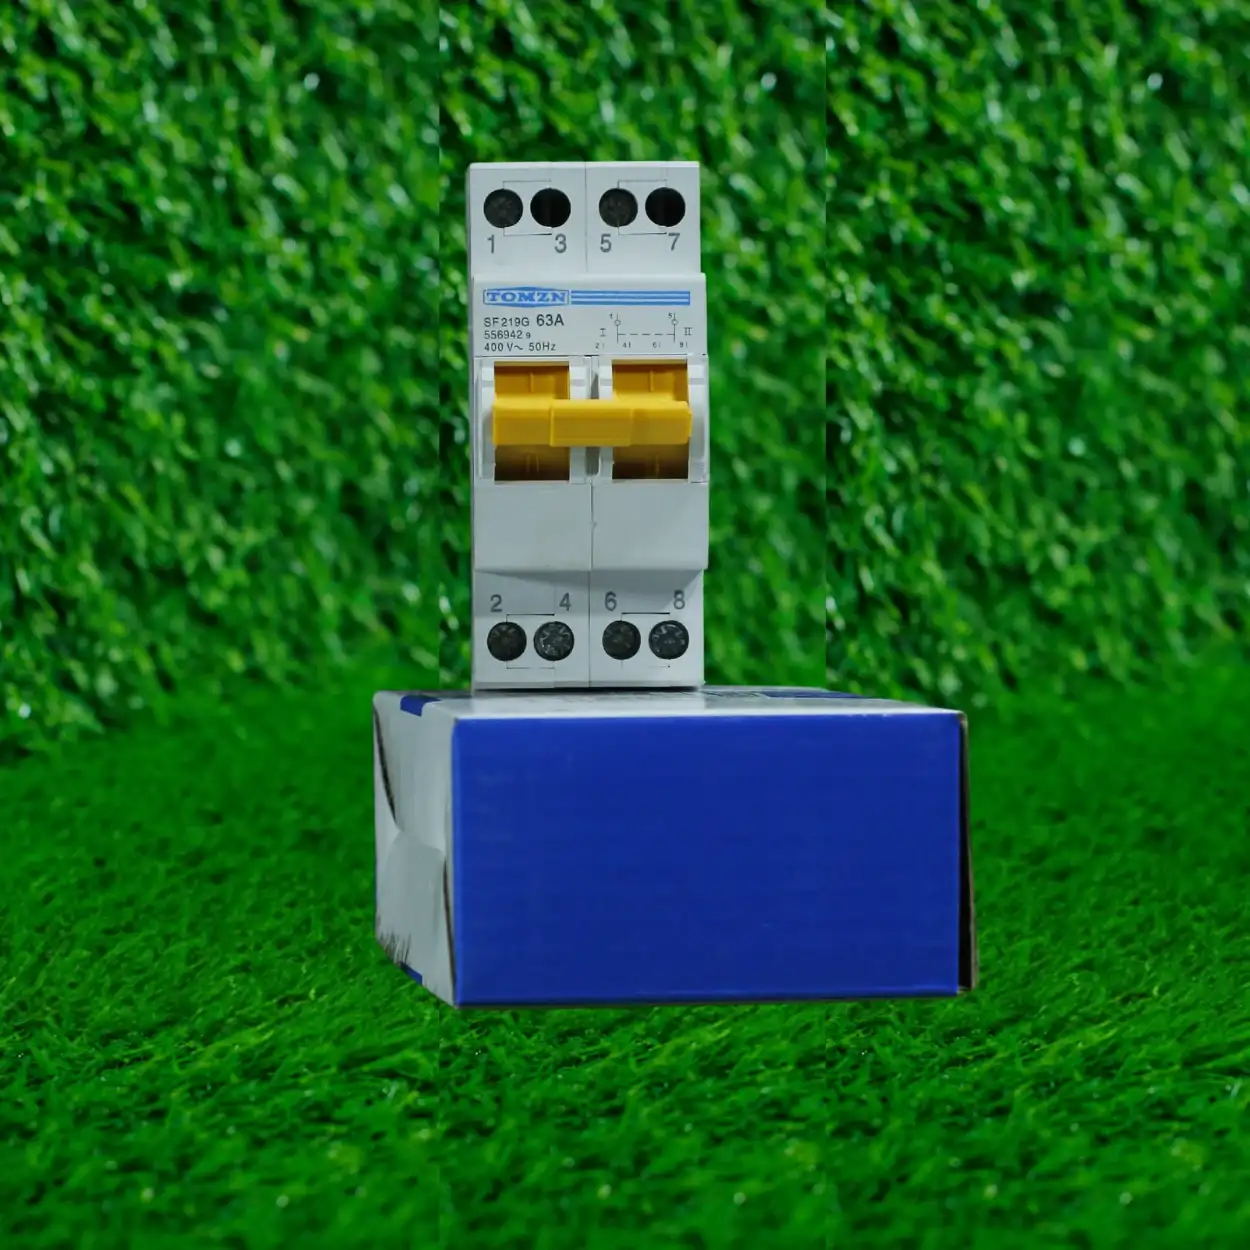
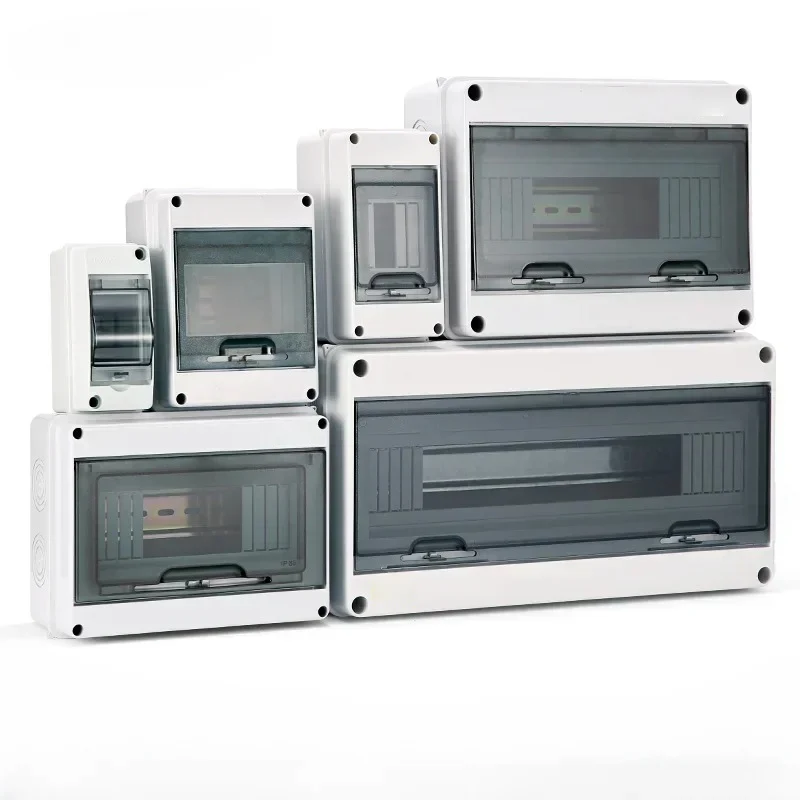
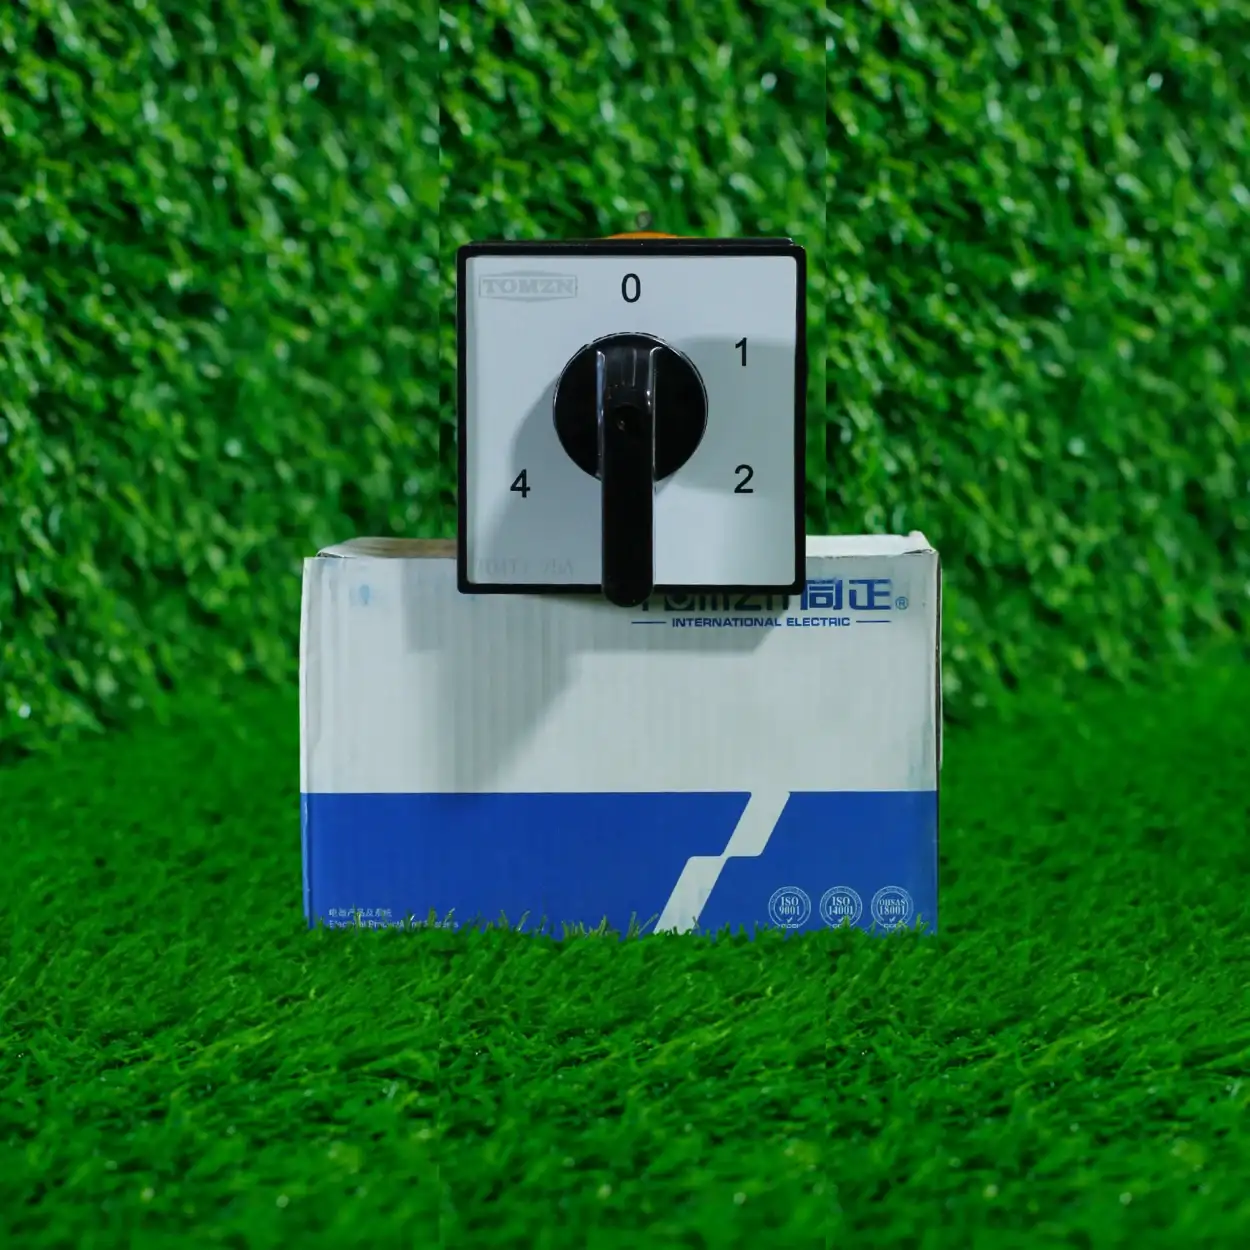
Solution: Plan placement during system design. Choose shaded, well-ventilated locations. Verify clearance requirements with your local Authority Having Jurisdiction (AHJ). Consider using wall-mounted or pole-mounted enclosures like a wall-mounted plastic changeover switch box for optimal accessibility.
Faulty Grounding and Bonding
Grounding and bonding are non-negotiable safety requirements that protect against electric shock and lightning strikes. Mistakes here can be deadly:
- Insufficient grounding electrode system: Many installers use a single rod or connection point. Solar systems typically require multiple grounding paths for adequate protection, especially in areas with high lightning activity.
- Using wrong gauge grounding conductors: Grounding wires must match system voltage and fault current capacity. Undersized grounding conductors fail during fault conditions, leaving people and equipment unprotected.
- Poor connections and loose terminals: Corrosion or loose grounding connections create high resistance. During a fault event, this prevents proper current flow and defeats the protection system. All connections must be mechanically and electrically secure.
- Neglecting equipotential bonding: Metal frames, conduit, and enclosures must be bonded to eliminate potential differences that could cause shock hazards during faults.
Solution: Follow NEC Article 690.43-50 for grounding requirements. Use copper conductors sized according to system voltage and maximum fault current. Install separate grounding rods for DC and AC systems, minimum 6 feet apart. Verify all connections with a multimeter or resistance tester.
Overlooking Code Compliance and Permitting
This mistake often stems from trying to save time or money, but it creates serious legal and safety consequences:
- Skipping permits and inspections: Unpermitted installations void insurance coverage and create liability. If a fire or injury occurs, you could face criminal charges and civil liability.
- Installing non-compliant equipment: Using distribution boxes or breakers not rated for solar DC applications is a code violation. Equipment must be specifically designed for solar use and listed by UL or equivalent.
- Failing to install required disconnects: NEC 690.13-18 requires disconnects on both DC and AC sides of the inverter. Many DIY installations miss the DC-side disconnect entirely.
- Incorrect labeling and documentation: Systems must have permanent labels identifying voltage, amperage, and circuit function. Lack of proper labeling violates code and creates confusion during maintenance or emergencies.
Solution: Obtain permits before beginning installation. Request inspections at required stages. Use only UL-listed equipment rated for solar DC use. Consult your local AHJ for specific code requirements. Hire a licensed electrician if uncertain about compliance.
Internal Wiring and Component Layout Errors
Even when external installation is correct, internal wiring mistakes compromise safety and performance:
- Improper breaker sequencing: Breakers should be arranged logically with input strings in order. Confusing layouts lead to dangerous mistakes during troubleshooting or maintenance.
- Overcrowding conductors: Too many wires in the available space makes connections difficult, increases heat generation, and creates safety hazards. Proper spacing ensures cooling and safer operation.
- Missing or inadequate busbars: Attempting to connect multiple strings using terminal blocks instead of properly sized busbars creates connection failures and heat generation.
- Poor strain relief and support: Unsupported wires inside the box experience vibration stress and abrasion. Cable ties and proper routing prevent premature wire failure.
Solution: Plan internal layout using manufacturer documentation as a guide. Use appropriate terminals for each connection size. Install busbar systems for combining multiple strings. Ensure adequate wire support and strain relief throughout the enclosure.
Inadequate Surge Protection Integration
Solar systems face significant surge threats from lightning and switching transients. Improper surge protection installation leaves equipment vulnerable:
- Omitting surge protection devices: Relying solely on breakers for protection is insufficient. Surge protection devices detect voltage spikes and divert them safely to ground before damage occurs.
- Installing surge devices too far from protected equipment: Long leads from protection devices to equipment reduce effectiveness. Devices should be mounted inside the distribution box or as close as possible.
- Selecting inadequate surge ratings: Surge devices must be rated for your system voltage and maximum available fault current. Undersized devices fail to provide protection.
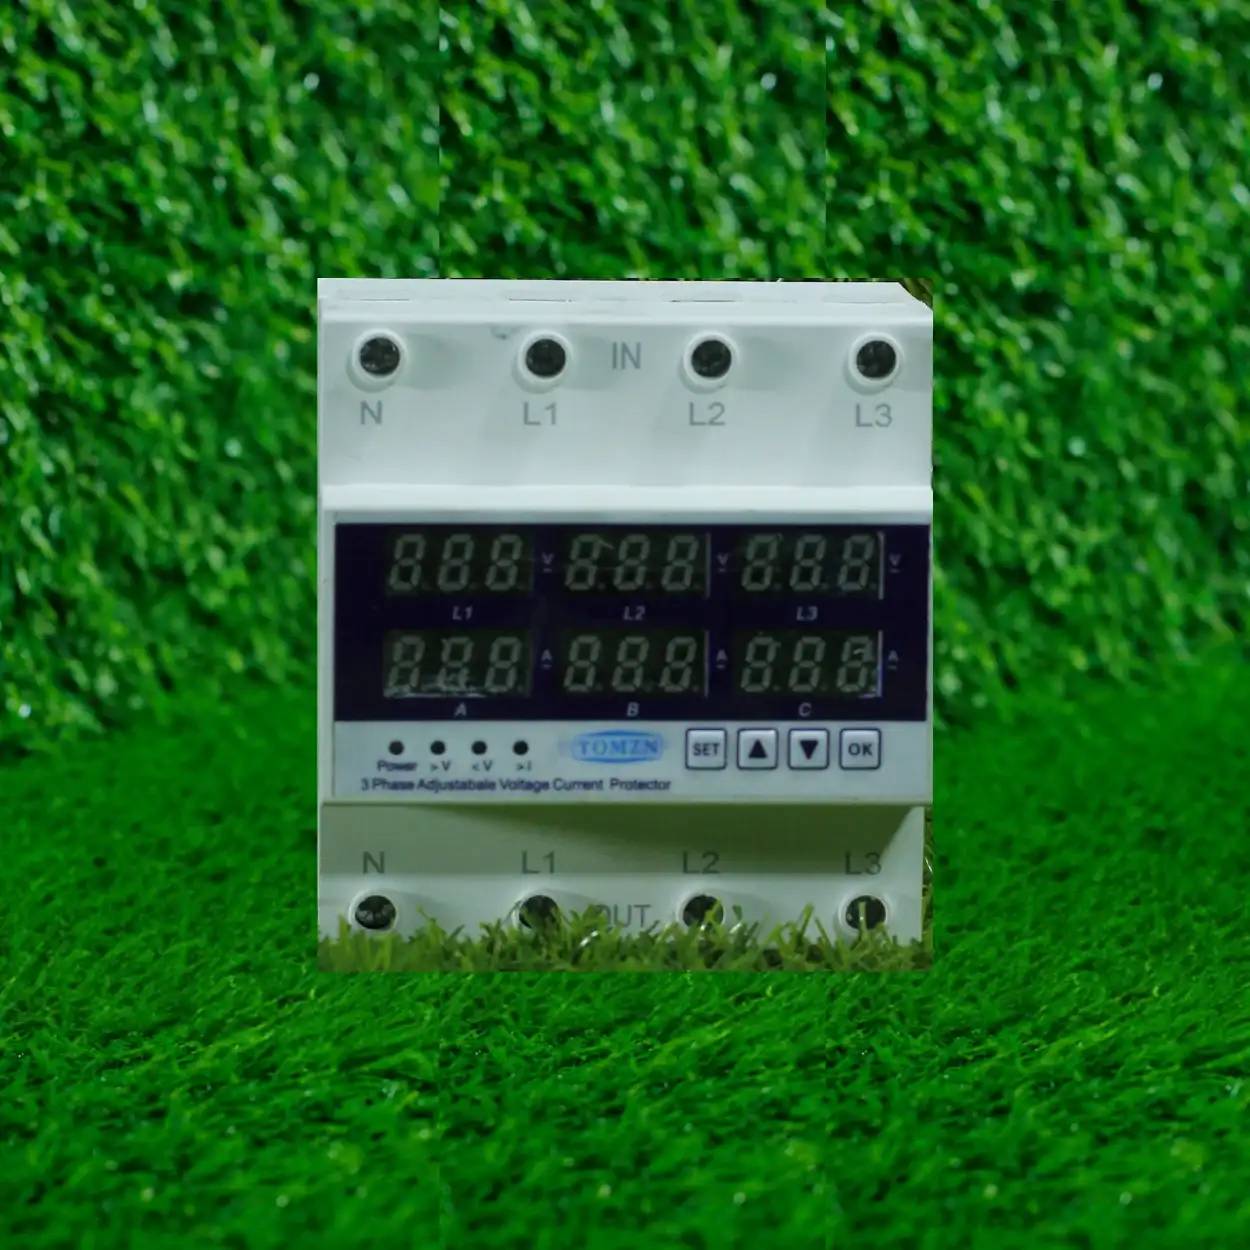
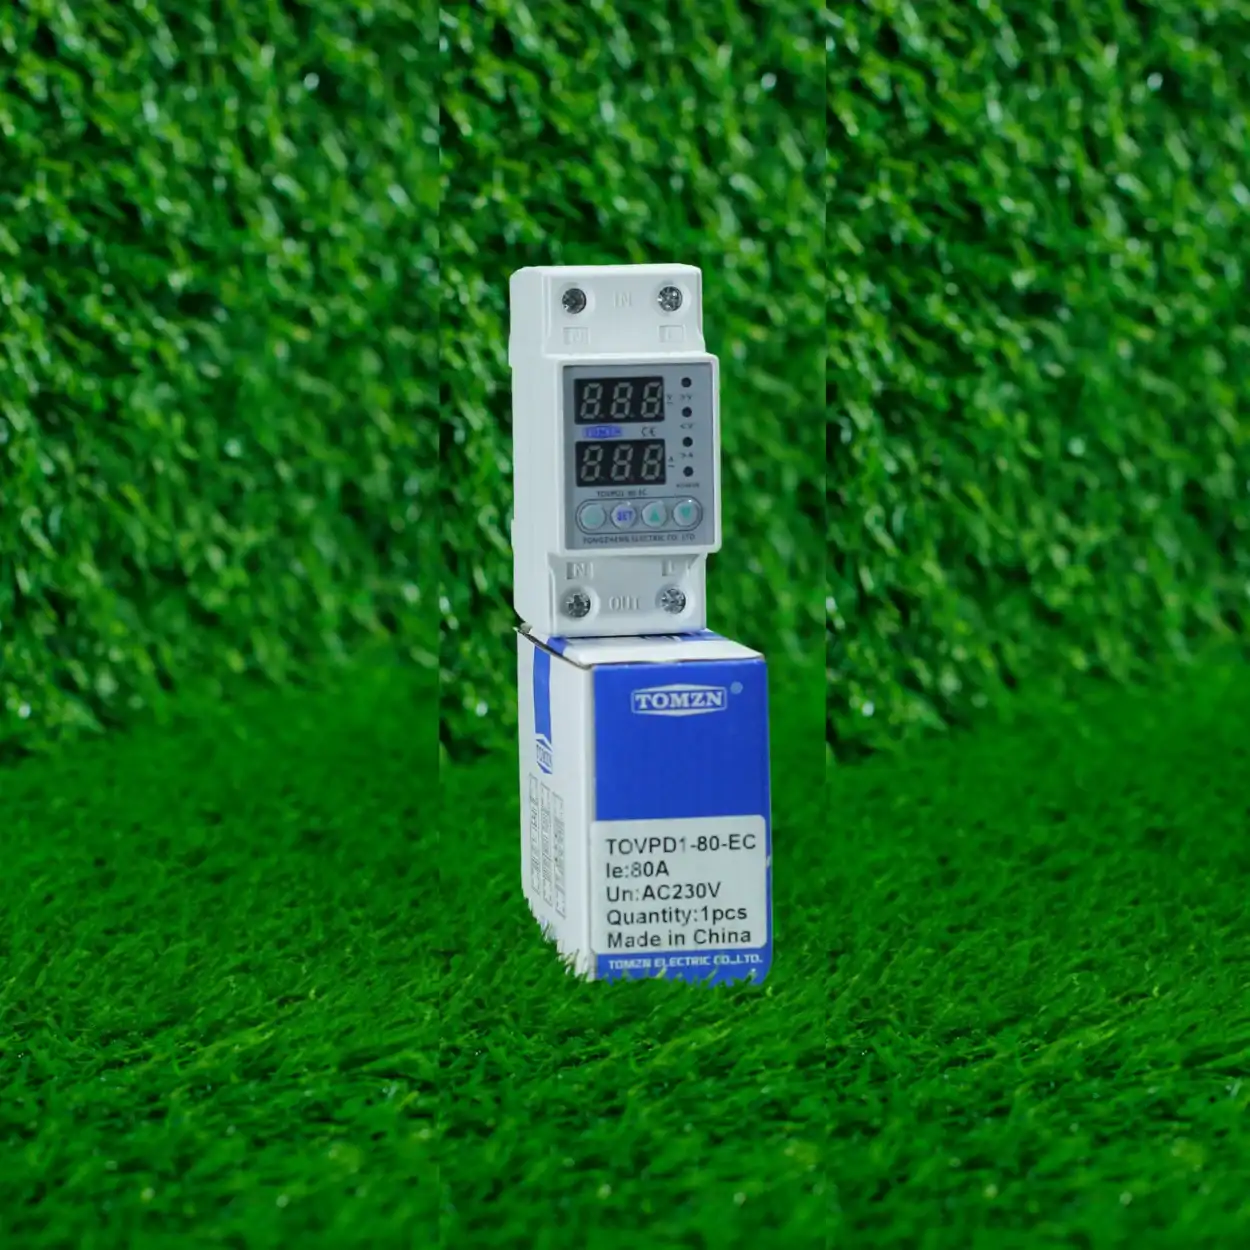
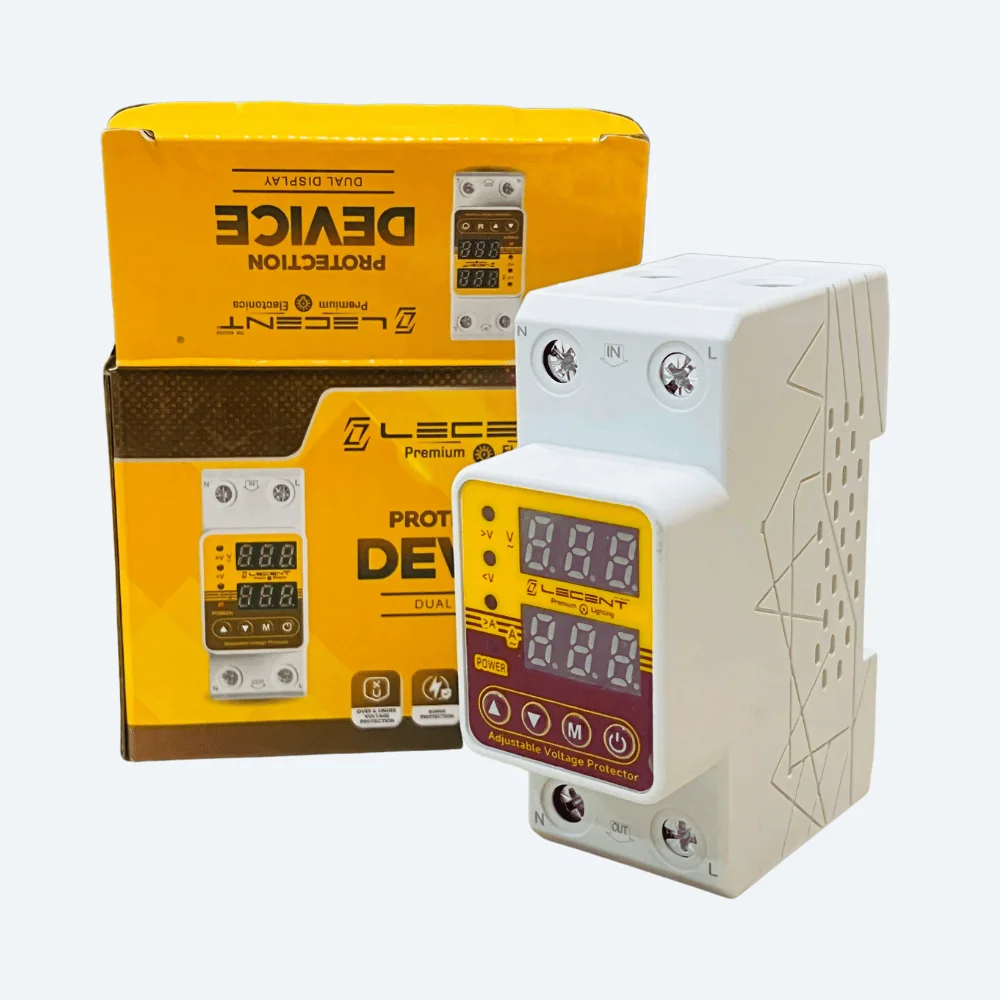
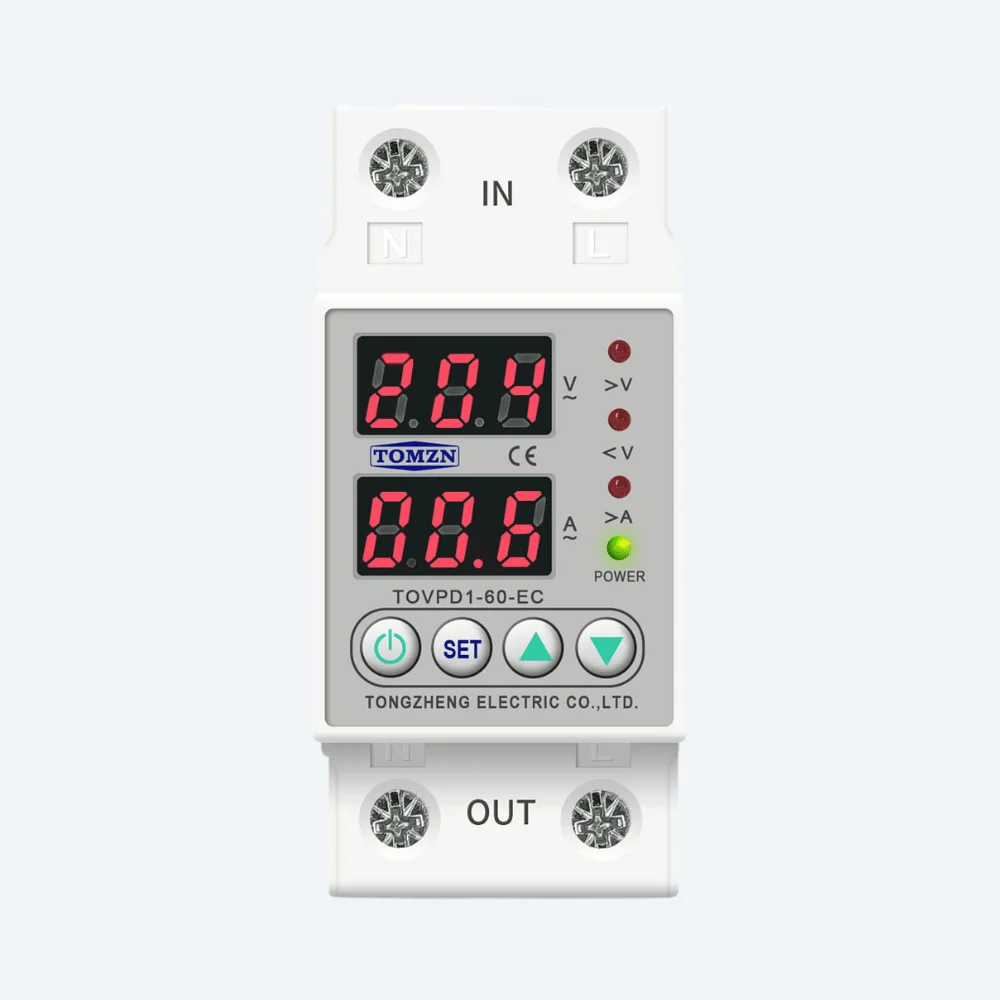
For detailed guidance on protecting your entire solar system, review our comprehensive article on protection devices for solar systems, which covers surge protection, disconnect switches, and monitoring systems.
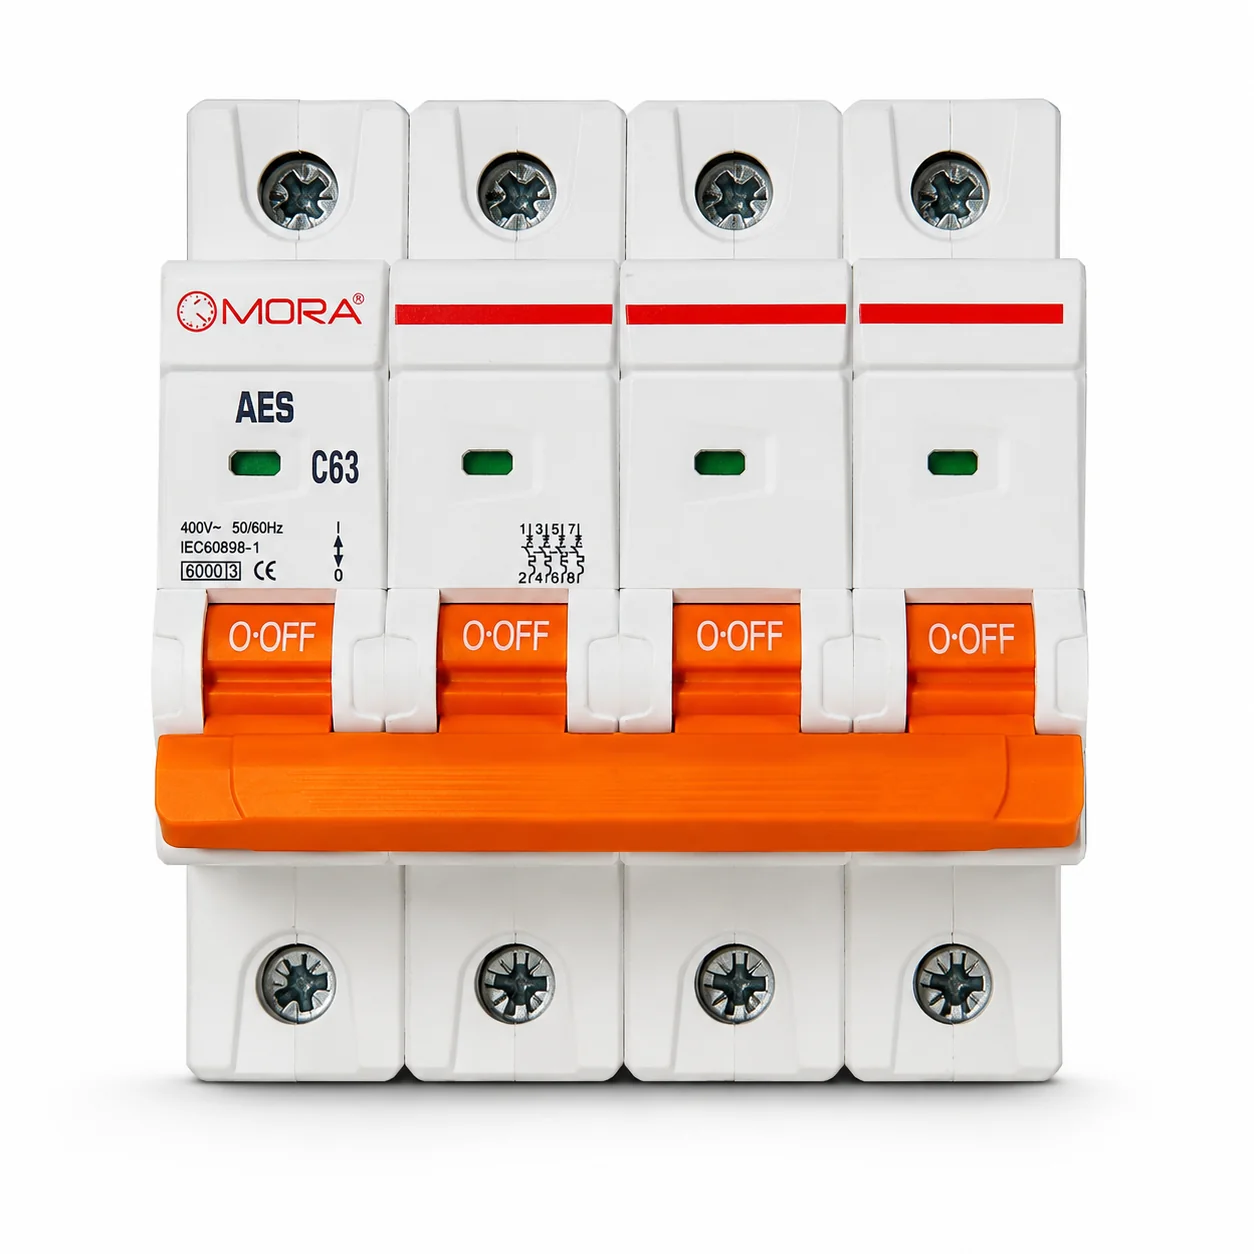
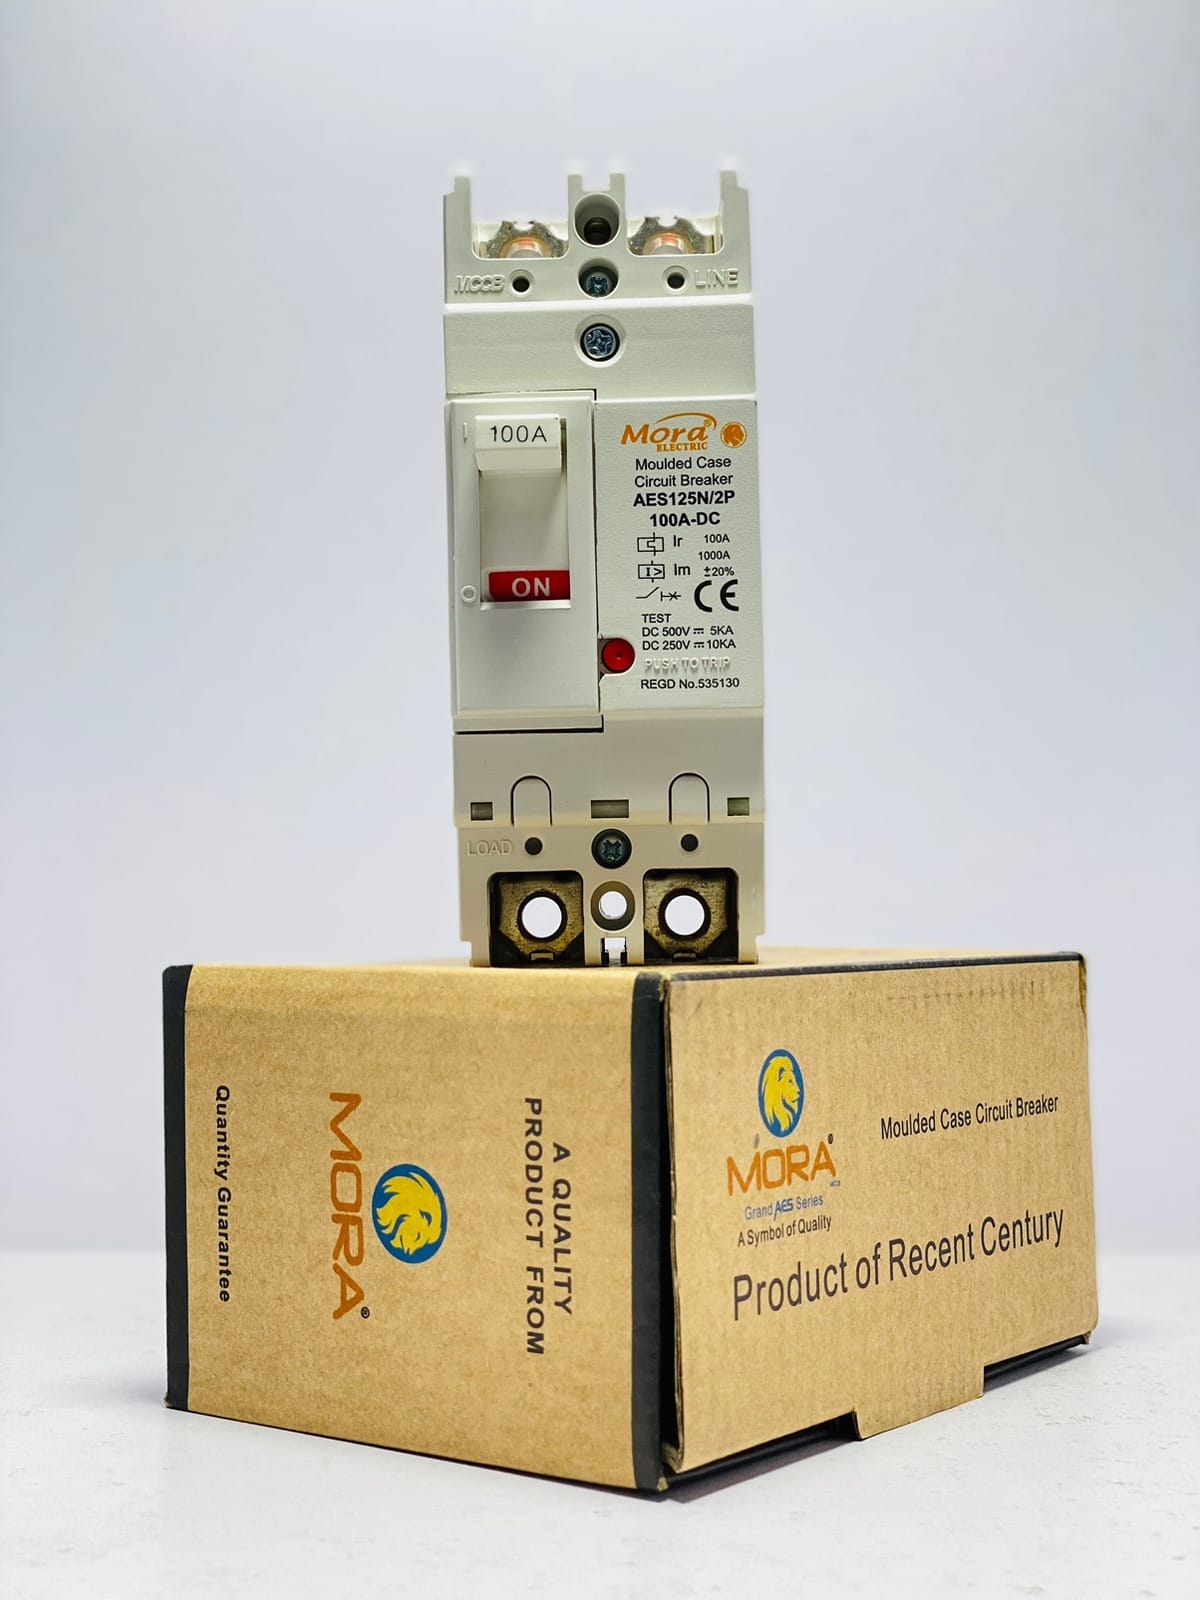
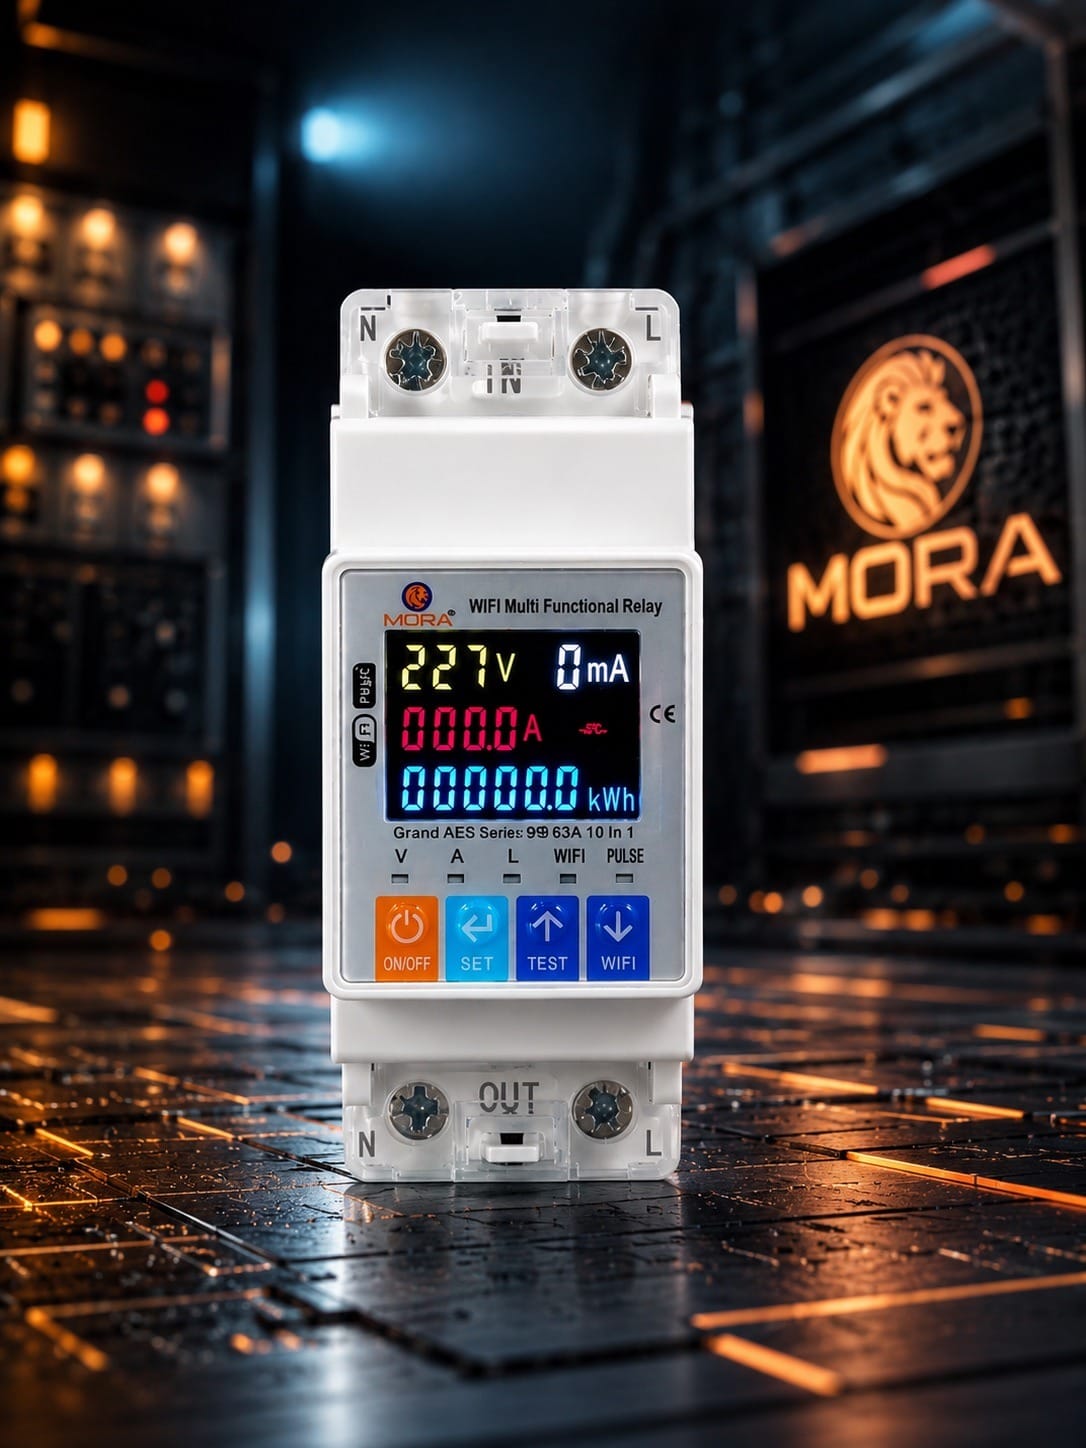
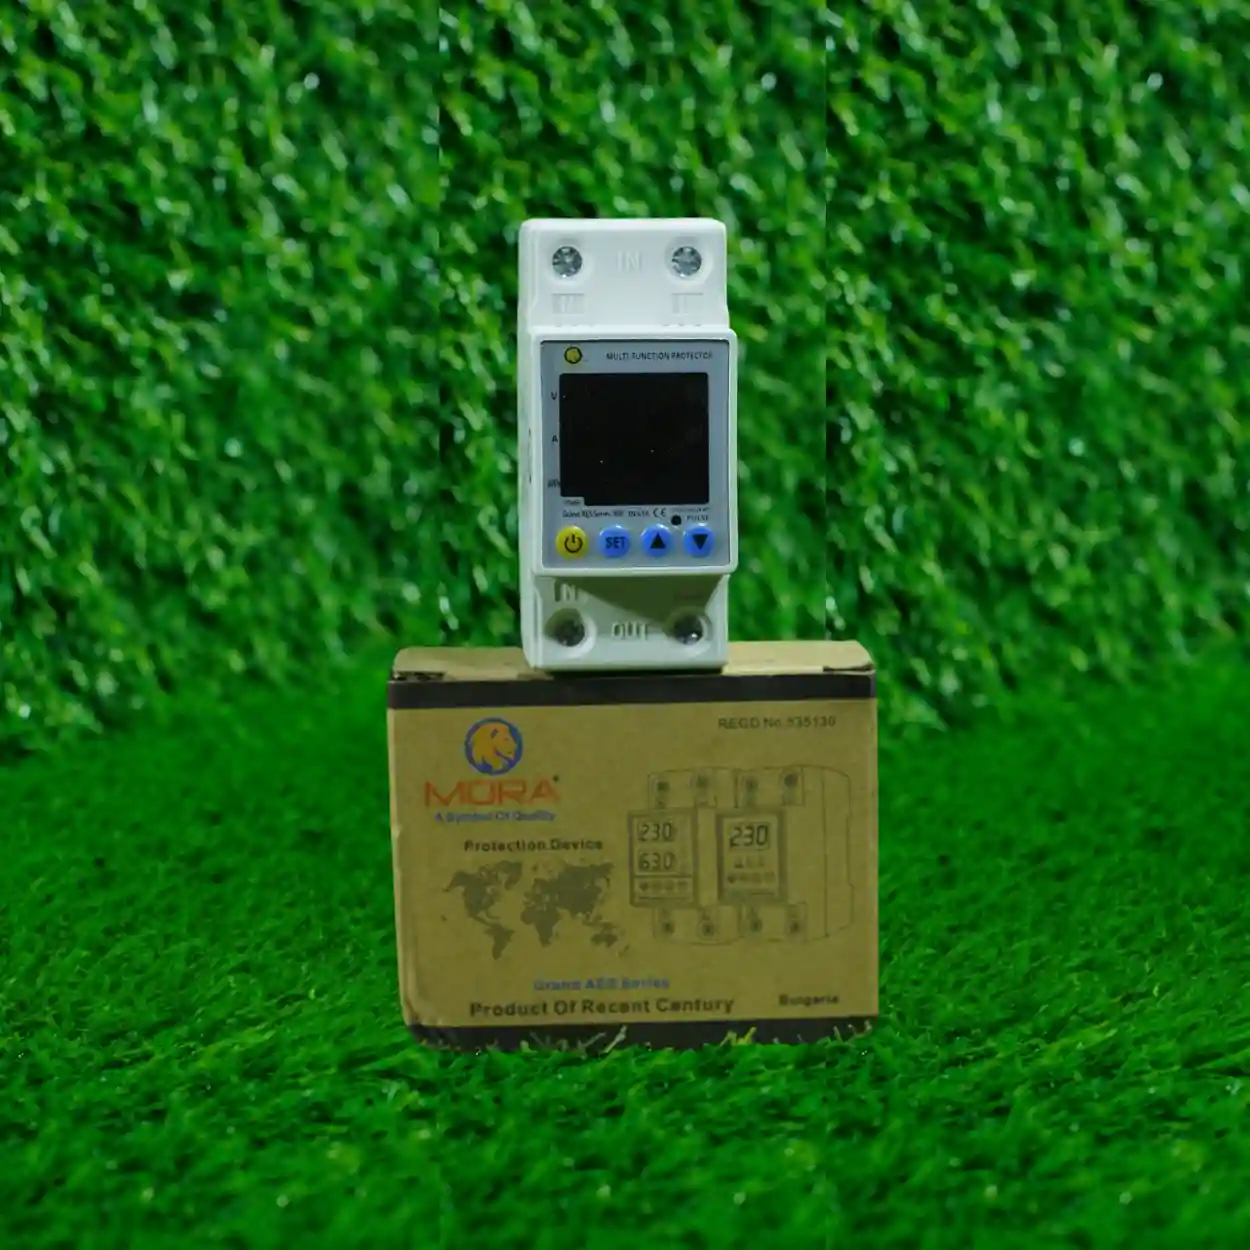
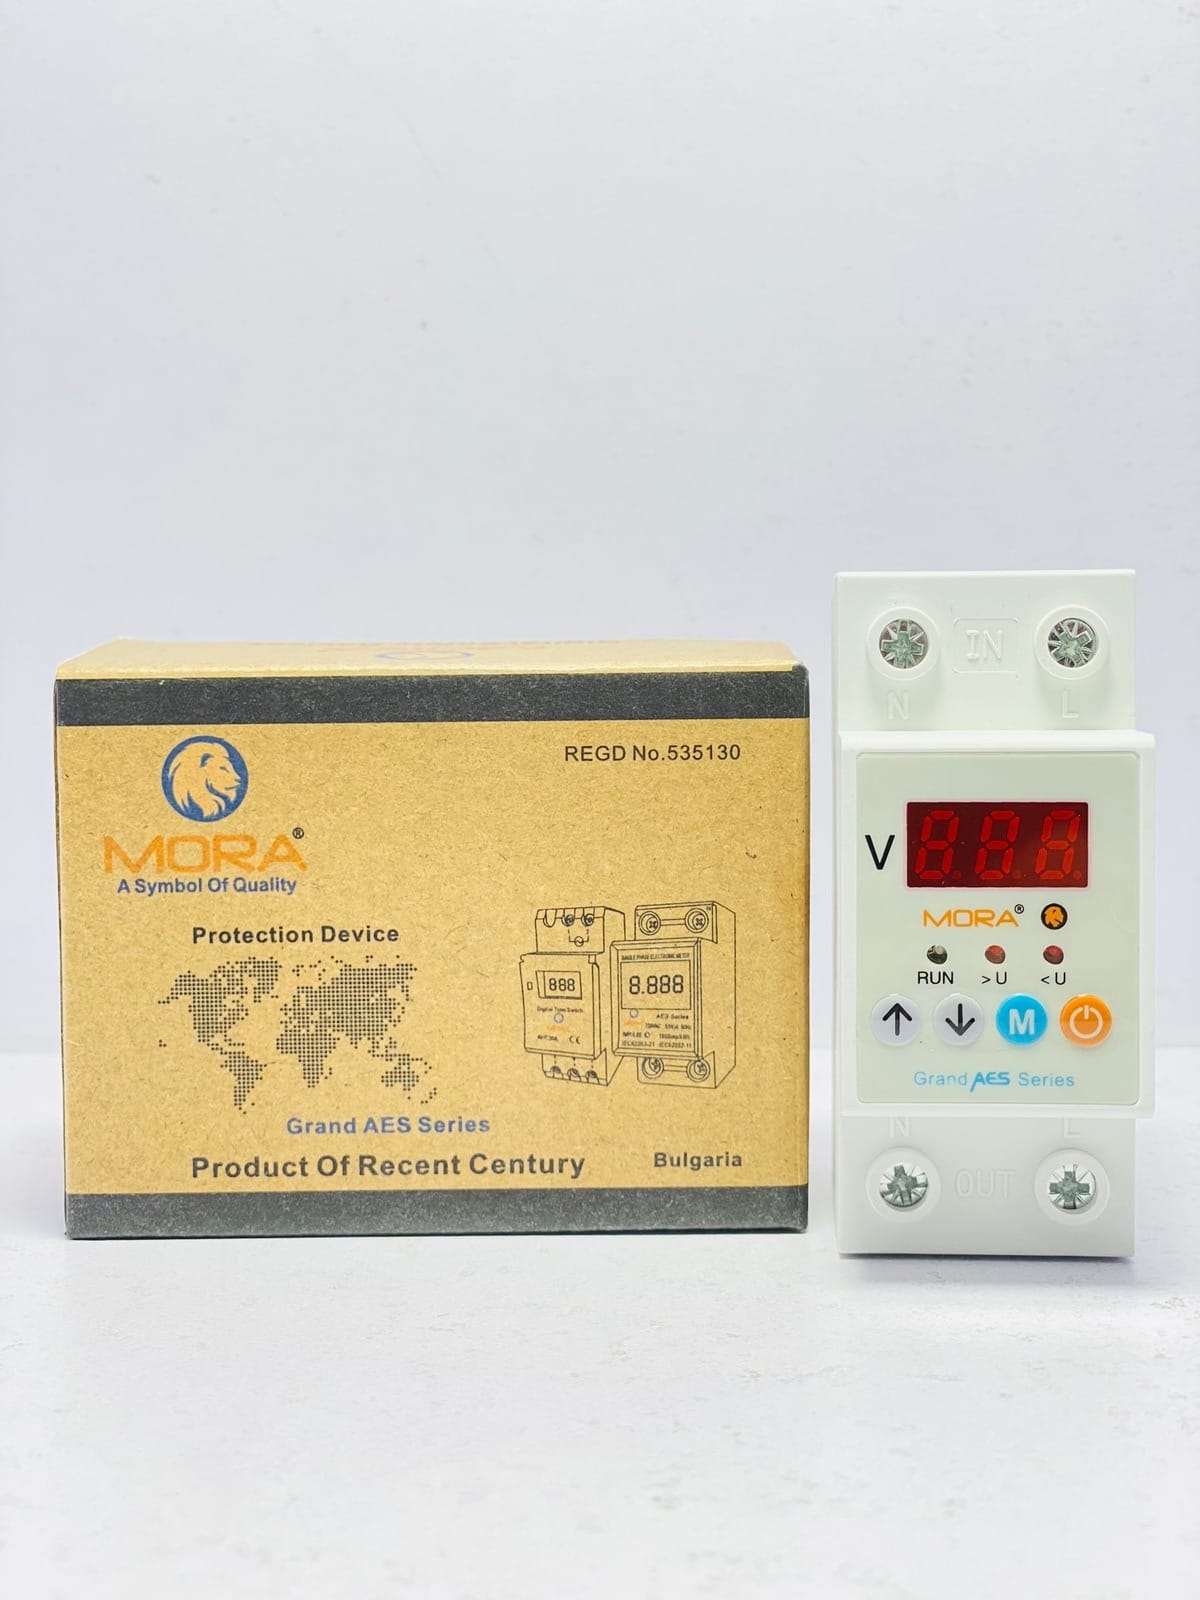
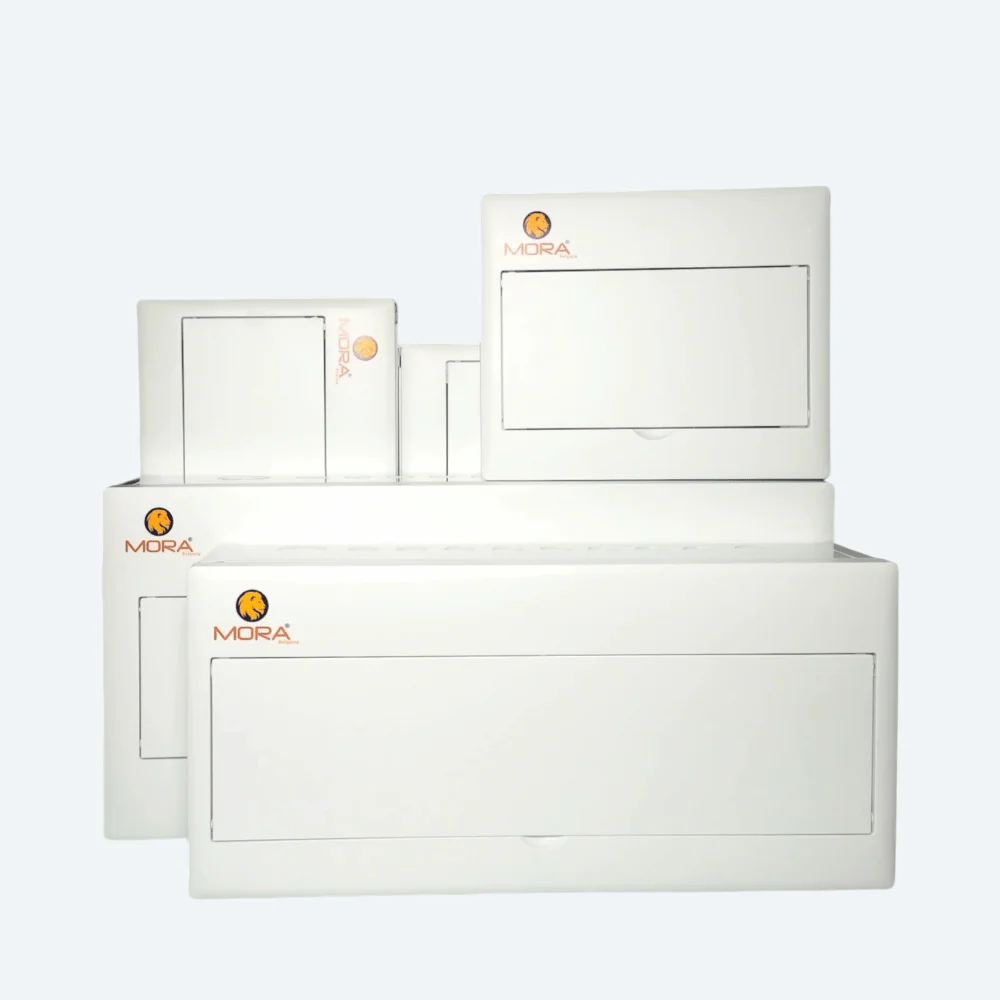
Solution: Install surge protection devices rated for DC solar systems inside the distribution box. Verify device ratings match your array voltage and expected surge currents. Consider using products from established brands like MORA that specialize in solar protection equipment.
Best Practices for Successful Installation
Preparation and Documentation
Before starting installation, invest time in thorough planning. Create detailed system diagrams showing all connections, wire sizes, breaker ratings, and grounding paths. This documentation serves multiple purposes: it guides installation, helps inspectors verify compliance, and provides critical information for future maintenance or troubleshooting.
Quality Materials and Tools
Use only equipment specifically rated for solar applications. Off-the-shelf electrical components designed for standard AC loads may not perform reliably in solar DC circuits. Invest in proper tools for crimping terminals, testing circuits, and measuring resistance.
Professional Review and Inspection
Even experienced installers benefit from a second set of eyes. Have qualified professionals review your plan before installation and conduct final inspection before energizing the system. This catches mistakes early and ensures compliance.
Testing and Commissioning
After installation, perform comprehensive testing: measure voltage and current under load, verify grounding continuity, test breaker function, and confirm proper operation of all protection devices. Document all test results.
Conclusion
Solar distribution box installation requires technical knowledge, careful planning, and strict attention to detail. The mistakes outlined in this guide are entirely preventable through proper training, careful planning, quality materials, and professional oversight. Whether you’re installing a small residential system or a large commercial array, treating the distribution box installation as one of the most critical phases of your project ensures long-term reliability, safety, and optimal performance.
Take the time to get it right. Your solar investment depends on it.