















Solar Battery Disconnect Box: Purpose & Installation

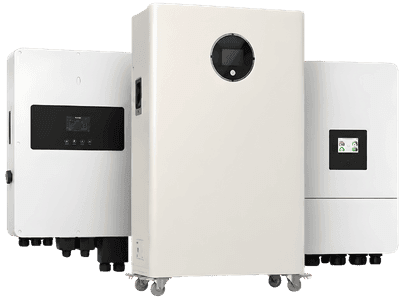
What Is a Solar Battery Disconnect Box?
A solar battery disconnect box is a critical safety component in any solar energy system that incorporates battery storage. It serves as an isolation point between your solar batteries and the rest of your electrical system, allowing you to safely disconnect power for maintenance, emergencies, or system shutdown.
Also known as a battery disconnect switch or battery isolation box, this device contains a manual switch mechanism that can instantly cut off electrical current flowing from the batteries to your inverter, charge controller, and other connected equipment. It’s not optional—it’s a mandatory safety requirement in most jurisdictions and solar installation standards.
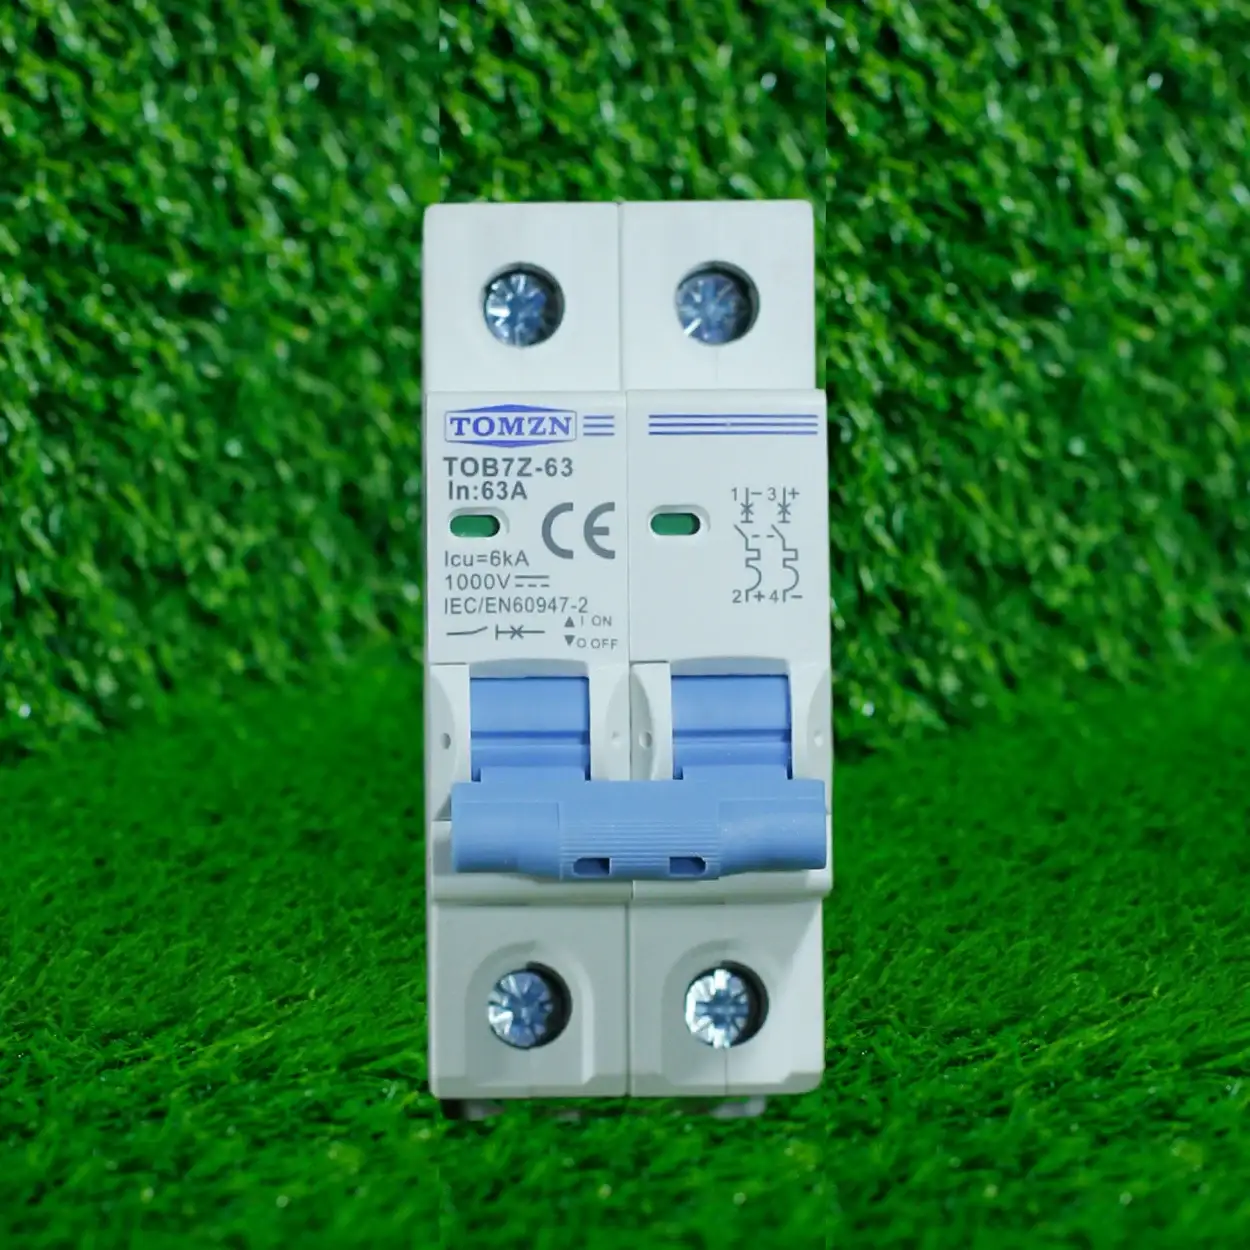
The disconnect box typically houses a heavy-duty switch rated for the DC (direct current) voltage and amperage your battery bank produces. In residential solar systems, you’ll commonly find these boxes rated between 48V and 600V DC, depending on your system configuration.
Purpose and Safety Benefits of Battery Disconnect Boxes
Understanding why battery disconnect boxes exist helps clarify their importance in your solar setup. Let’s explore the key purposes and safety benefits:
Emergency Power Shutoff
The primary purpose of a battery disconnect box is to provide a quick, reliable way to stop power flow from your batteries. During electrical emergencies, fires, or system faults, this ability to instantly disconnect becomes life-saving. Firefighters and emergency responders need to safely de-energize systems to prevent electrical hazards.
Protection During Maintenance
When technicians need to work on your solar system—whether replacing batteries, servicing the inverter, or upgrading components—the disconnect box ensures the work area is completely de-energized. This eliminates shock hazards and protects expensive equipment from surge damage during maintenance operations.
System Monitoring and Troubleshooting
Isolating your battery bank allows electricians to test individual system components. They can measure voltage and current at different points without risking damage to interconnected equipment or exposing themselves to dangerous electrical conditions.
Prevention of Backfeeding
In grid-connected systems, a properly installed disconnect box prevents backfeeding—where current flows backward into the grid or between system components during faults. This protects utility workers and prevents damage to your equipment.
Overcurrent Protection Integration
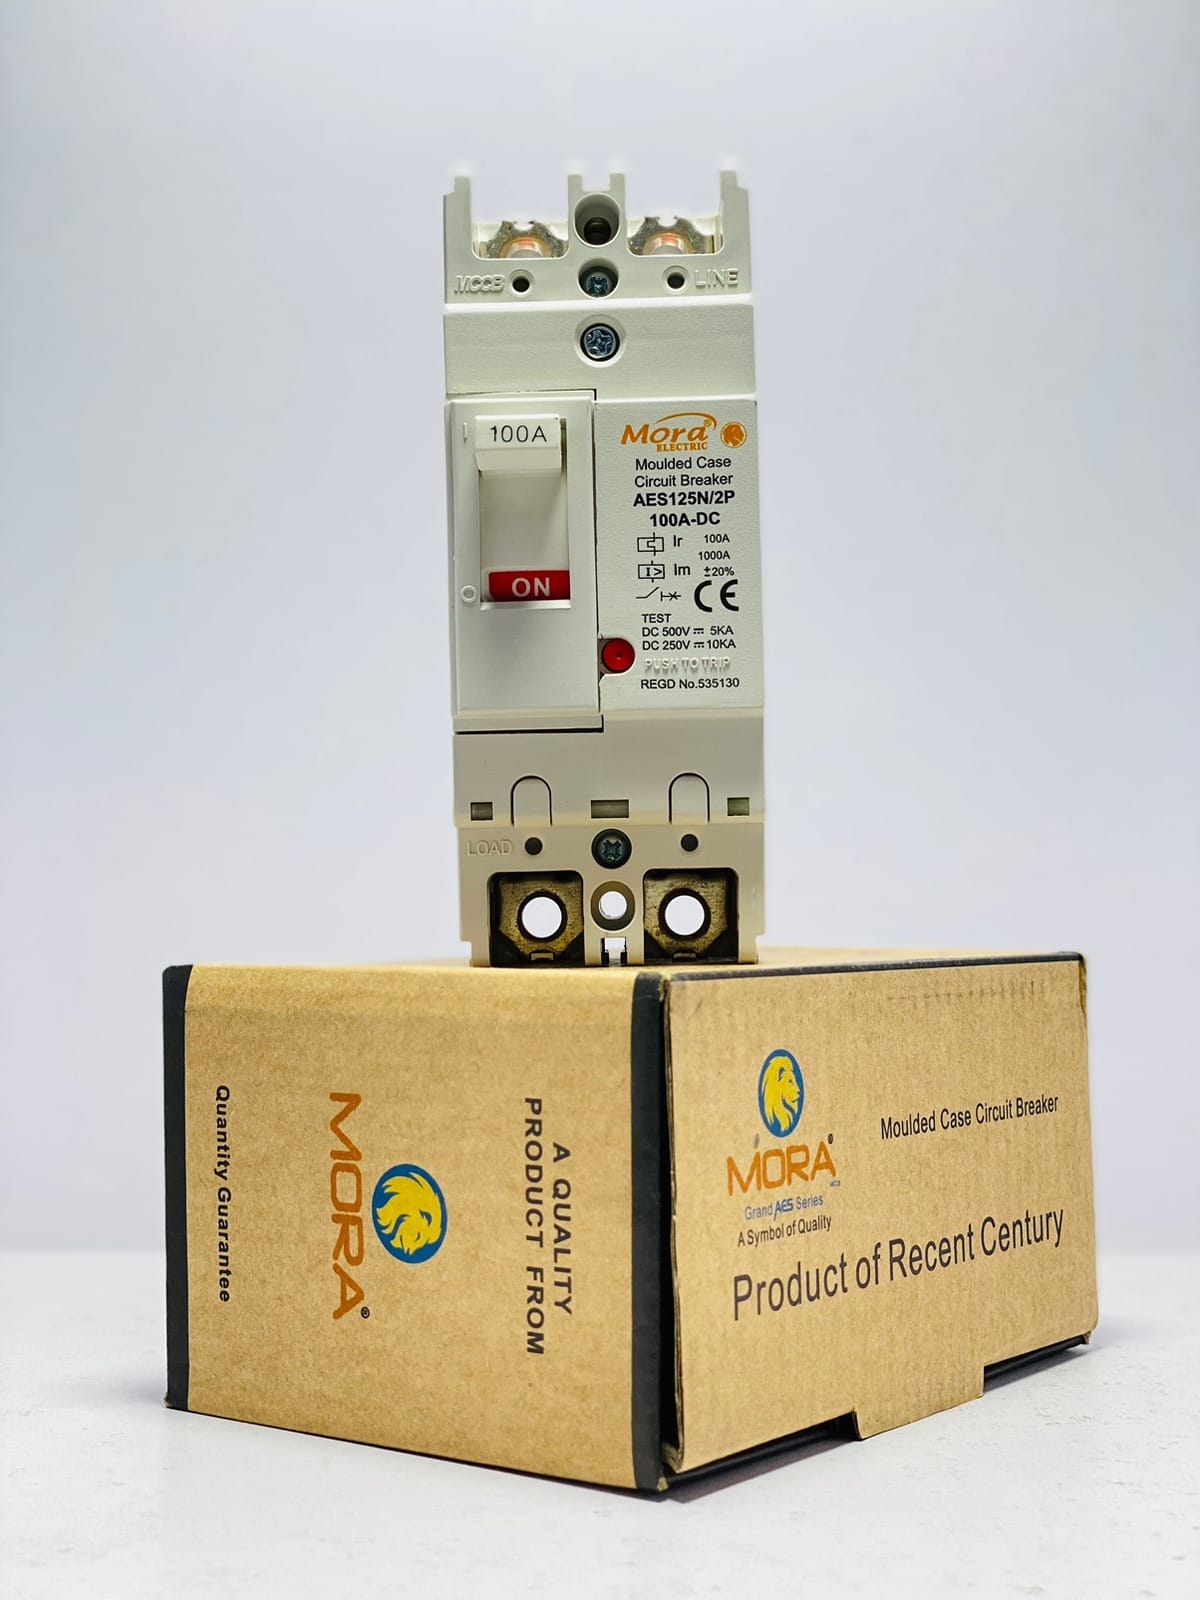
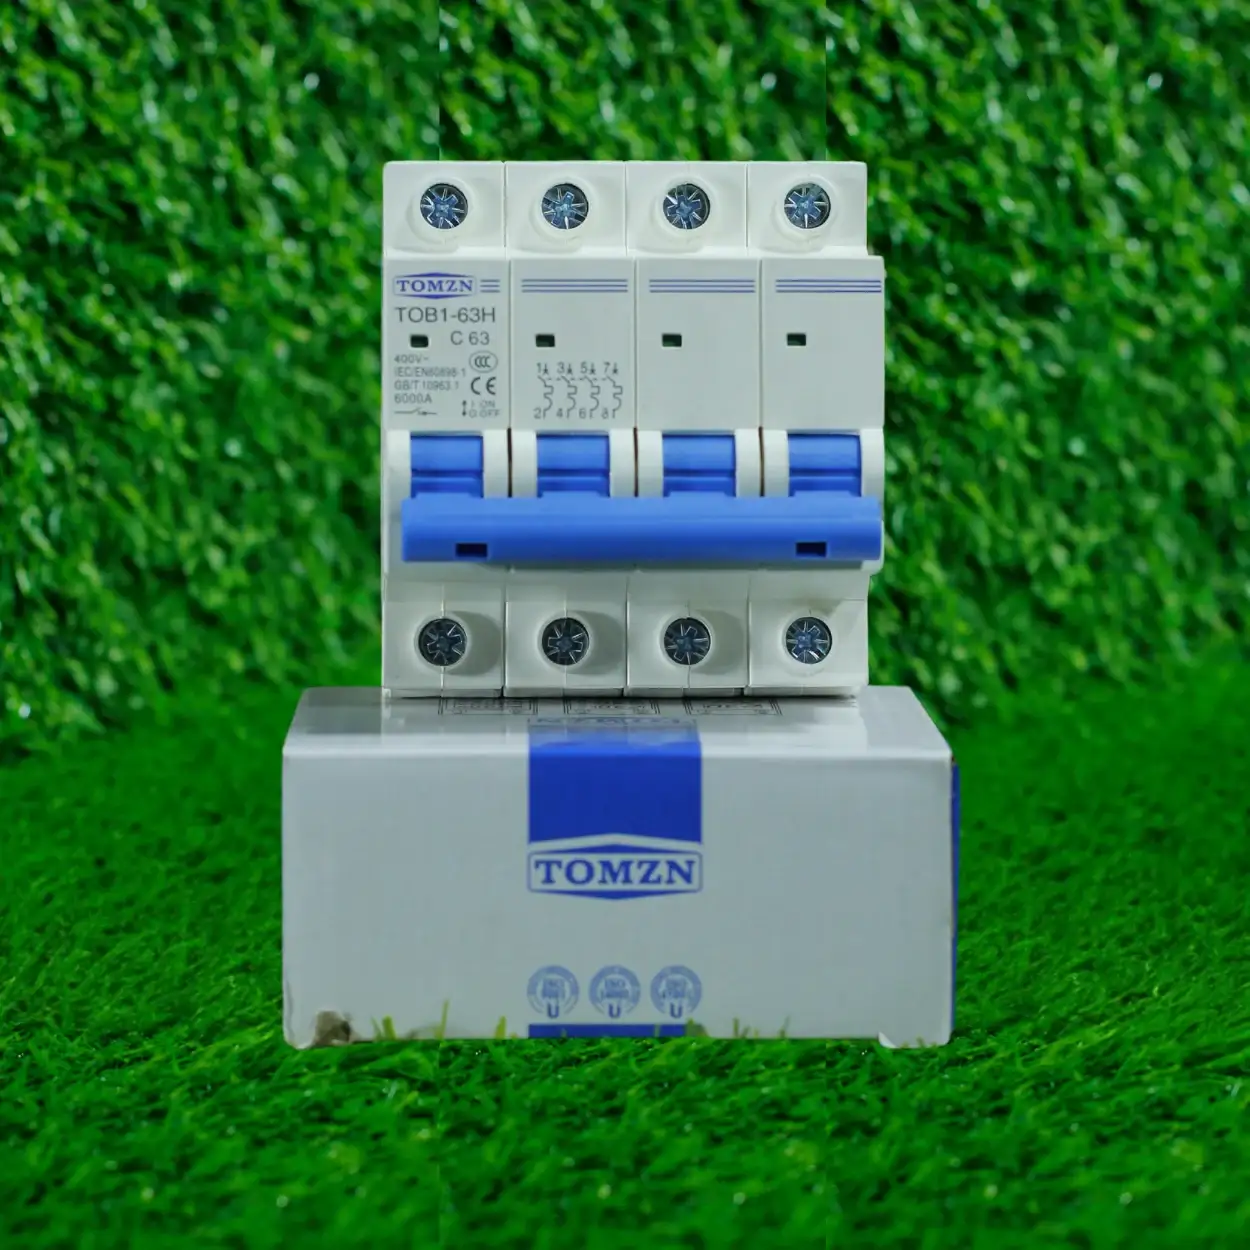
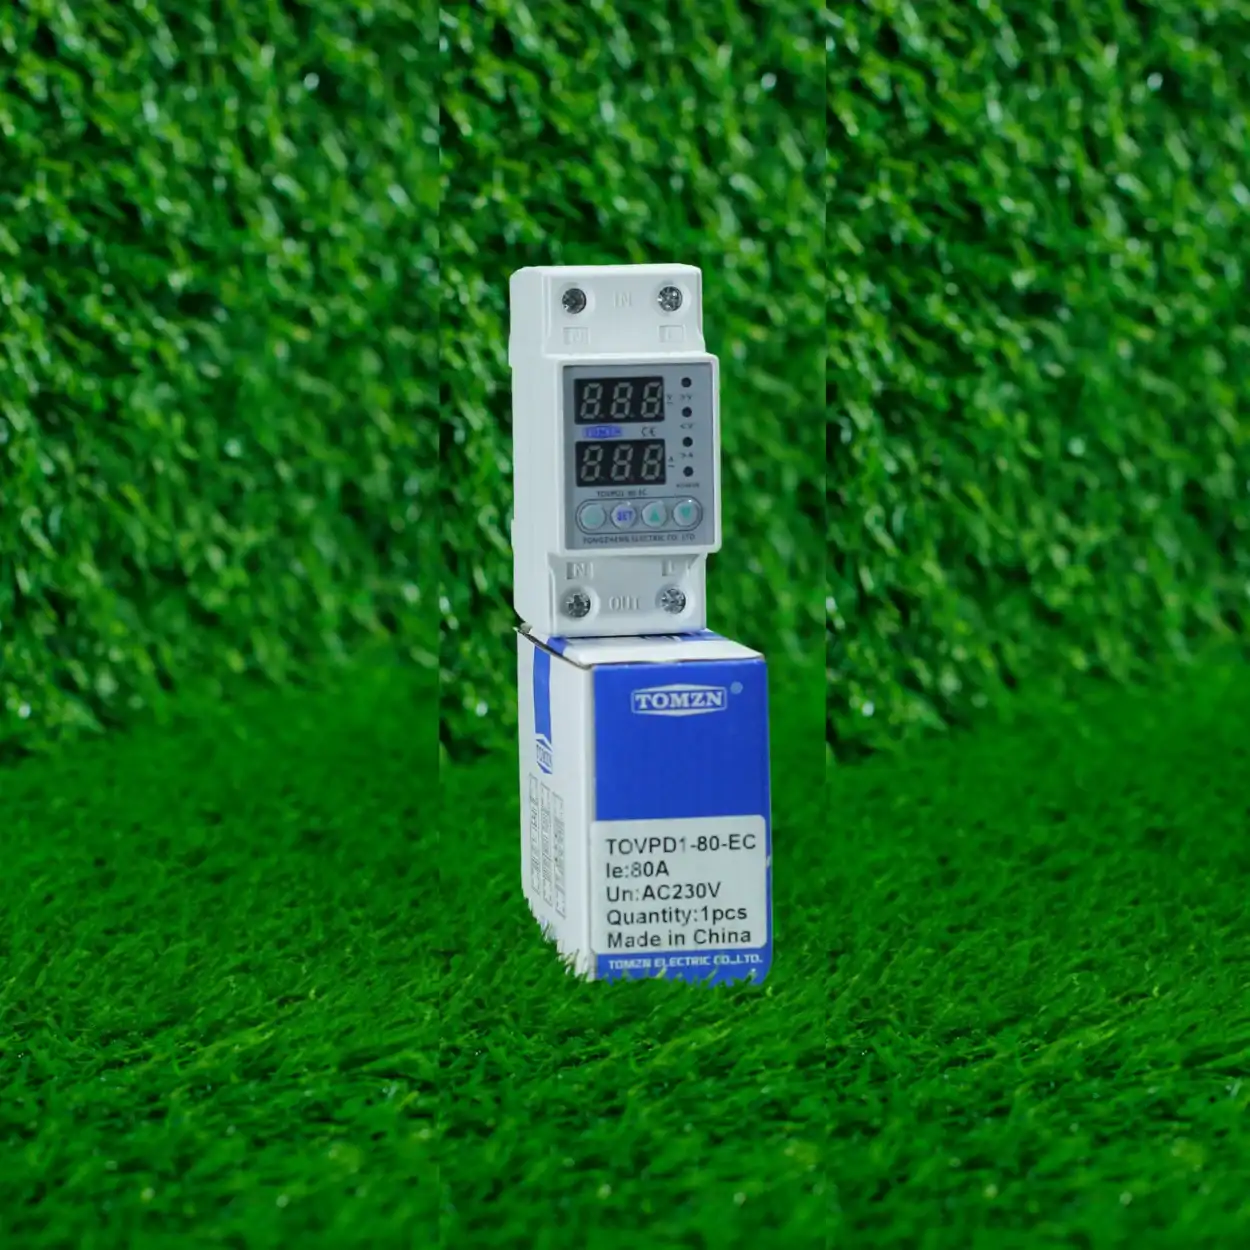
Many modern battery disconnect boxes incorporate fuses or breakers rated for the DC circuit. This provides overcurrent protection, automatically disconnecting the battery if current exceeds safe levels due to short circuits or component failures.
Beyond these safety features, disconnect boxes also help extend battery life by allowing controlled system shutdown during extended periods of non-use, protecting your investment in expensive battery storage.
Types of Solar Battery Disconnect Switches
Manual Disconnect Switches
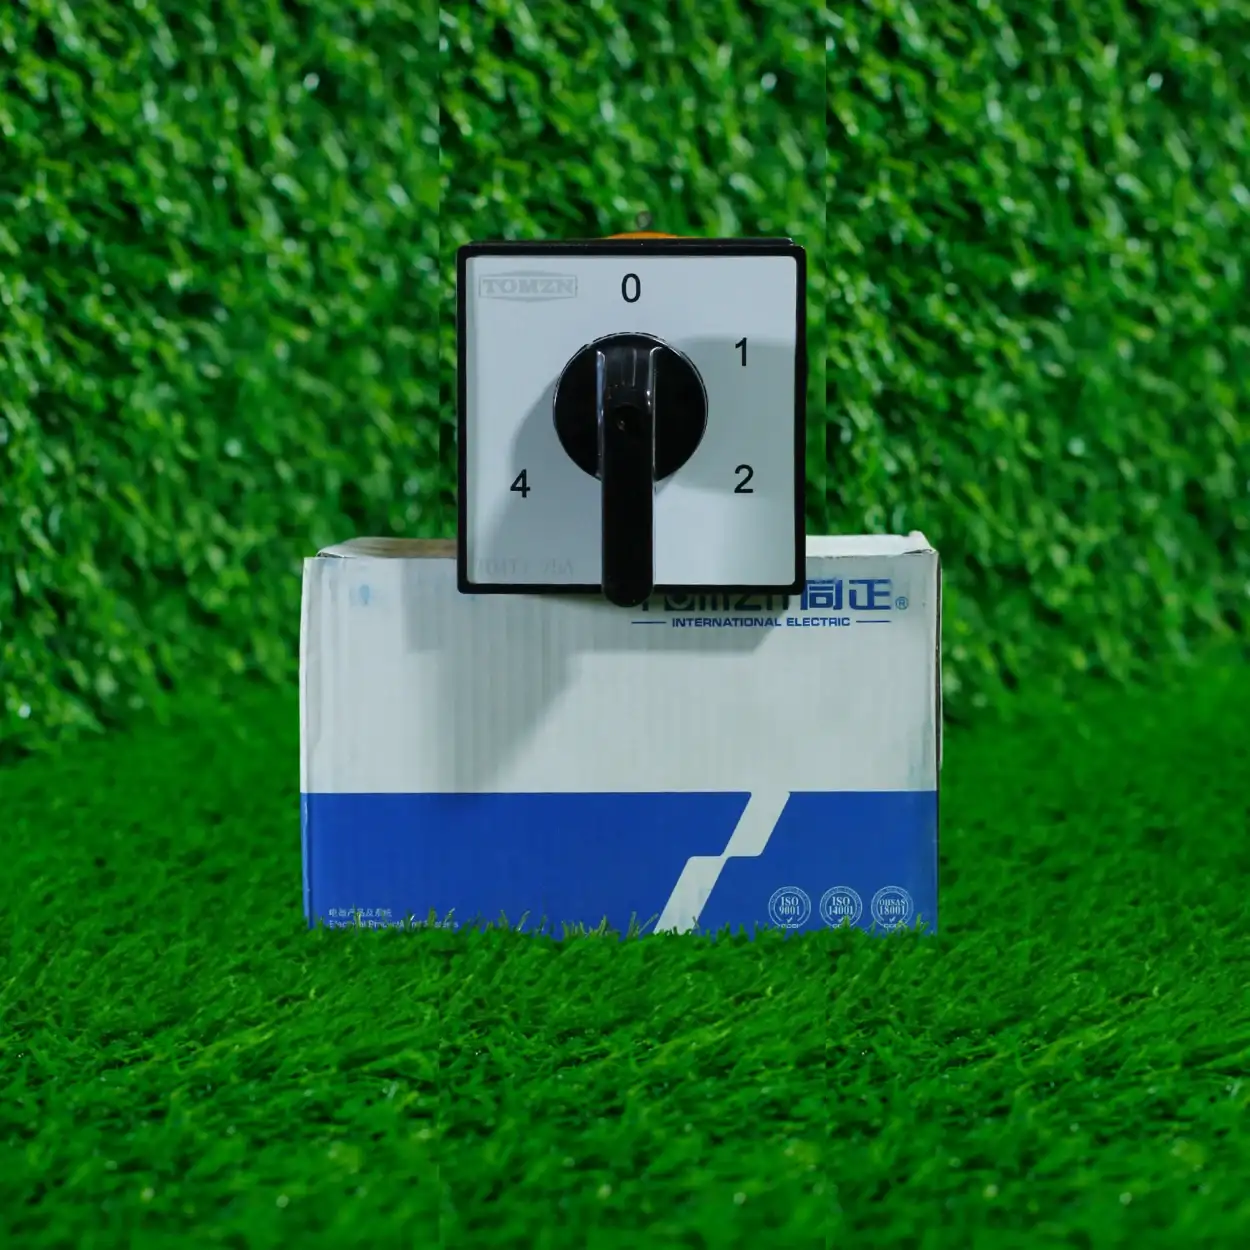
The most common type, manual switches require physical operation to open or close the circuit. They’re reliable, require no power to operate, and are immediately visible—you can see at a glance whether the system is disconnected. Most manual switches are lever-operated for quick engagement.
Remote/Automatic Disconnect Switches
Some advanced systems use solenoid-operated switches that can be controlled remotely or automatically shut down based on system parameters. These are more expensive but offer convenience in larger or more sophisticated installations.
Integrated Battery Disconnect Boxes
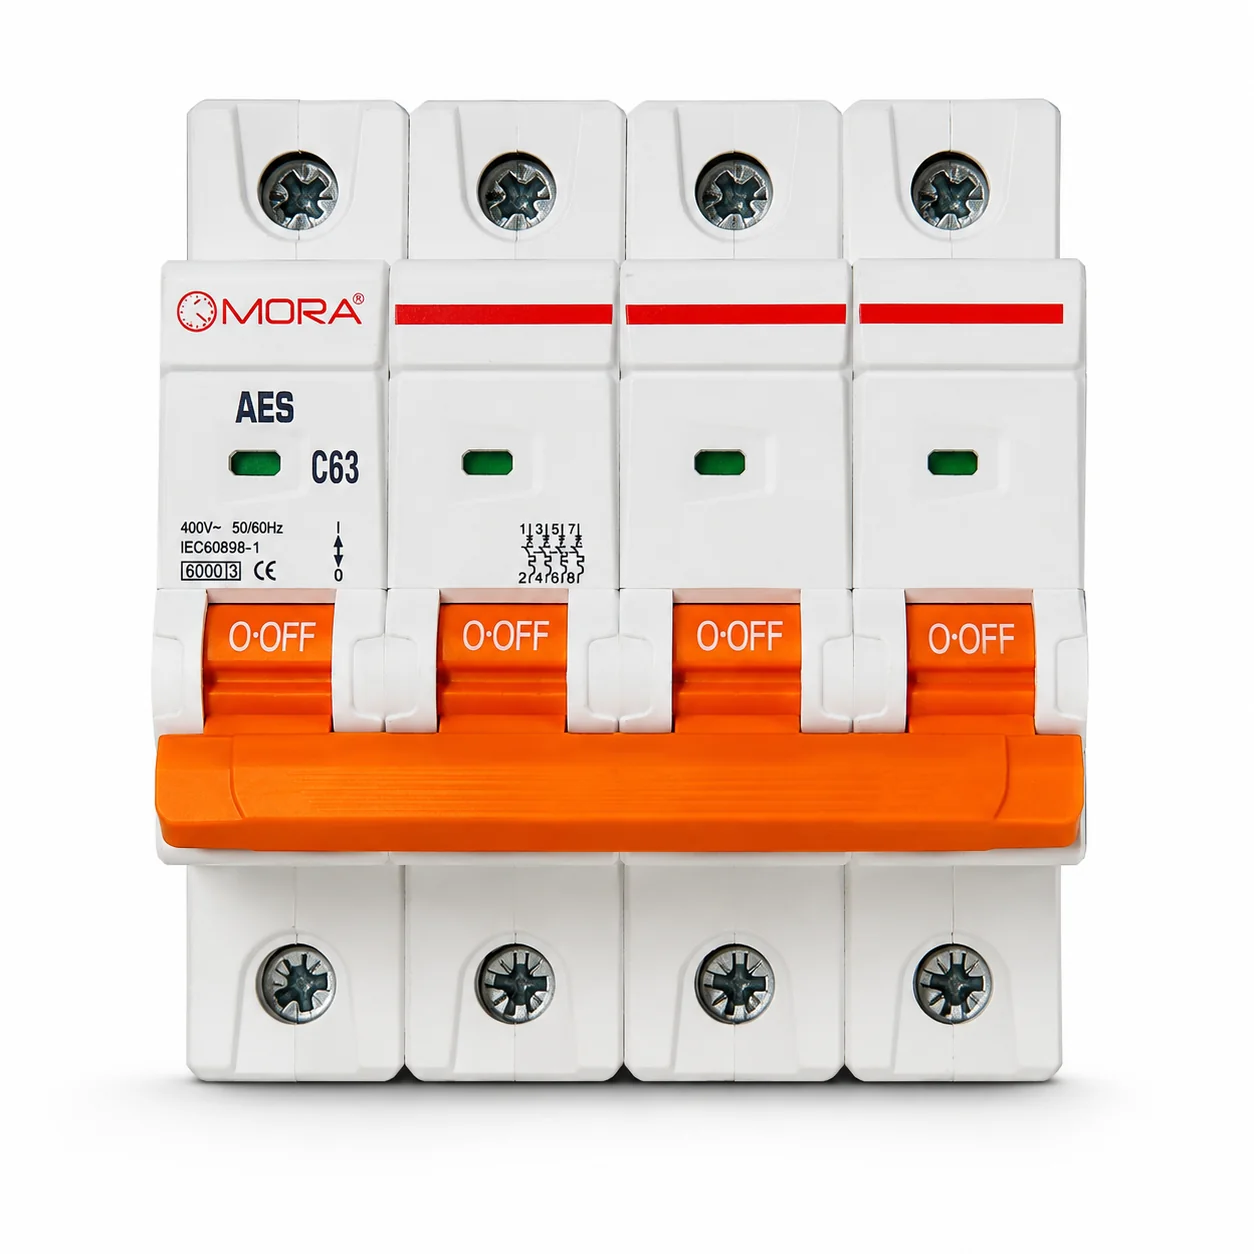
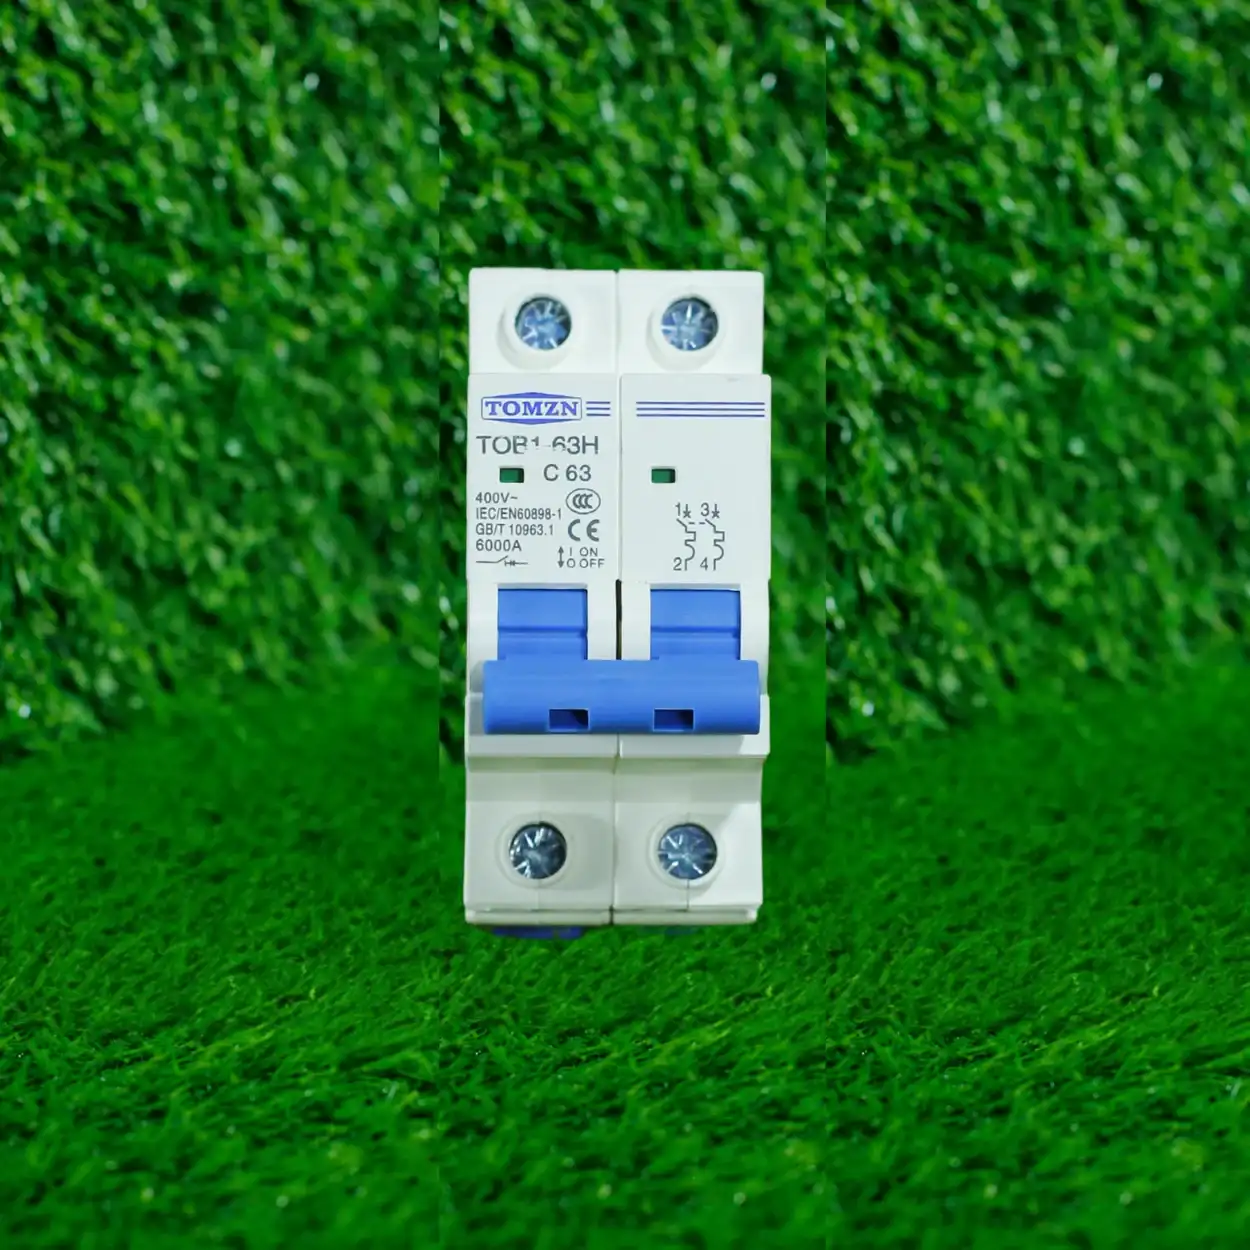
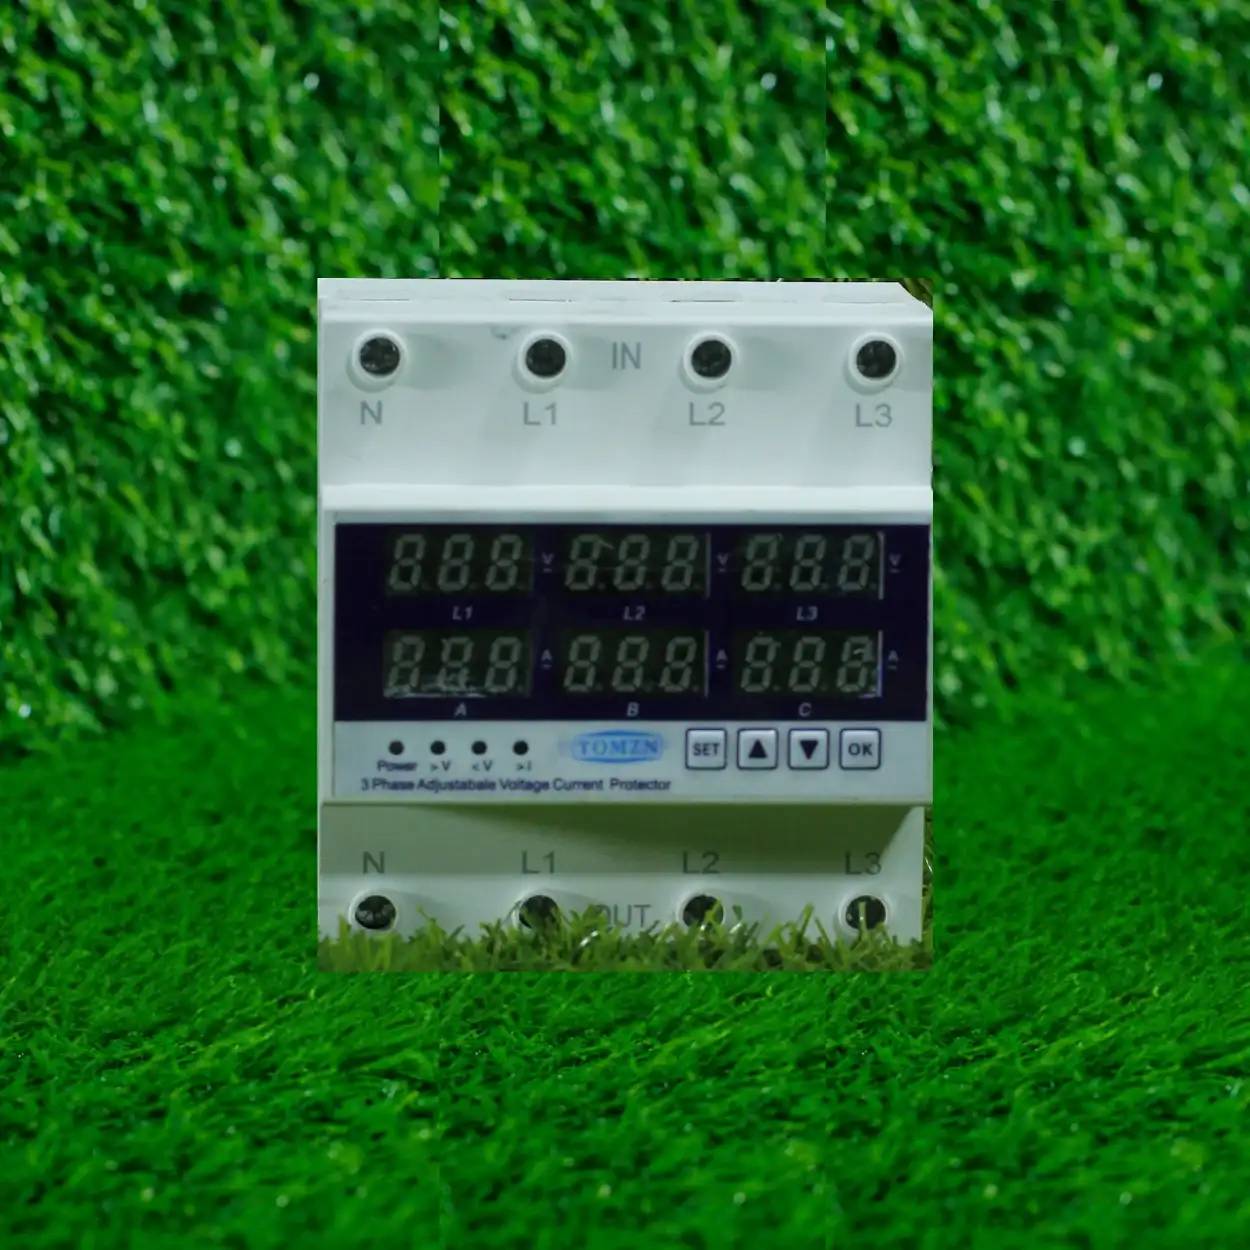
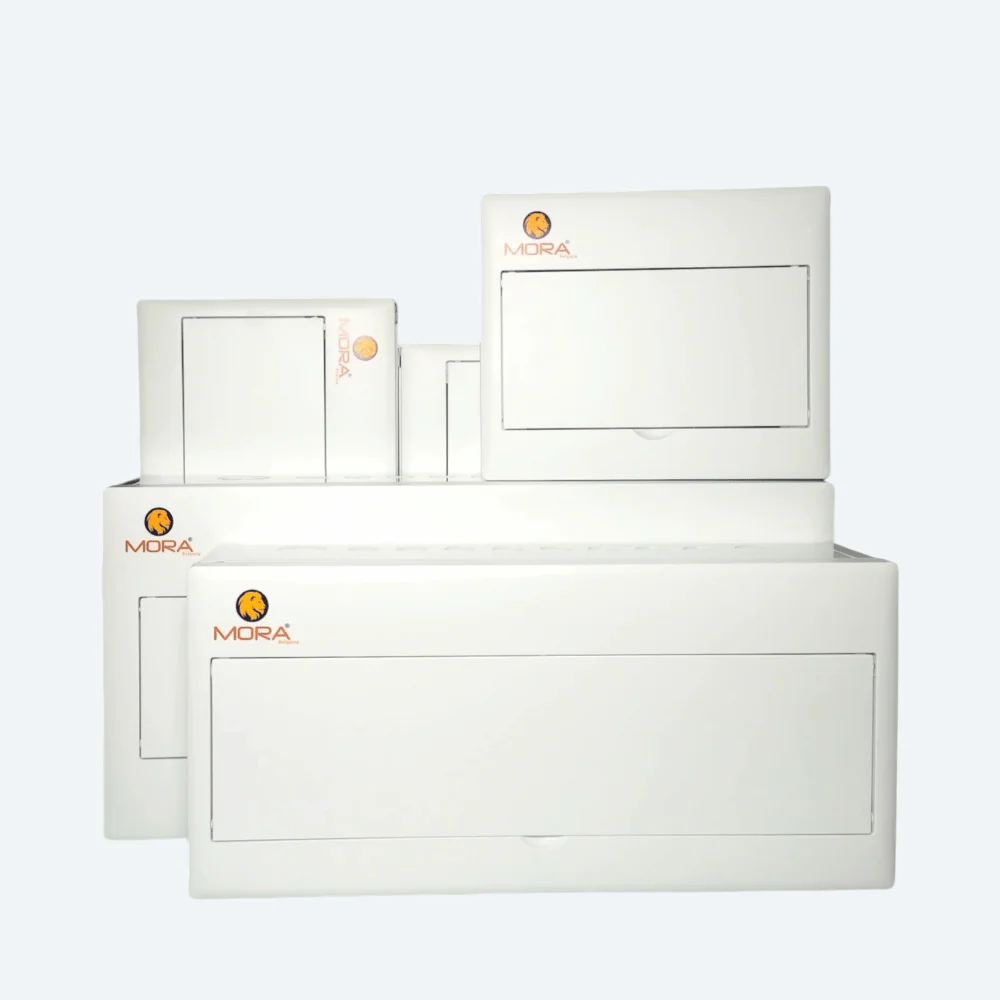
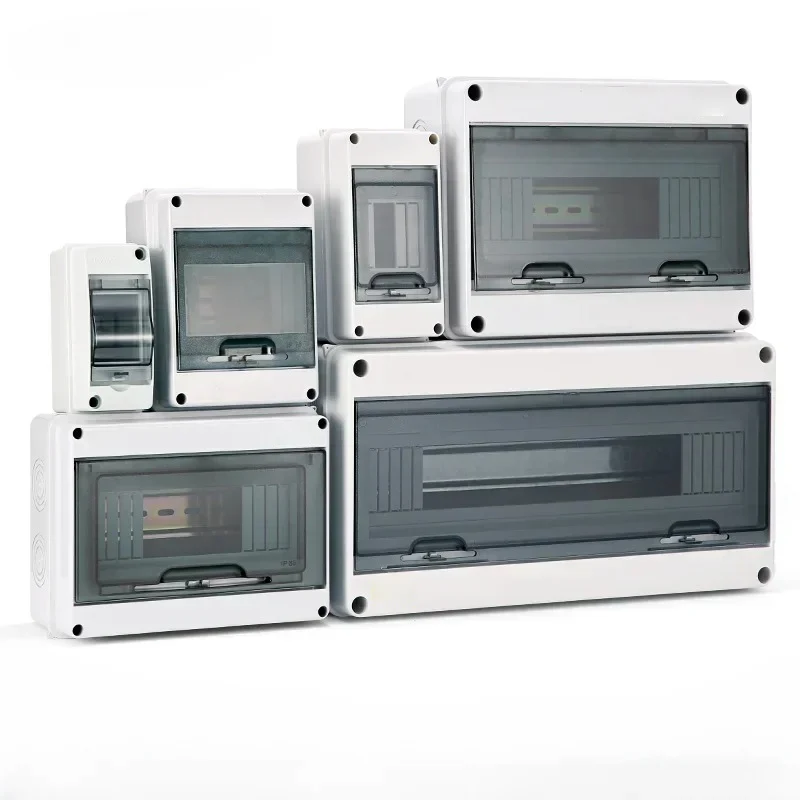
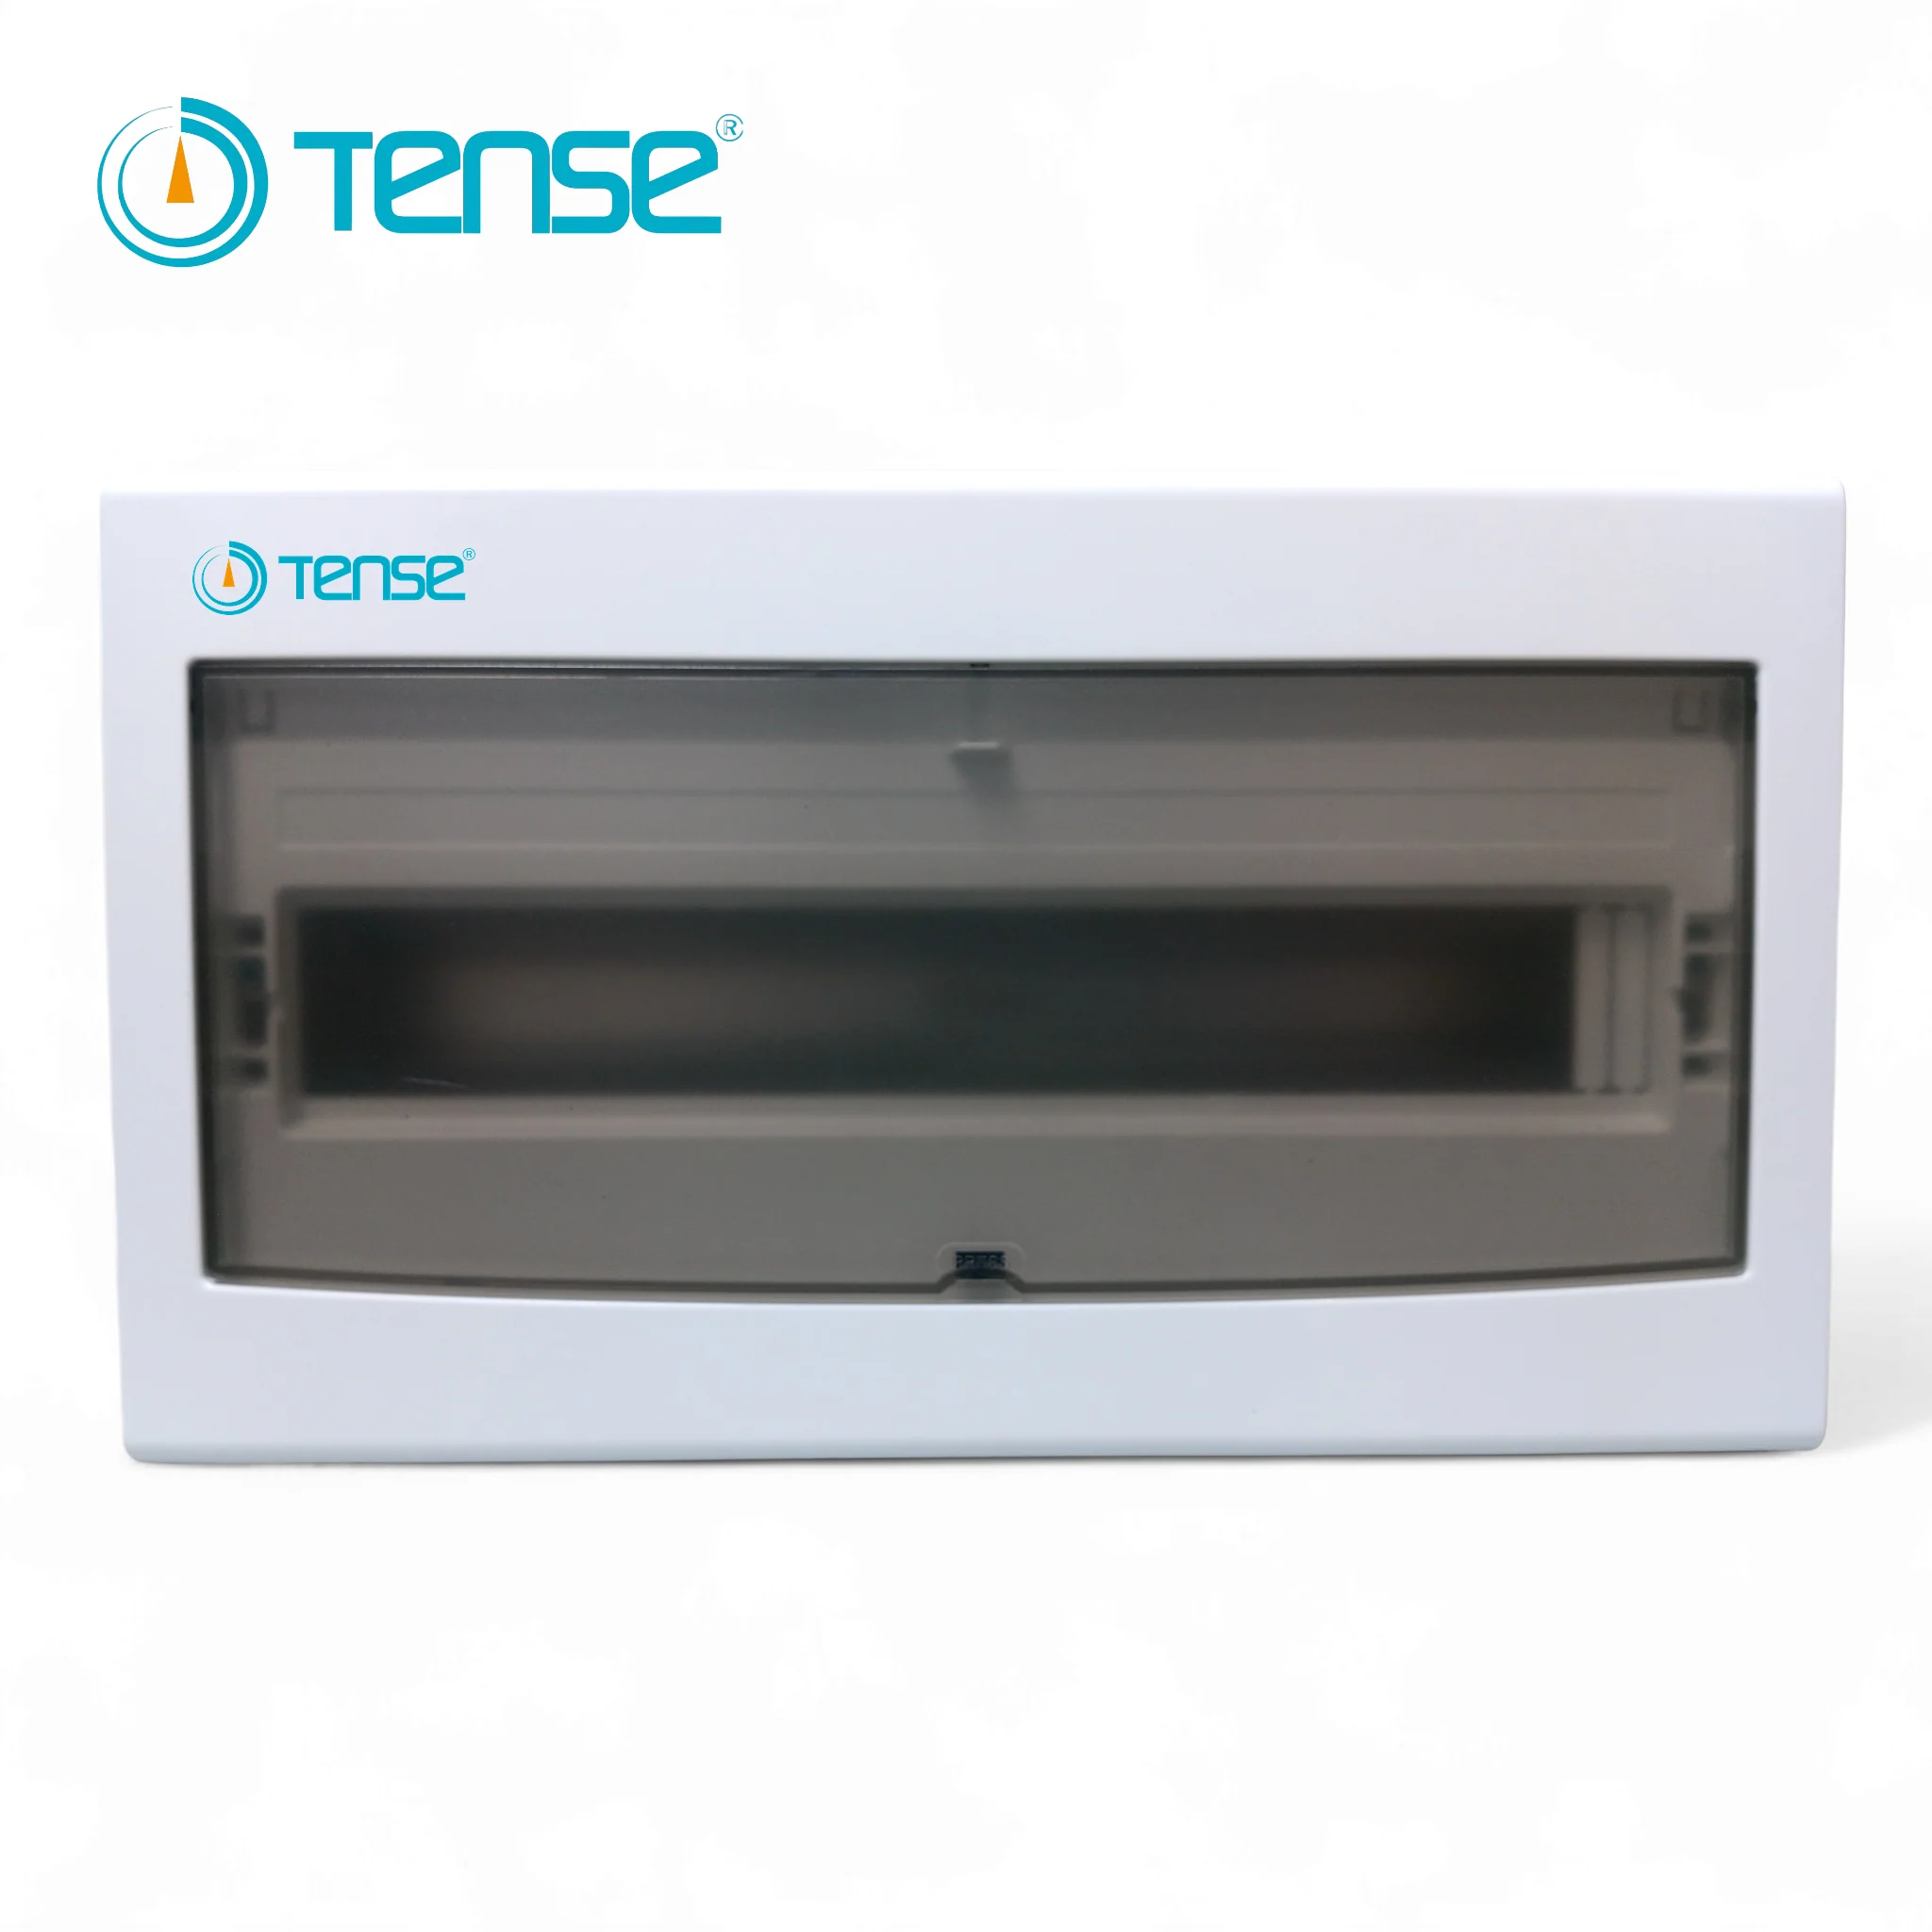
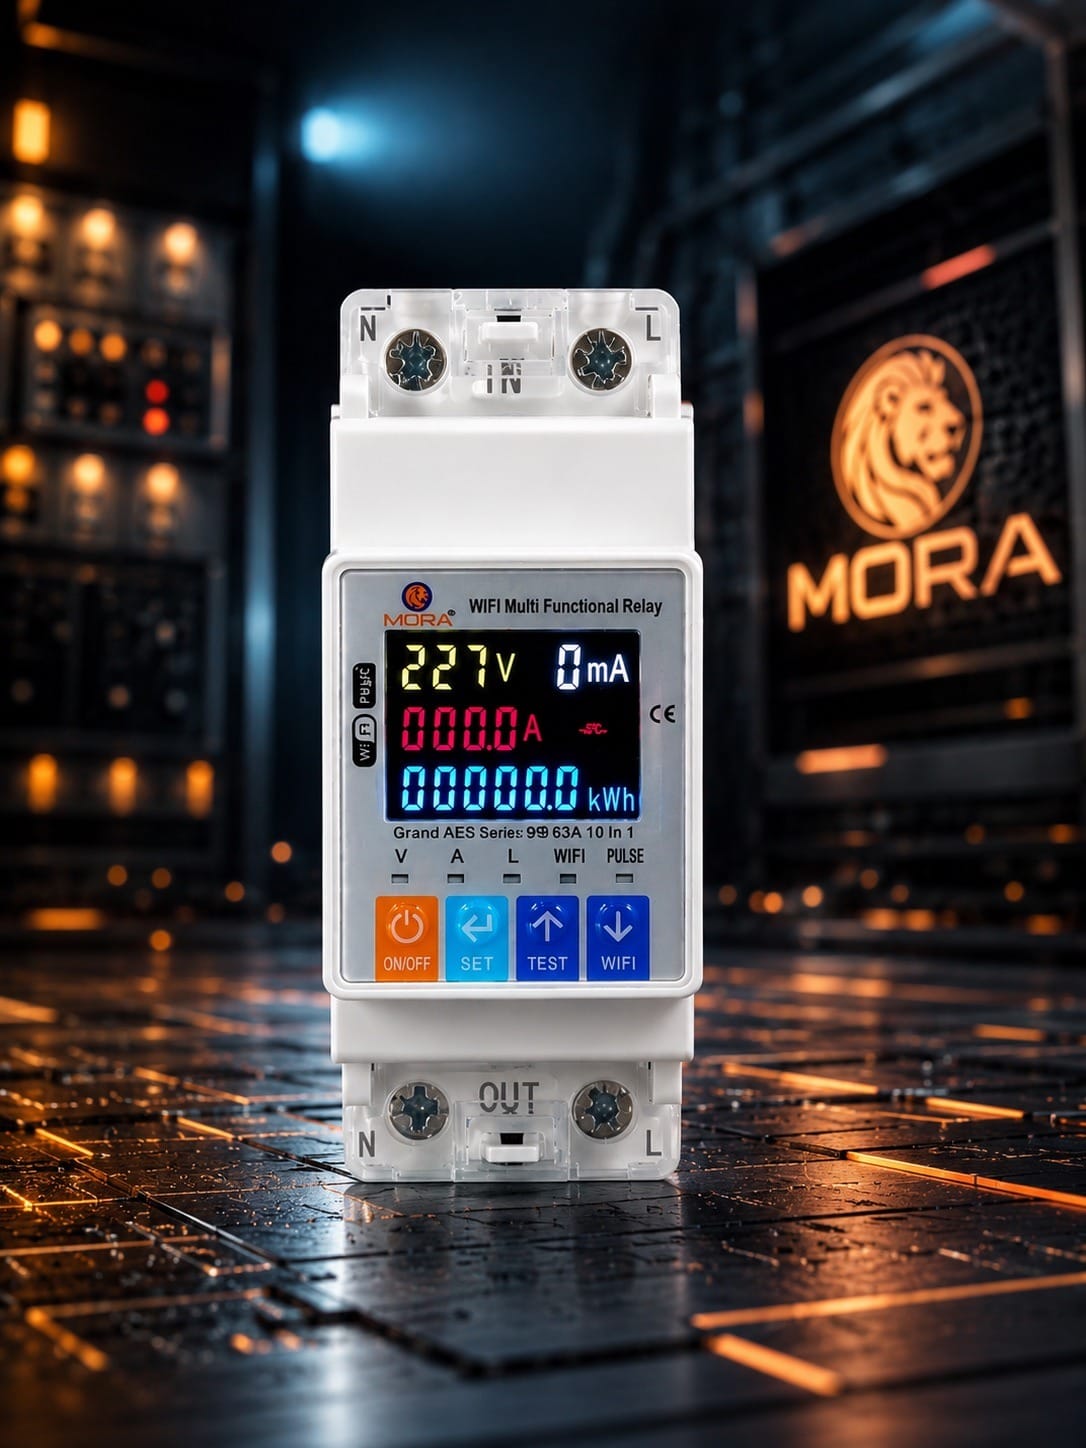
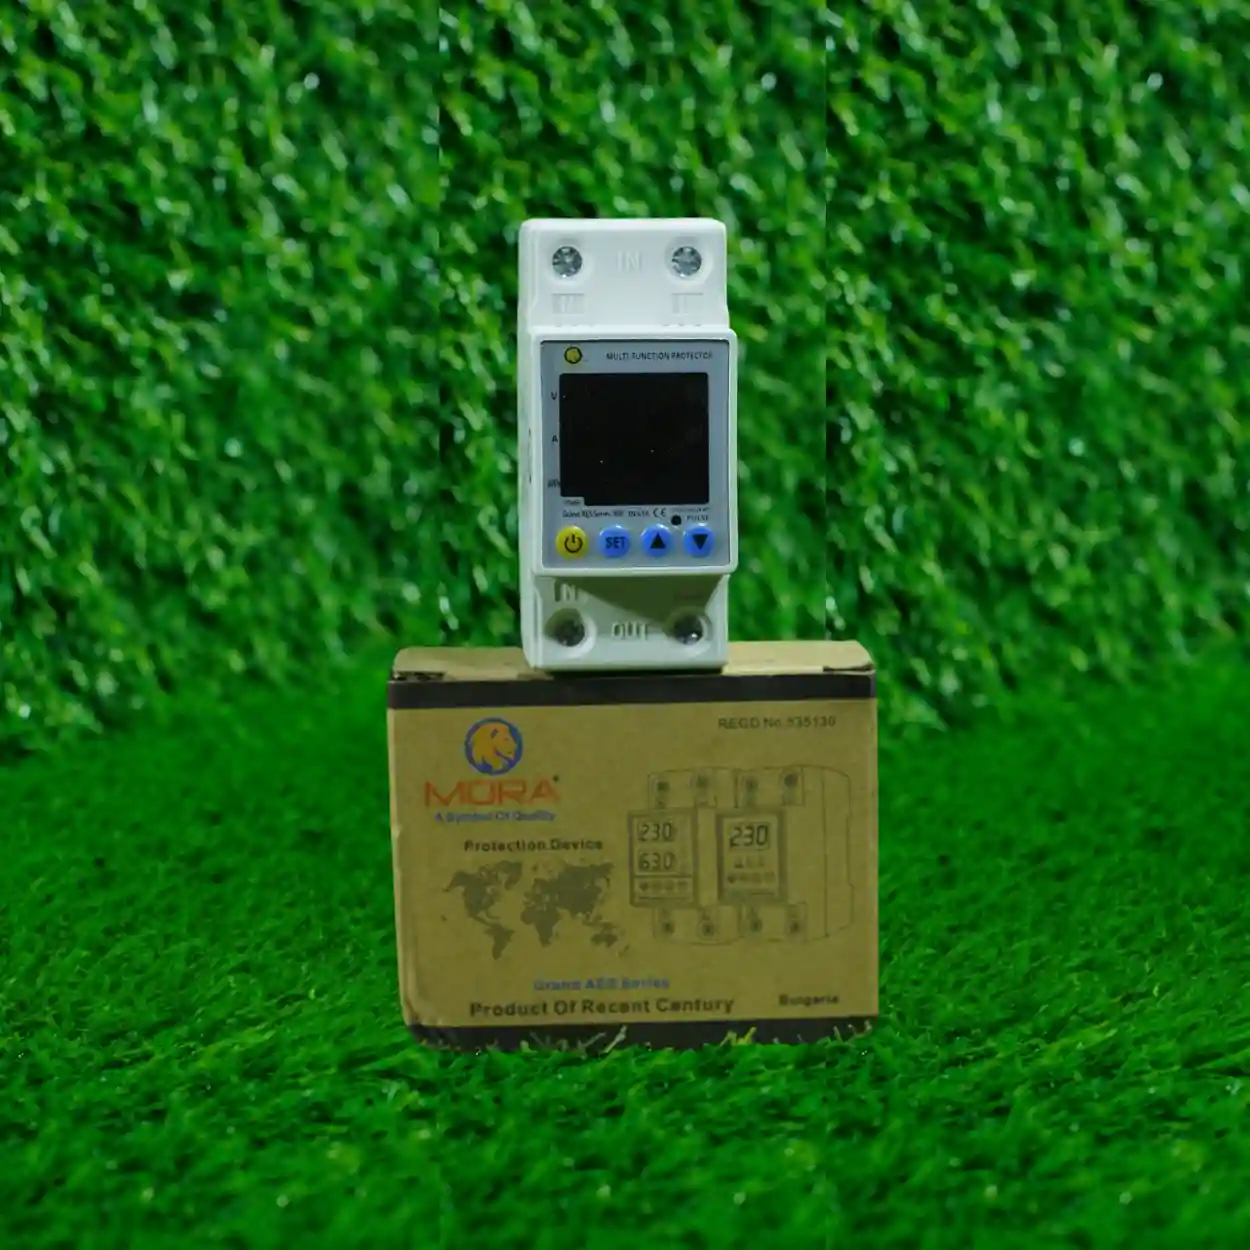
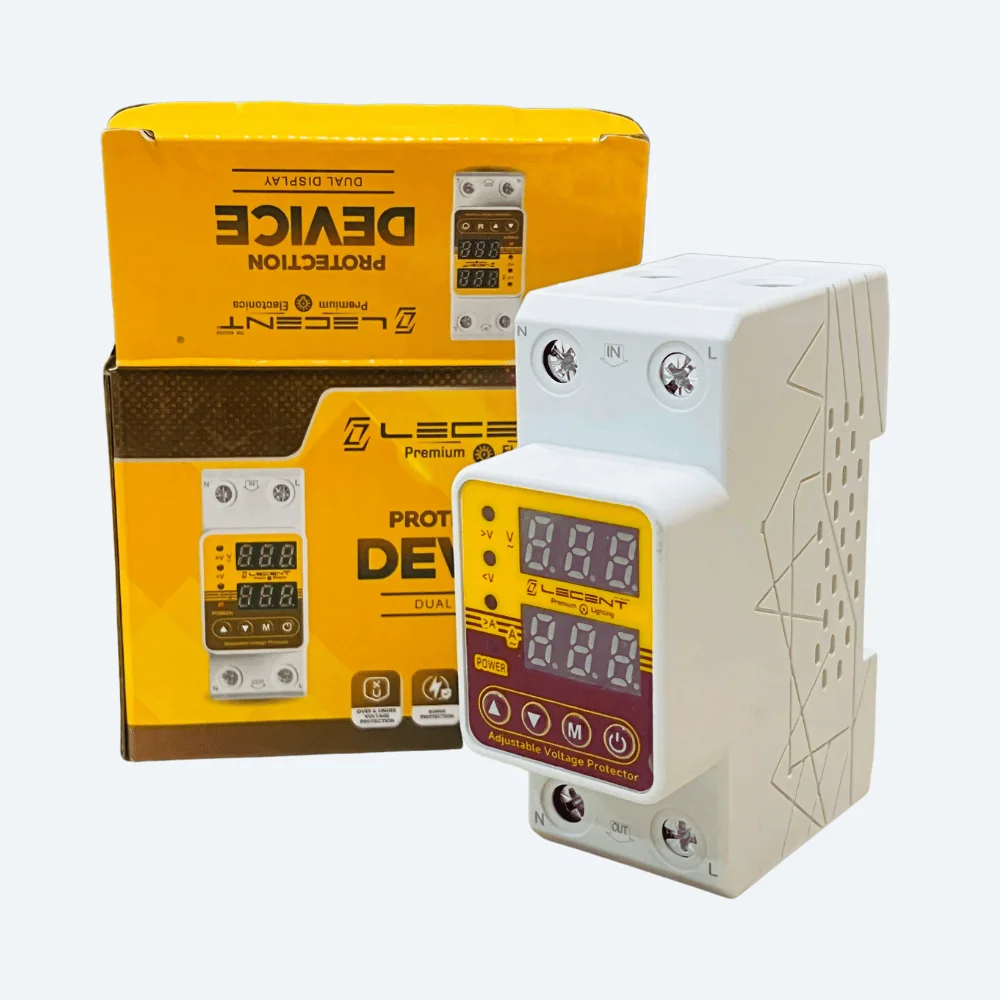
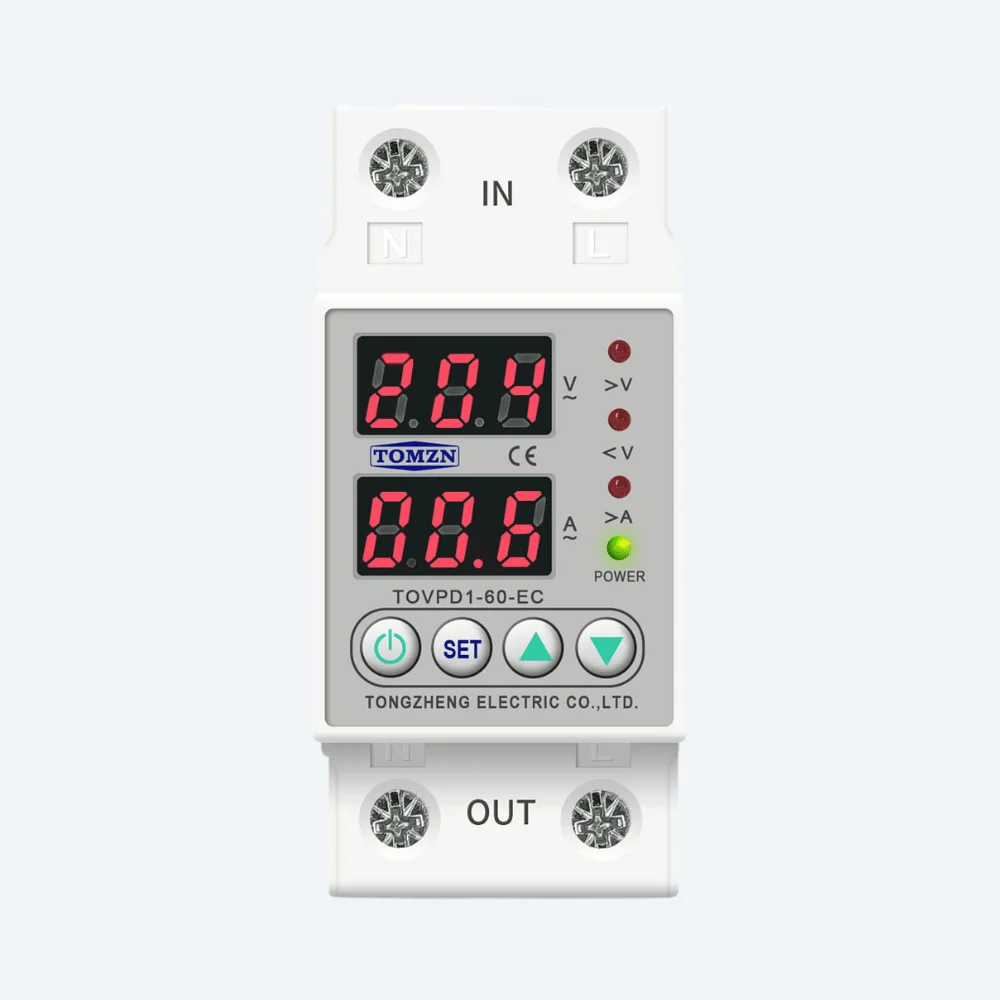
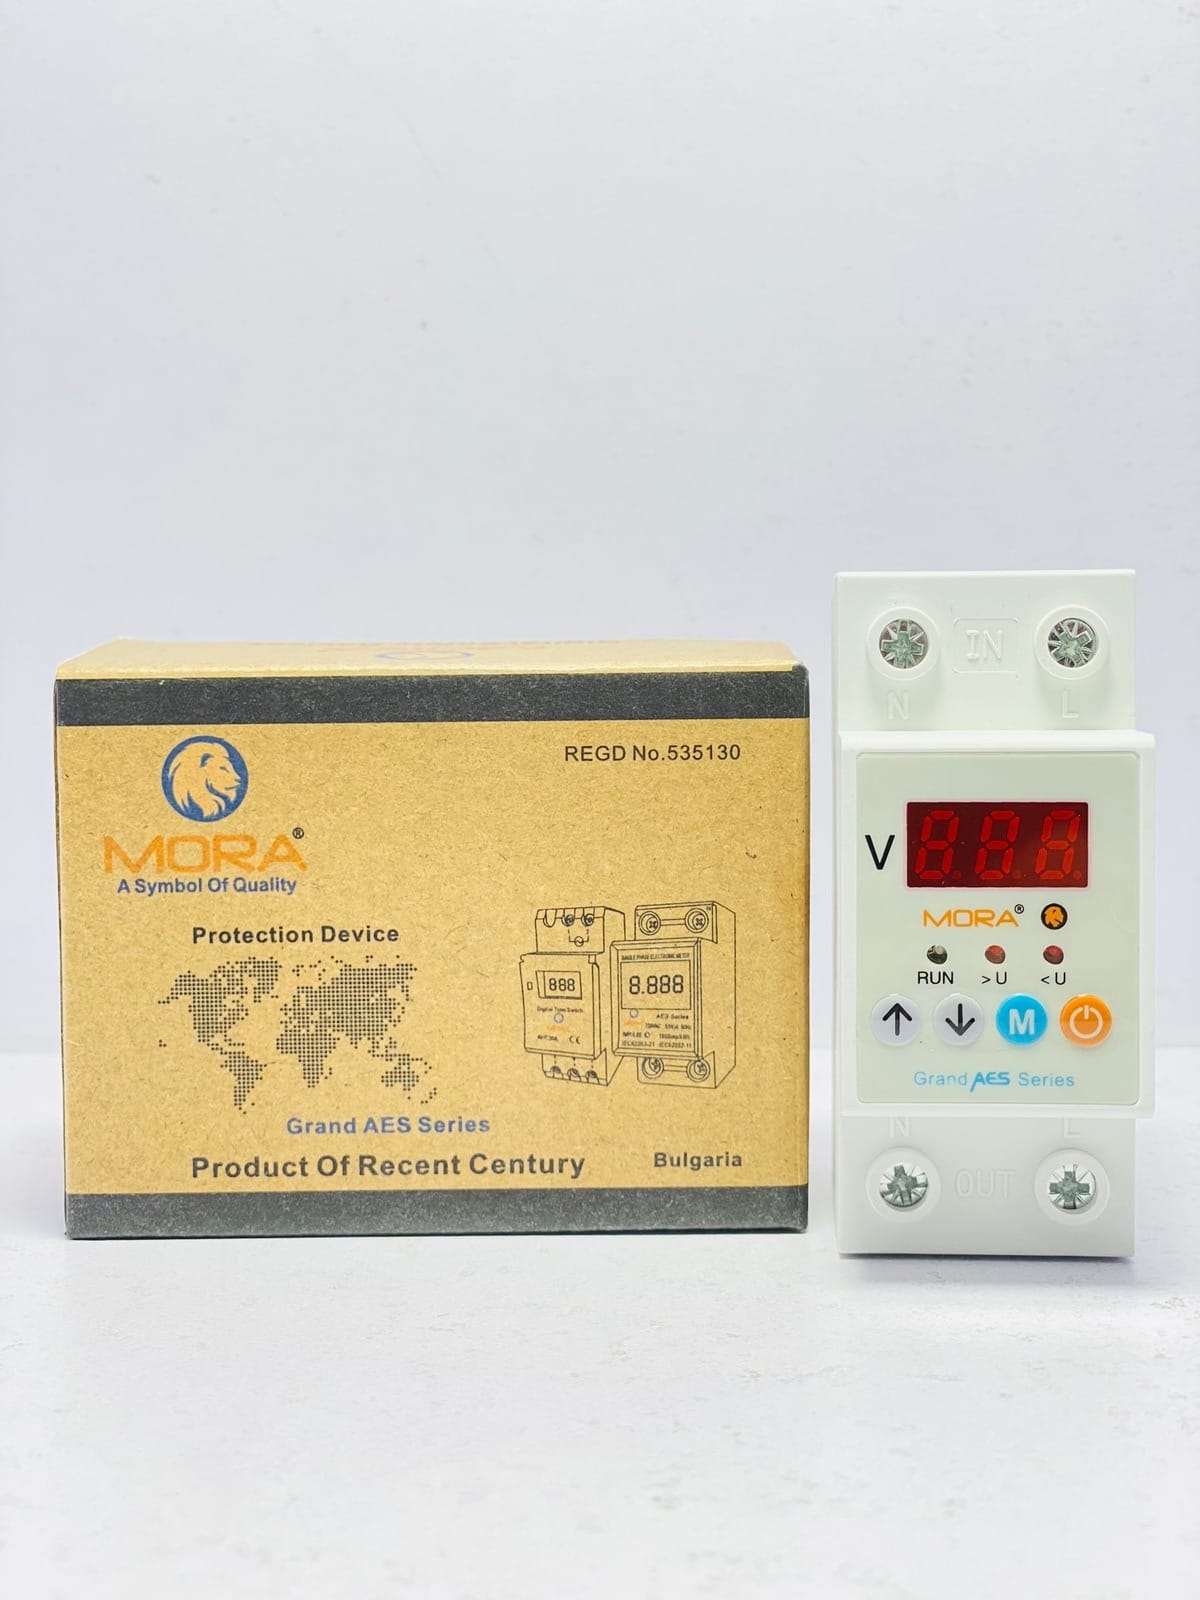
Premium solutions combine the disconnect switch with fuses, monitoring displays, and breakers in a single enclosure. These distribution boxes streamline installation and provide comprehensive protection in one package.
Key Installation Requirements and Best Practices
Location and Accessibility
Install your battery disconnect box as close as practical to your battery bank—within 18 inches is the standard recommendation. It must be easily accessible and clearly labeled, typically mounted on a wall near the batteries. The switch should be operable without special tools and require only moderate physical effort to engage.
Sizing and Rating
The disconnect switch must be rated for your system’s voltage and maximum continuous current. Undersizing creates fire hazards; oversizing wastes money and space. For example, a 48V battery system with a 200A maximum output requires a switch rated for at least 48V DC and 200A continuous.
Consult your system specifications and local electrical codes to determine exact requirements. If you’re unsure, a solar professional should specify the correct rating.
Proper Wiring and Connection
The positive and negative battery terminals connect directly to the disconnect box inputs, with outputs going to your charge controller and other system components. Use appropriately sized copper cable—typically 2/0 to 4/0 AWG for residential systems—to handle the high currents without voltage drop.
All connections must be corrosion-resistant and secure. Loose connections generate heat and can start fires. Many installations use tinned copper lugs with proper crimping rather than soldered connections.
Overcurrent Protection
Battery disconnect boxes should include fuses or breakers rated 1.56 times your maximum system current. This protects against short circuits while avoiding nuisance trips during normal high-current charging events. For a 200A system, you’d install a fuse or breaker rated around 300-320A.
Grounding Considerations
Your system’s ground wire must remain connected at all times—it never passes through the disconnect switch. This maintains electrical safety even when the system is disconnected, preventing voltage rises and static buildup that could damage sensitive electronics.
Labeling and Documentation
Label the disconnect box clearly with voltage, maximum current rating, and disconnect procedure. Include warning labels about electrical hazards. Keep detailed documentation of your installation in an accessible location, especially important for emergency responders who may need to safely de-energize your system.
Step-by-Step Installation Guide
Pre-Installation Checklist
- Verify all system components are rated and compatible
- Obtain local electrical permits if required
- Review local electrical codes and interconnection standards
- Ensure all battery terminals are clean and corrosion-free
- Gather appropriate tools: wire crimpers, torque wrenches, multimeters, and safety equipment
Installation Steps
- Step 1: Turn off all system components and verify de-energization with a multimeter
- Step 2: Mount the disconnect box securely within 18 inches of the battery terminal, ensuring it’s easily accessible and protected from physical damage
- Step 3: Run appropriately sized copper cable from the positive battery terminal to the switch input
- Step 4: Run cable from the negative battery terminal to the switch input (some designs use a bridge configuration)
- Step 5: Connect switch outputs to your charge controller and system distribution point using properly sized and rated cable
- Step 6: Install fuses or breakers rated for 1.56 times your system’s maximum current in the positive line
- Step 7: Verify all connections are tight using a torque wrench set to manufacturer specifications (typically 100-150 in-lbs for battery terminals)
- Step 8: Test the switch operation multiple times, verifying that it smoothly opens and closes
- Step 9: Install warning labels and document all specifications in your system records
Testing and Commissioning
After installation, measure voltage across the switch terminals with it in the open position—you should read zero volts (or near-zero if accounting for leakage). With the switch closed, measure voltage at the charge controller input to confirm proper connection. Record these baseline readings for future troubleshooting reference.
Common Mistakes to Avoid
Undersizing the disconnect switch: This is the most critical error. A switch rated for insufficient current will arc excessively, eventually failing when you need it most. Always err on the side of higher ratings.
Poor cable connections: Loose terminal connections generate heat and corrosion. Use proper crimping tools and verify torque specifications. Soldered connections are generally avoided because they can fail under thermal cycling.
Installing the switch too far from batteries: Excessive cable length increases voltage drop and makes the system harder to troubleshoot. Keep the disconnect box close to the battery bank.
Neglecting ground connections: Never interrupt ground wires with the disconnect switch. Proper grounding must remain continuous for electrical safety.
Insufficient labeling: Future technicians and emergency responders need clear information about your system. Don’t skip warning labels and documentation.
Compliance and Local Regulations
Battery disconnect boxes are required by building codes and electrical standards in virtually all jurisdictions. The National Electrical Code (NEC) in the United States specifically mandates disconnect switches for battery-based systems. Similar requirements exist in Pakistan under the National Electric Code and through organizations like NEPRA.
Before installation, check with your local building authority and electrical inspector. Some areas require licensed electricians to perform solar installations, while others allow homeowner installation with proper permitting. Getting a professional inspection—particularly from someone experienced with home DB box setup and safety procedures—protects both your investment and your safety.
Working with reputable suppliers like MORA ensures your equipment meets all applicable standards and comes with proper documentation for regulatory compliance.
Maintenance and Troubleshooting
Regular Maintenance Tasks
- Inspect connections quarterly for corrosion or looseness
- Clean battery terminals if white or blue corrosion appears
- Test switch operation monthly to ensure smooth engagement
- Verify fuse or breaker integrity annually
- Check all labels remain legible and secure
Troubleshooting Common Issues
Switch feels stuck or difficult to operate: Corrosion or misalignment usually causes this. Clean battery terminals and inspect for physical damage. Never force a stuck switch—this can damage internal contacts.
Voltage present across open switch: This indicates internal arcing or leakage. The switch needs replacement immediately, as it will fail during an emergency shutdown.
Frequent breaker or fuse trips: This suggests an overcurrent condition. Check for short circuits in your system wiring and verify that the breaker rating matches your system specifications.
Conclusion
A solar battery disconnect box is far more than a regulatory checkbox—it’s a fundamental safety device that protects your system, your home, and the people working on or around your installation. Proper selection, installation, and maintenance ensure your solar investment remains safe and functional for decades.
Whether you’re building a new solar system or upgrading existing batteries, don’t overlook this critical component. Invest in quality equipment, follow local codes, and consider professional installation if you’re uncertain about any aspect of the process. Your future self—and your emergency responders—will thank you for taking solar safety seriously from day one.