












Choosing a Changeover Switch for Solar and Generator


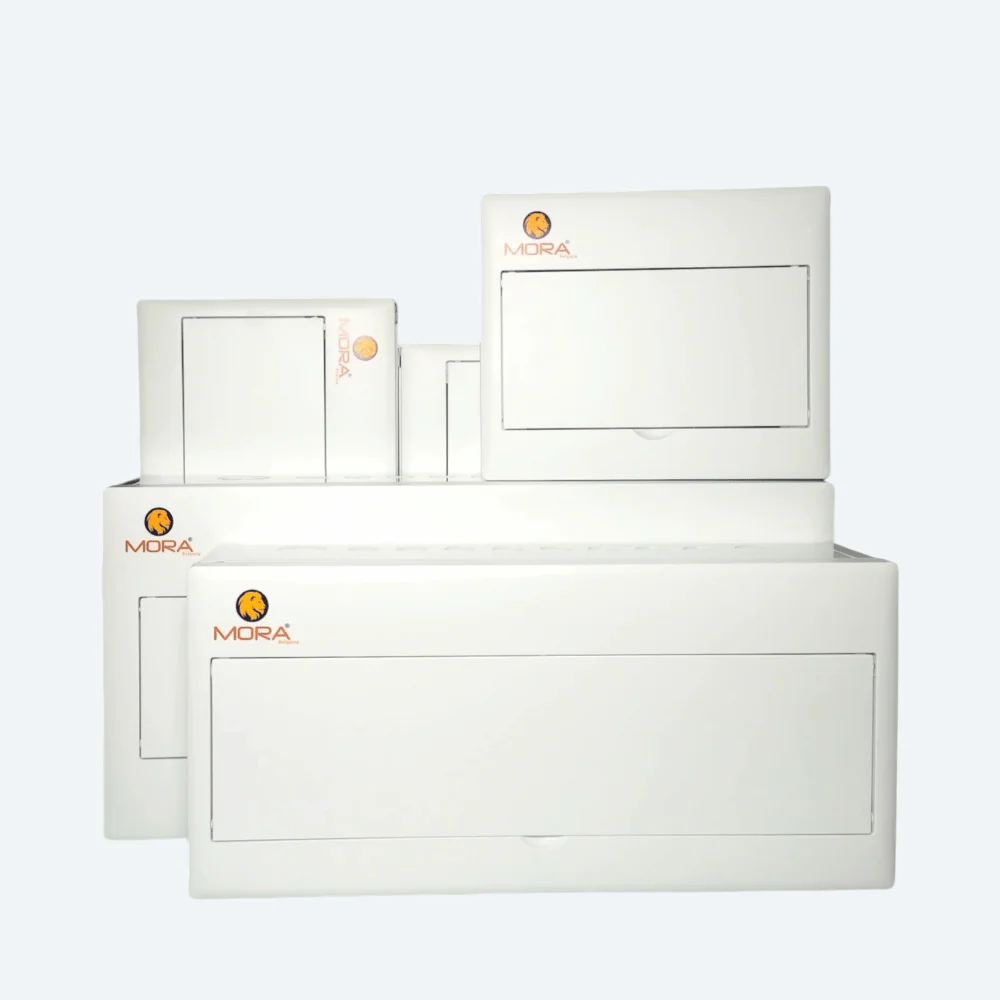
If you’re asking this question, you’ve probably already got two or three power sources feeding one panel: WAPDA grid, a solar inverter, and maybe a generator for the bad load-shedding hours. A changeover switch’s whole job is to make sure only one of those sources is ever connected to your house or building wiring at a time. Connect grid and generator together even for a second and you’ll either trip a breaker, damage the generator’s AVR, or in the worst case backfeed the grid and put a lineman at risk when he thinks the line is dead. For a straightforward single-phase home setup, a 32A or 63A 2-pole manual changeover switch (like the wall-mounted plastic units from MORA) does the job fine. For anything with an inverter that auto-switches on grid failure, or a three-phase commercial/poultry-farm load, you’re into ATS territory, and the sizing gets more specific.
I’ve wired this exact setup more times than I can count, from small DHA houses running a 5kW hybrid inverter to poultry sheds in Sheikhupura running three-phase exhaust fans off a generator when WAPDA trips at 2am. The switch itself is a simple mechanical part, but getting the pole count, ampere rating, and switching logic wrong is one of the most common mistakes I see on sites where someone bought whatever was cheapest at the local market instead of matching it to the actual load.
What a Changeover Switch Actually Does Between Grid, Solar and Generator
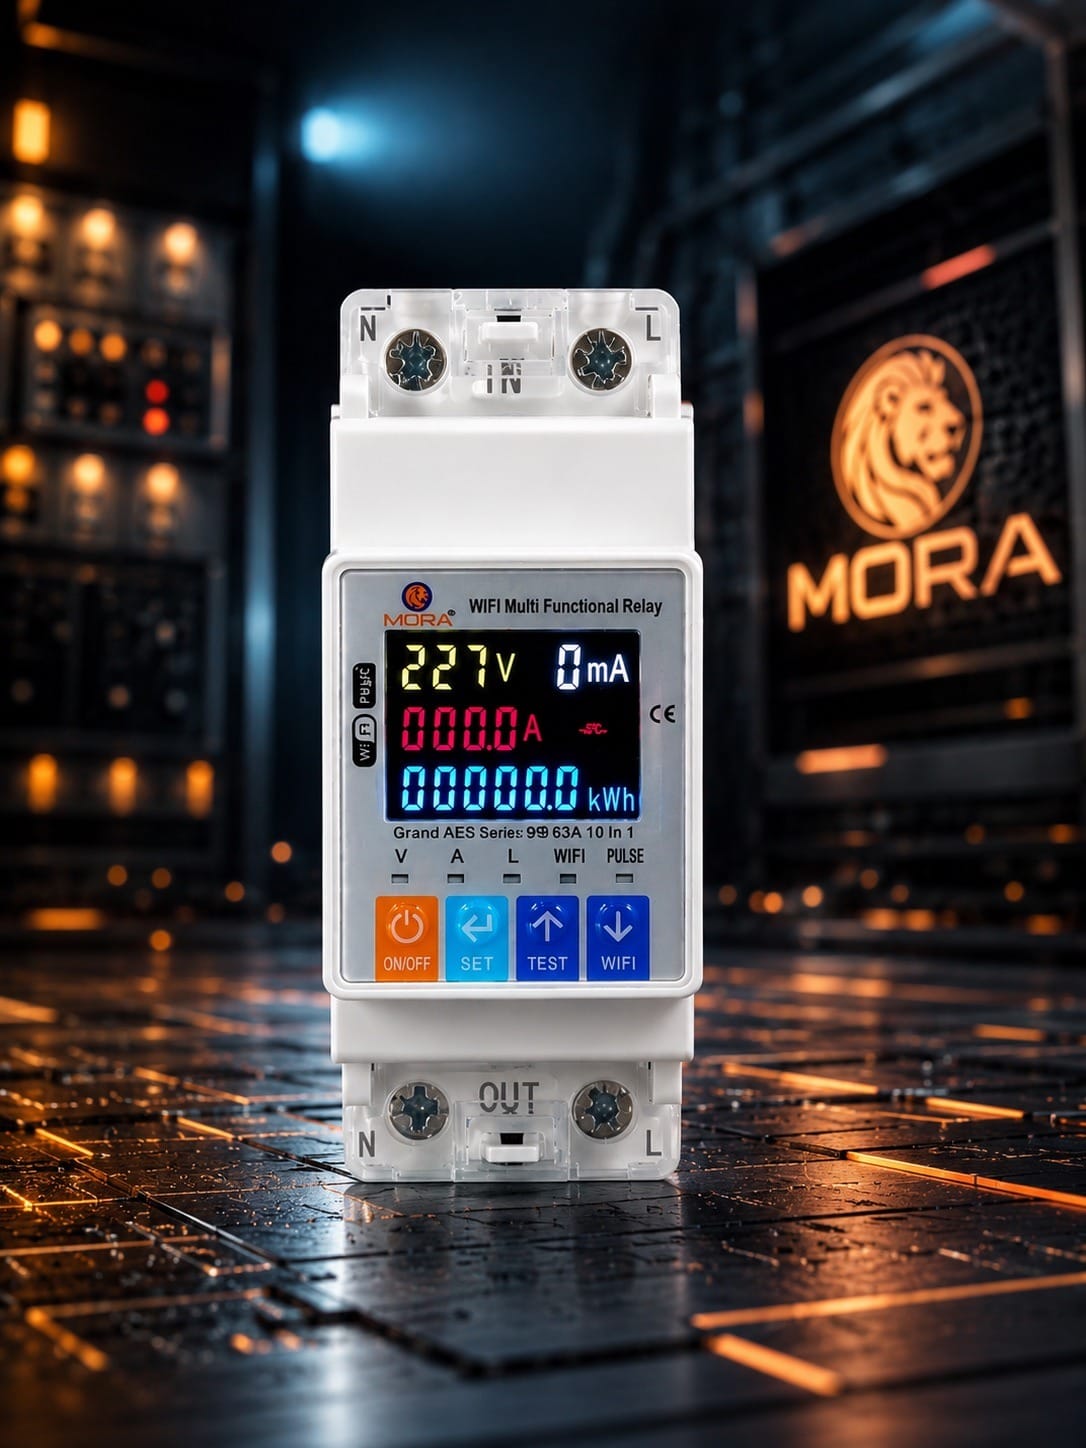
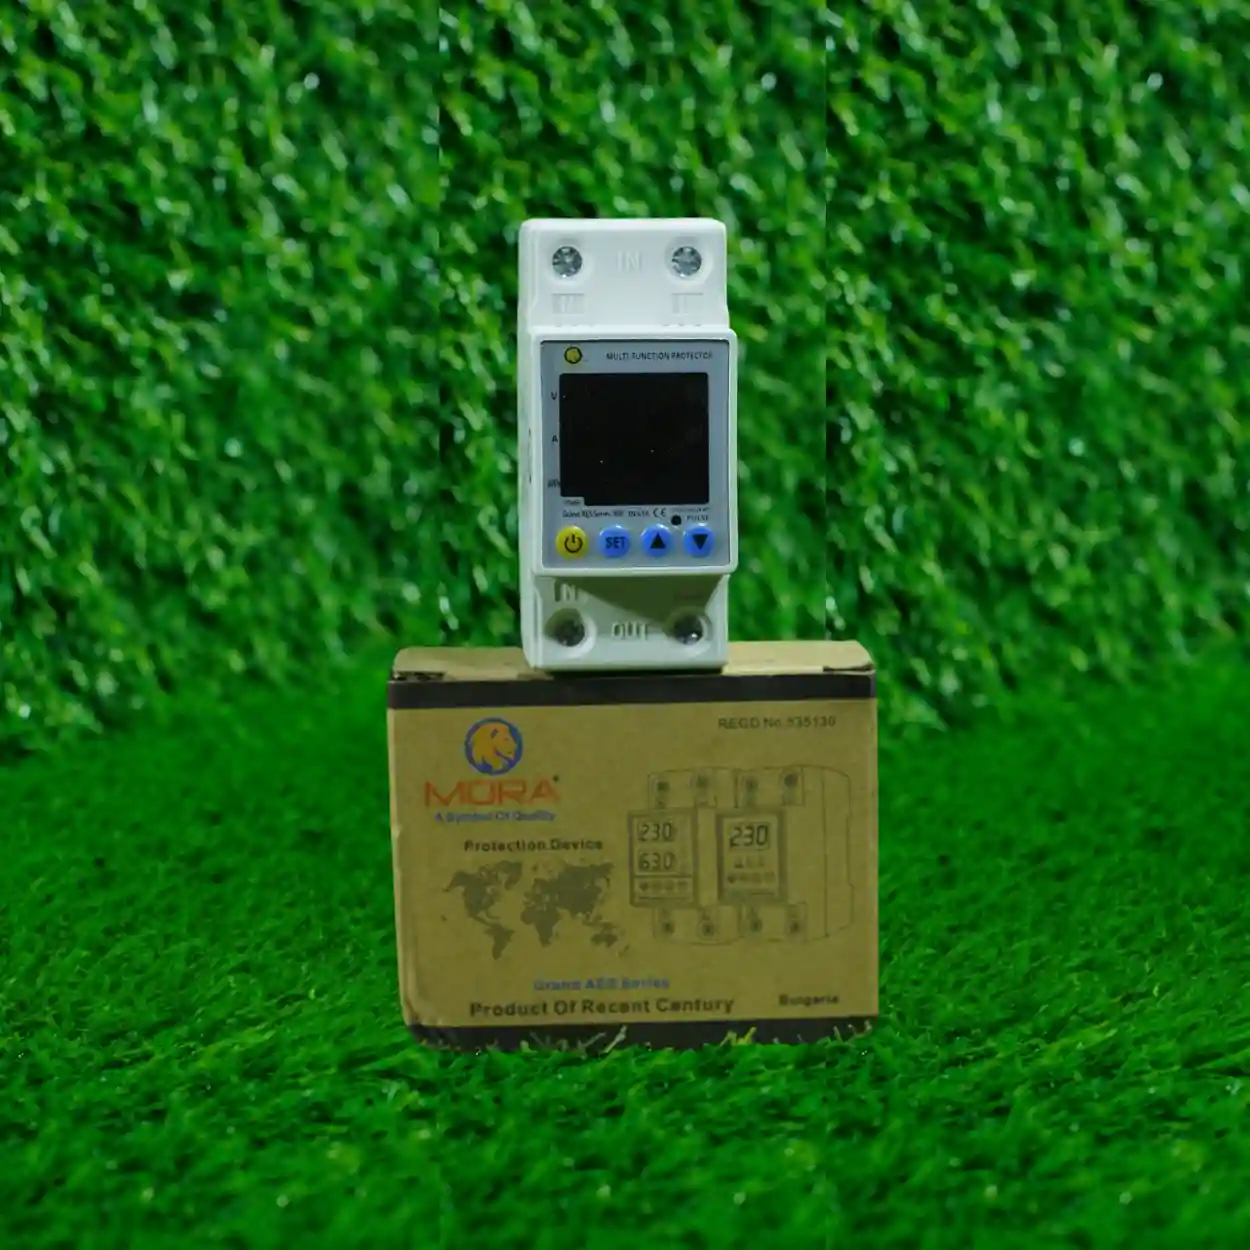
Most solar inverters in Pakistan (on-grid and hybrid types) already have internal transfer relays that switch between grid and battery/solar automatically. So the changeover switch you’re buying separately is almost always for the third leg: bringing a generator into the picture, or manually isolating solar from grid during net metering export, or giving you a manual bypass if the inverter itself fails.
There are two functional layers here and it’s worth keeping them separate in your head:
- Source isolation: physically preventing two sources from ever being connected to the load simultaneously (this is the interlock function, mechanical or electronic).
- Transfer speed: how fast the switch moves from one source to another, which matters a lot if you’ve got sensitive electronics, WiFi routers, or a poultry farm’s incubators that can’t handle even a 10-second blackout gap.
Manual Transfer Switch vs Automatic Transfer Switch (ATS)
This is the first real decision point, and it comes down to how much you’re willing to babysit your own power supply.
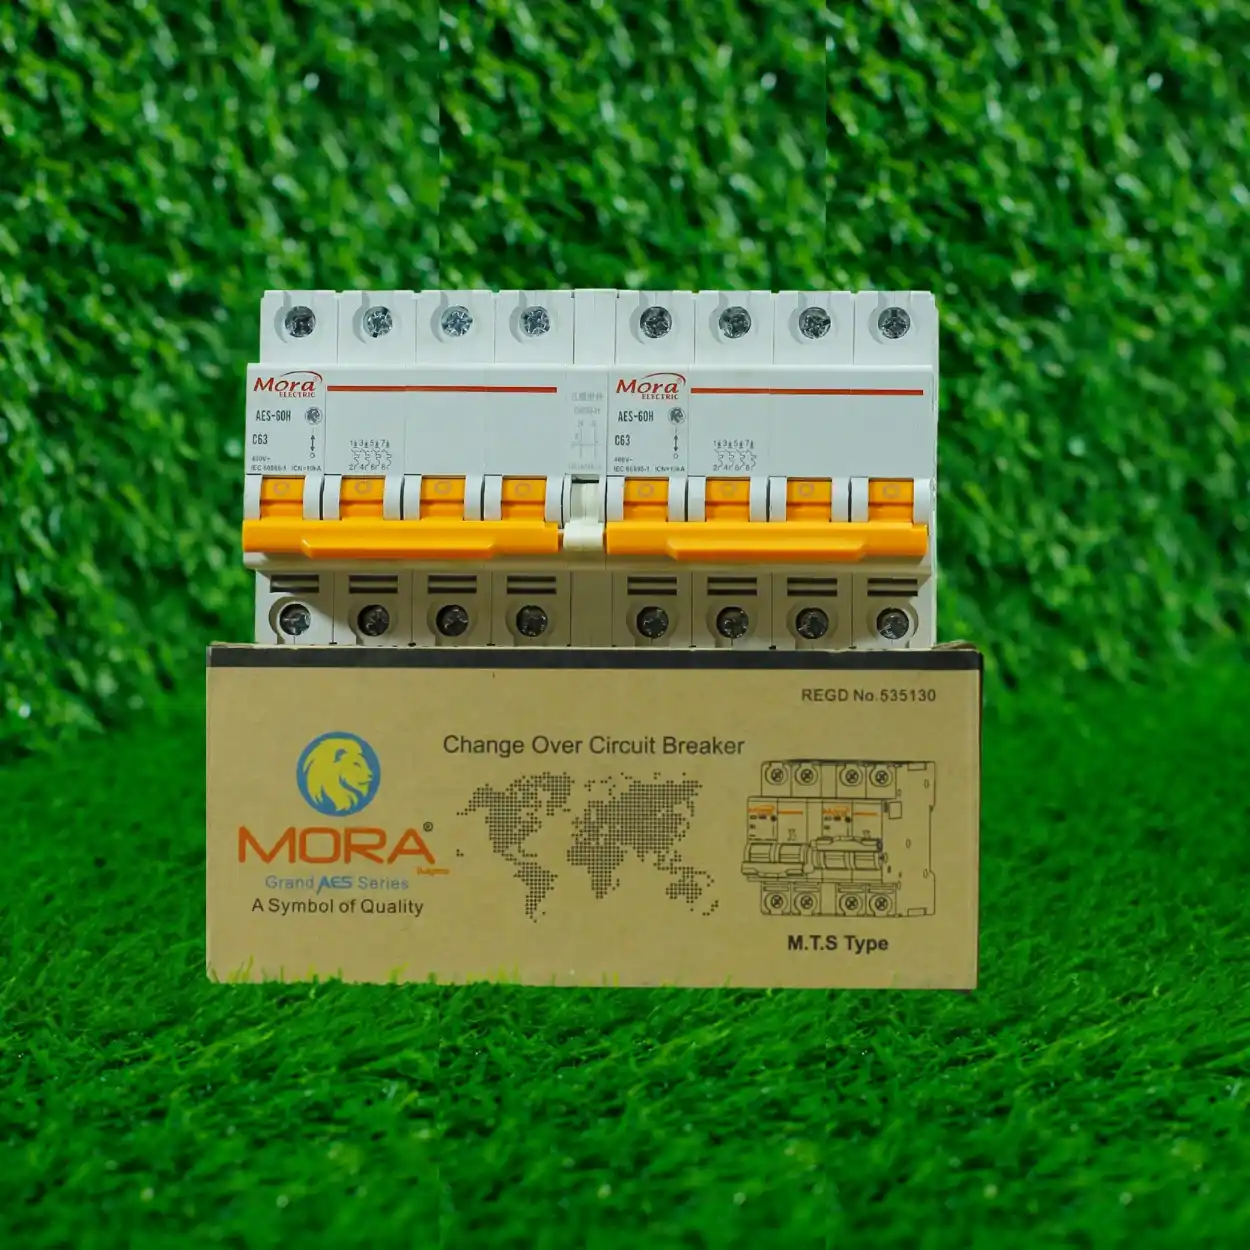
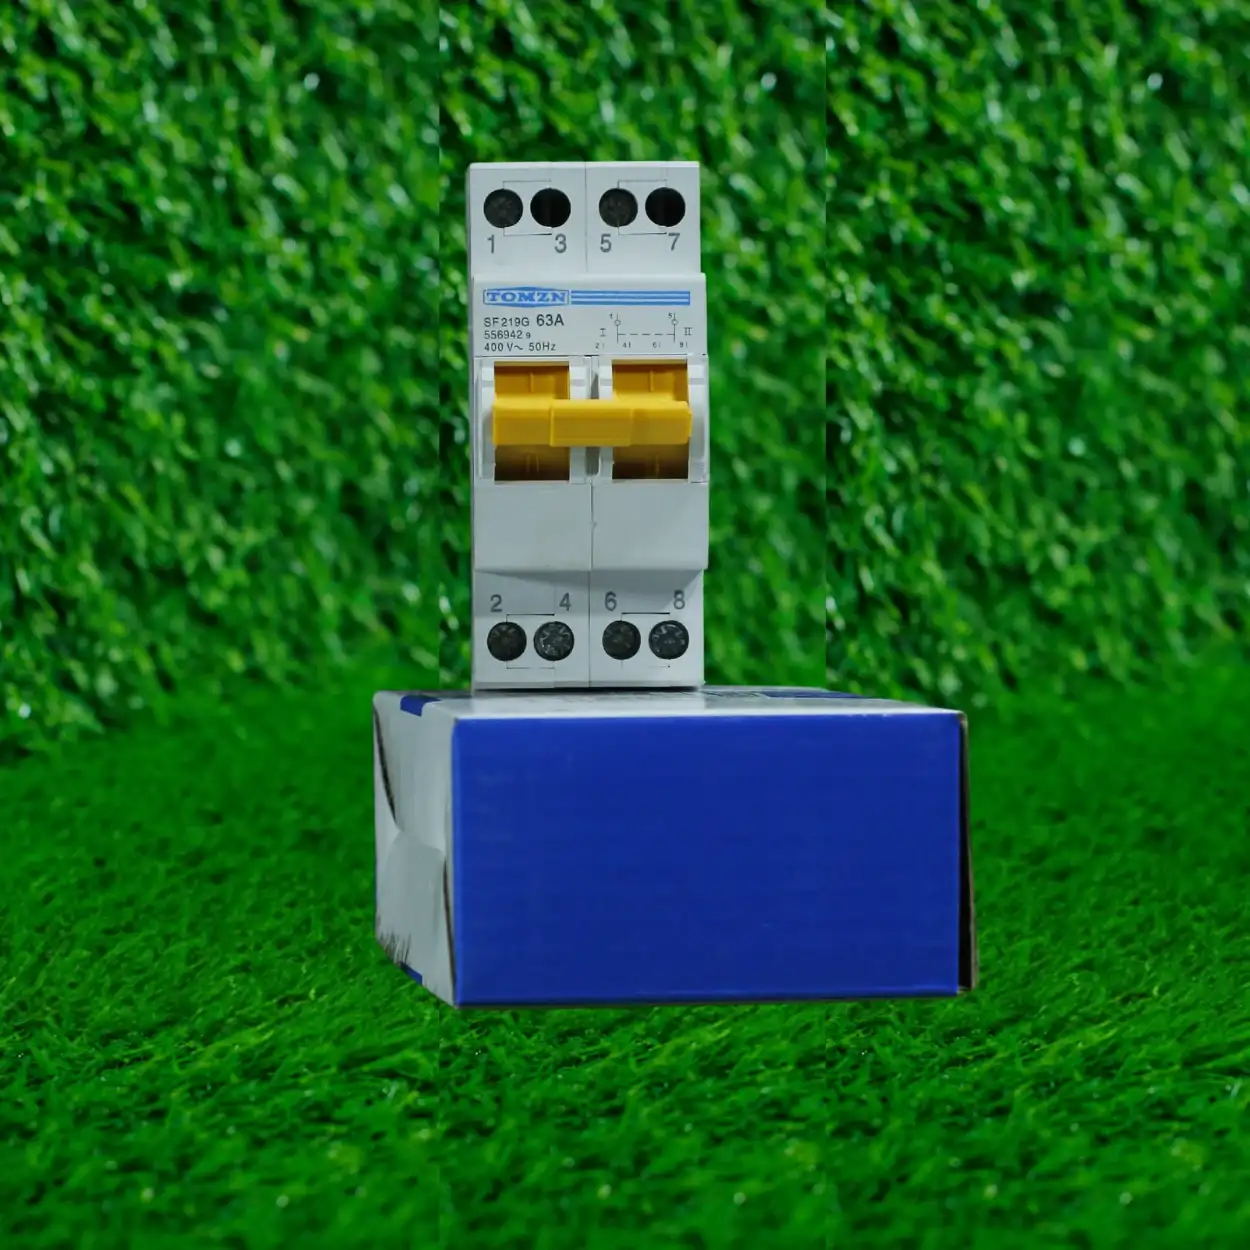
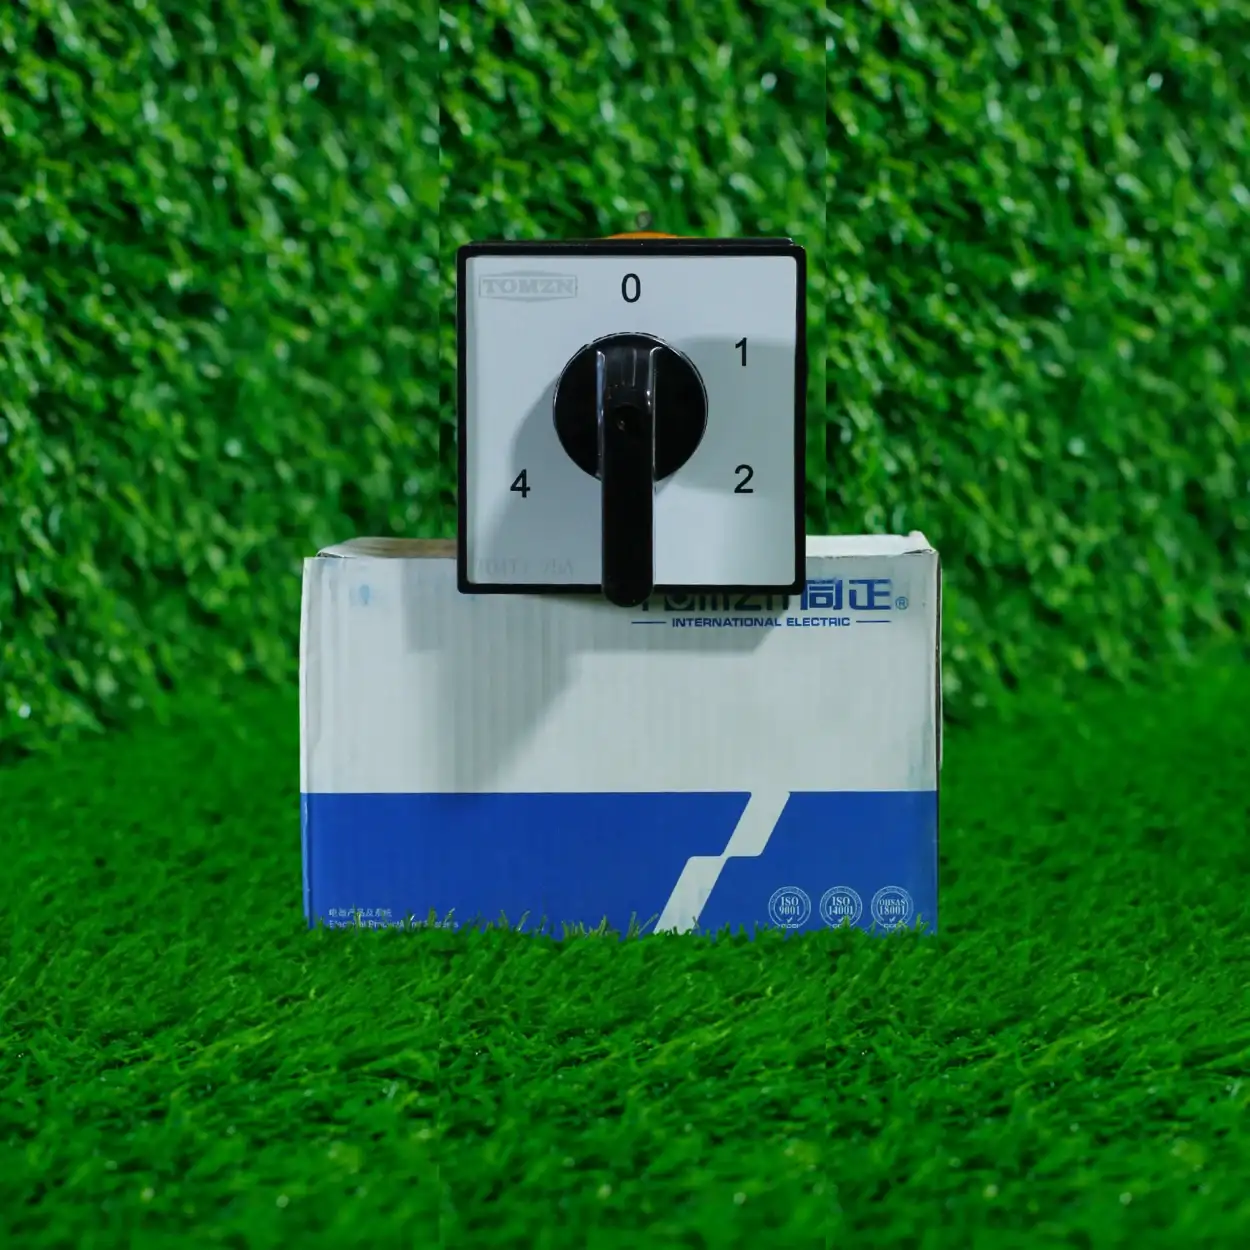
A manual changeover switch (MTS) is a rotary or lever-operated switch, usually rated 32A to 200A, that you physically turn to select Source 1, Off, or Source 2. It’s cheap, it’s mechanically simple, there’s nothing to fail electronically, and for a home with a generator that only runs a few hours a day, it’s honestly the more reliable choice long-term. The downside is obvious: someone has to be home and awake to flip it when WAPDA goes.
An ATS does the same job but with a control board that senses voltage on the primary source and automatically transfers to the backup within a set delay, typically 3 to 10 seconds, then transfers back once grid stabilises (usually with a return delay of a few minutes to avoid chattering during unstable WAPDA voltage swings, which is common in older feeders around Lahore’s inner city and industrial areas).
- Go manual if: it’s a residential setup, you’re on-site during outages, budget is tight, or you just want the simplest thing that can’t glitch.
- Go automatic if: it’s a commercial site, a poultry farm with incubators or exhaust fans that can’t sit without power, a server/CCTV room, or anywhere unattended overnight where the load shedding schedule is unpredictable.
One thing I’ll say plainly: I don’t recommend the cheapest unbranded ATS boards you’ll find in bulk at electronics markets for anything load-bearing. I’ve pulled out three of them in the last two years alone where the control relay welded shut after repeated cycling during voltage sag, leaving grid and generator both live on the load side simultaneously. That’s not a minor fault, that’s a fire and equipment-damage risk. Stick to units built to IEC 60947-3 switch-disconnector standards from known brands.
How Many Poles Do You Need: 2, 3 or 4 Pole?
This is where I see the most mistakes on jobs, honestly more than amperage errors.
For a single-phase supply (220-230V, which covers the vast majority of homes), you need a 2-pole changeover: one pole switches Live, the other switches Neutral. A lot of people try to save money with a single-pole switch that only breaks the Live and leaves Neutral common between sources. Don’t do this. If your generator’s neutral is bonded to earth locally (which most small gensets are) and it stays tied to the grid neutral through a shared neutral bar, you can end up with a floating neutral fault or a shock hazard on the neutral conductor when the sources aren’t perfectly in sync. Switching both Live and Neutral is the safer and correct practice for a genset changeover.
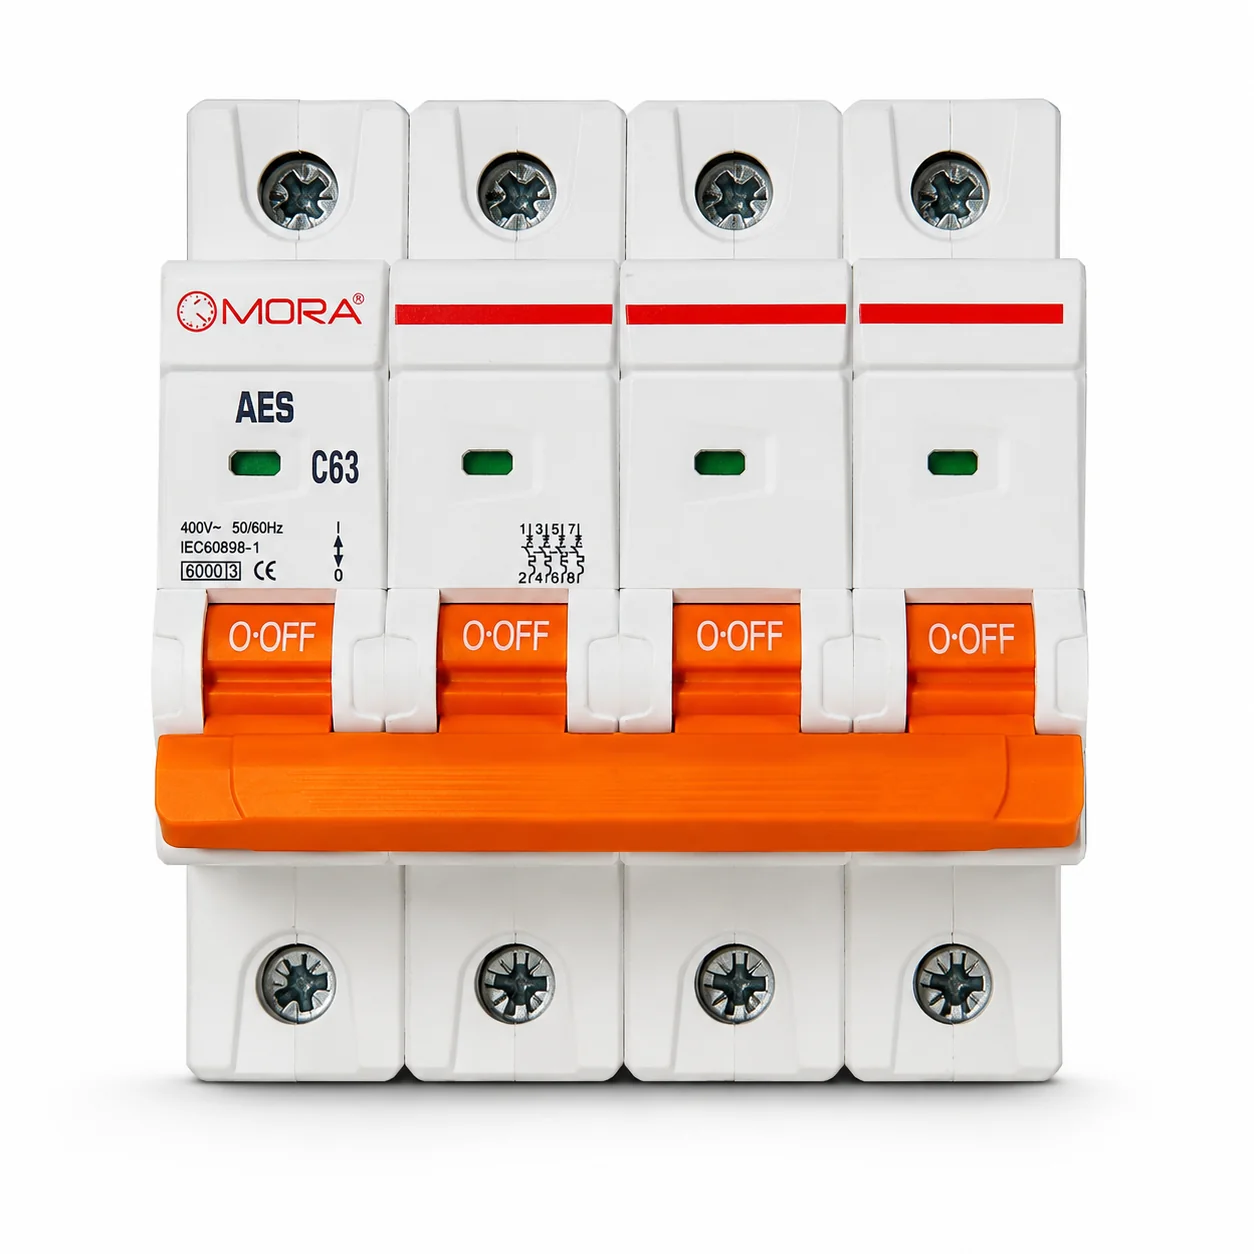
For three-phase supply (380-400V, common on commercial and poultry-farm sites), you’re looking at 4-pole changeover: three phases plus neutral, all switched together. A 3-pole unit that leaves neutral common is a similar problem to the single-phase case, just across a bigger, more expensive system where the fault current involved is higher.
Quick way to check what you actually have: if your main breaker and DB are single-phase, you need 2-pole. If you’ve got a 3-phase meter and your main incomer is 4-pole, match it with a 4-pole changeover, no exceptions.
Sizing the Amps: What Rating Do You Actually Need?
Once you’ve settled pole count, size it to your maximum expected load, not your average load. Here’s the practical method I use on site:
- Add up the total connected load in watts (or kVA for three-phase) across everything that could realistically run at once, including motor starting loads (fans, pumps, fridge compressors) which draw 3-6x their running current for a second or two on startup.
- Convert to amps: for single-phase, Amps = Watts ÷ 220 (roughly, ignoring power factor for simplicity on resistive/mixed loads). For three-phase, Amps = Watts ÷ (400 × 1.73 × power factor).
- Add a safety margin of at least 25% over your calculated peak. Never buy a changeover switch rated exactly at your calculated load; that leaves zero headroom for voltage sag pushing current up, or for future load additions.
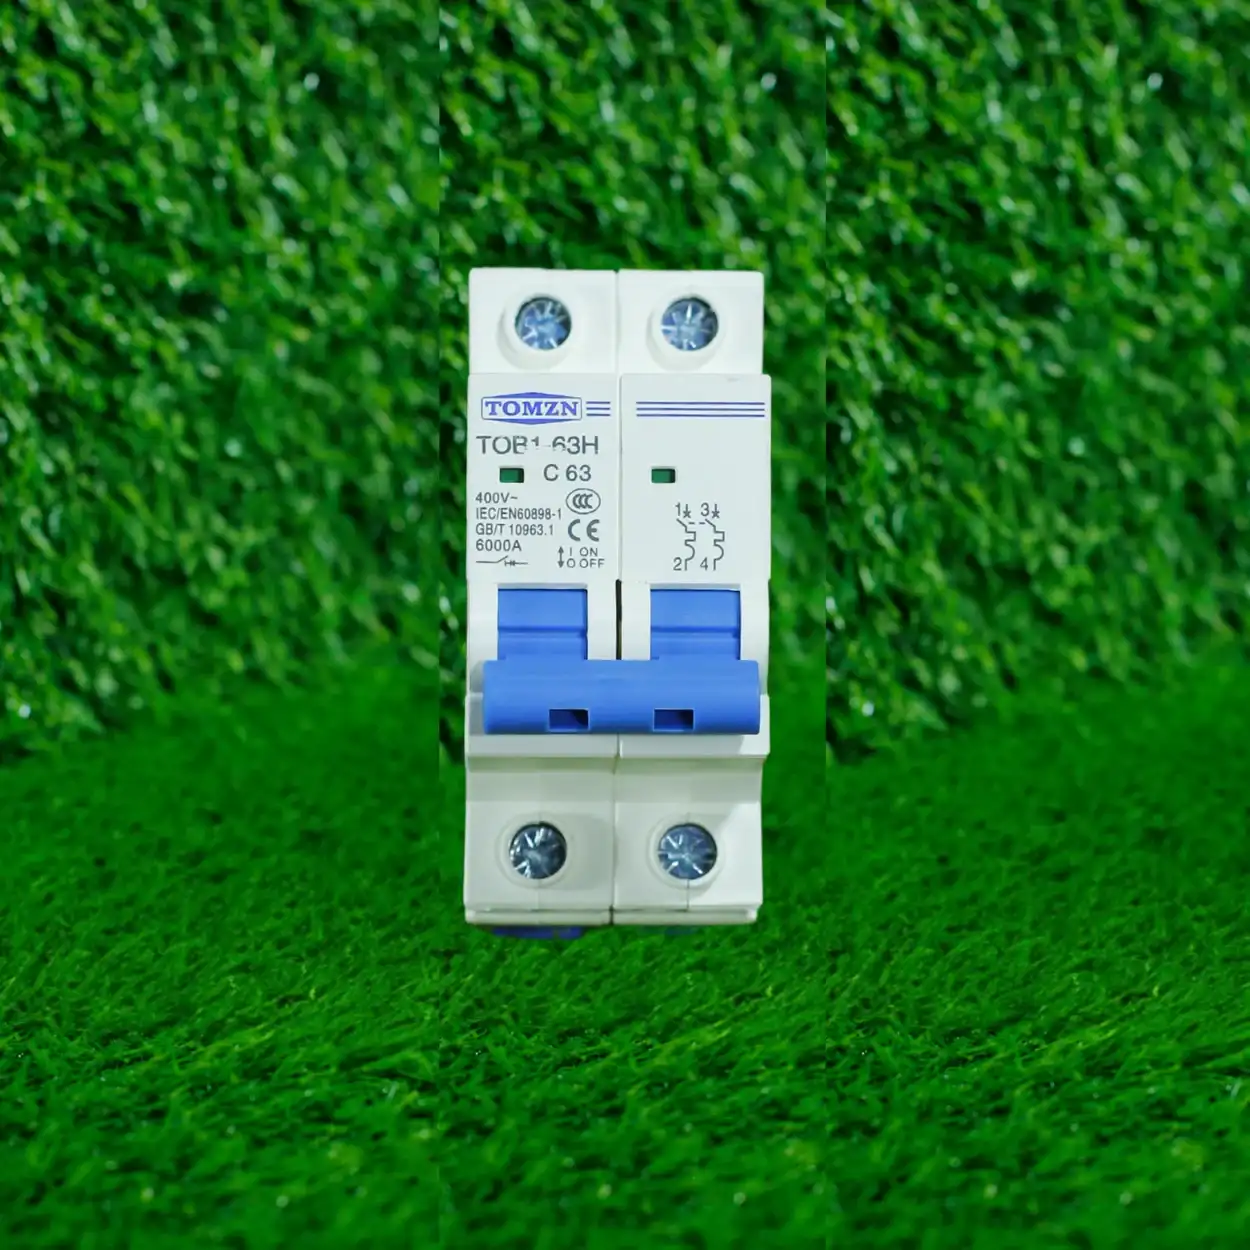
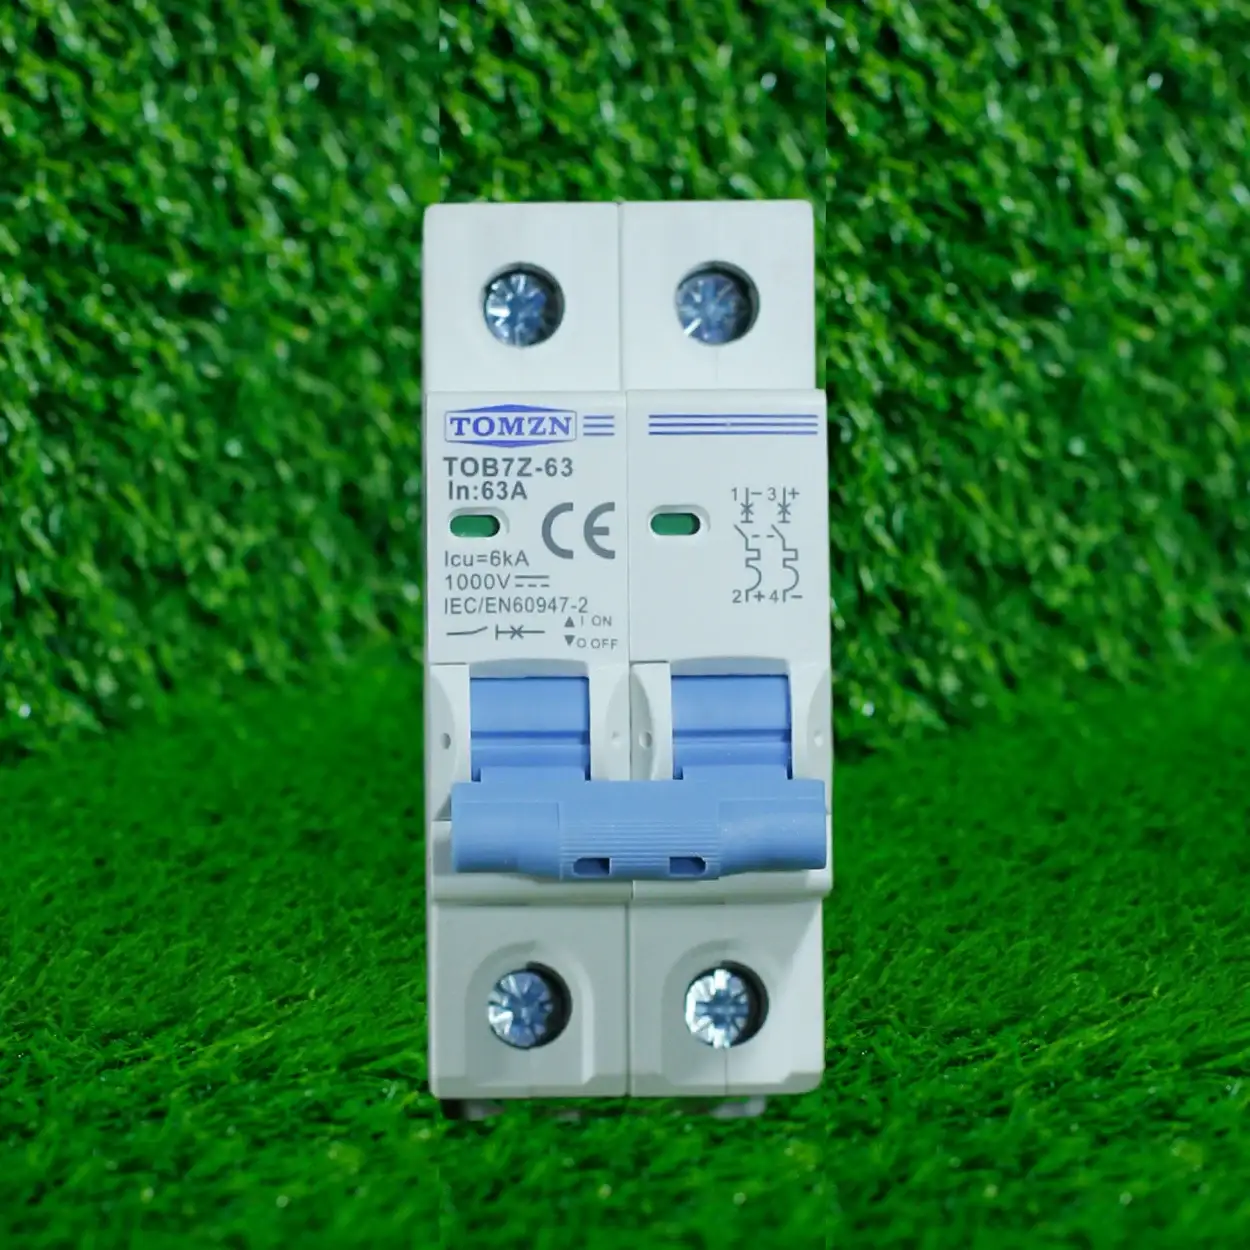
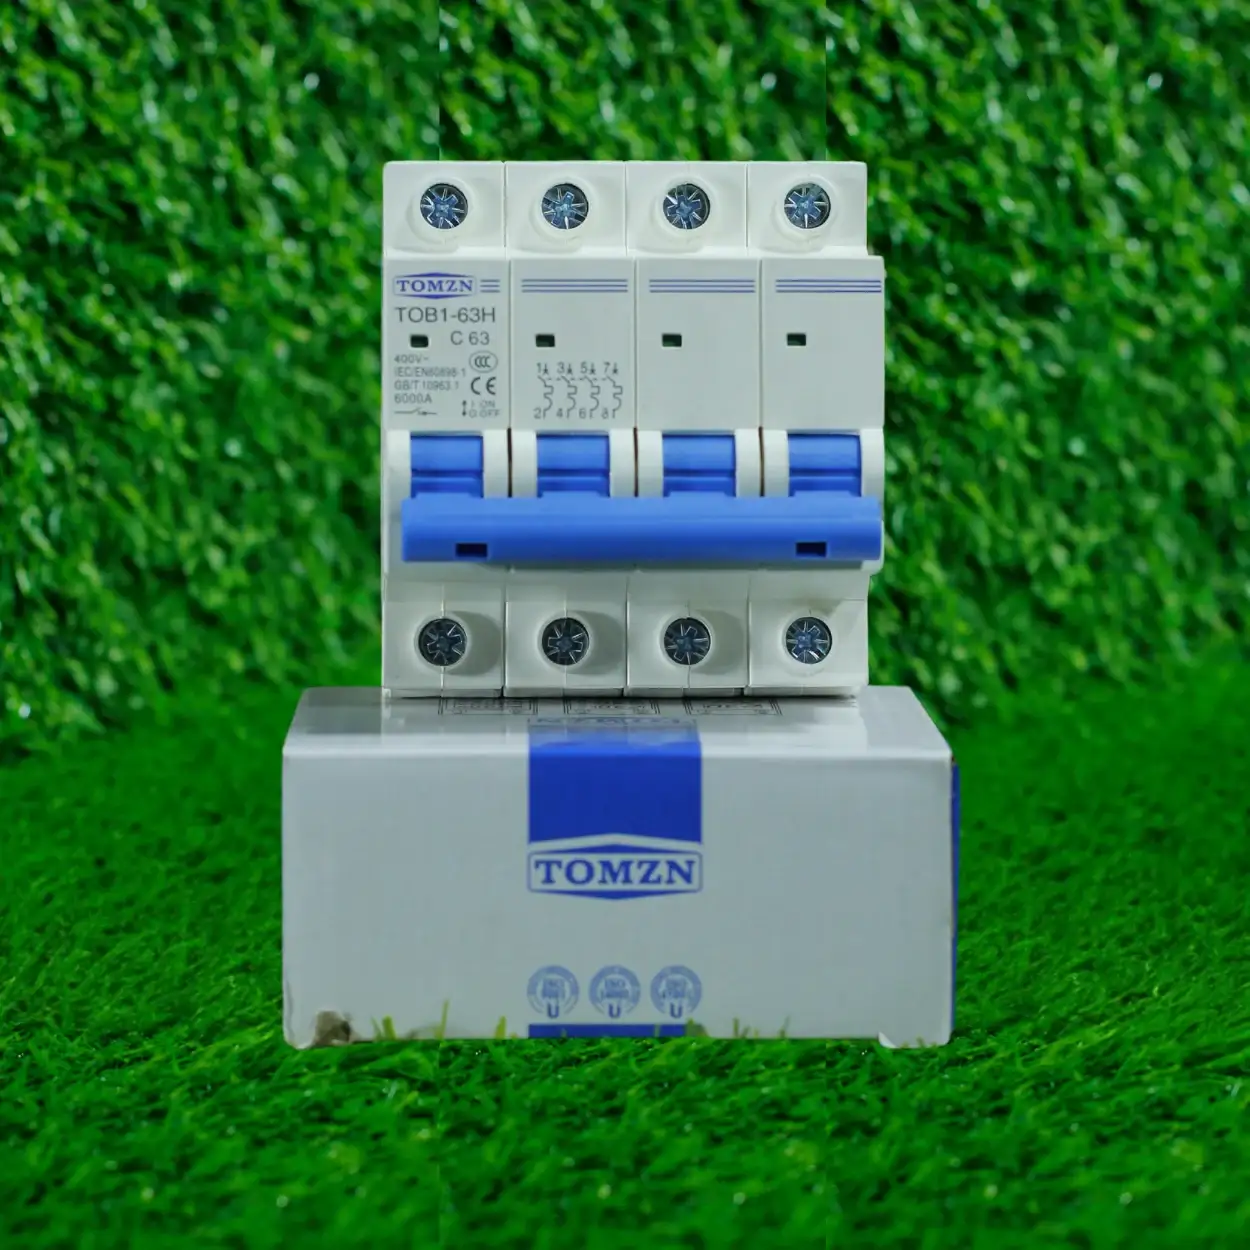
- Round up to the nearest standard rating available: 32A, 63A, 100A, 125A, 160A, 200A are the common commercial ratings you’ll find from brands like MORA and TOMZN.
For reference, a typical 3-5 marla house running a few ACs, fridge, motor and lighting on generator backup usually sits comfortably on a 63A 2-pole changeover. A small poultry shed with three-phase exhaust fans and feed motors will often need 100A to 160A 4-pole, depending on fan count and starting current. Get an actual load calculation done rather than guessing; I’ve replaced more than one 32A switch that was overloaded within a year of a customer adding a second AC without rechecking the numbers.
Where These Actually Fail on Site
A few failure patterns worth knowing before you buy, because they change what you should look for on the spec sheet:
- Contact pitting from frequent cycling: on sites with 4-6 load-shedding cycles a day, the mechanical contacts on a cheap changeover wear out faster than the rated switching life suggests. Look for units rated for at least a few thousand operating cycles if you’re in a heavy load-shedding area.
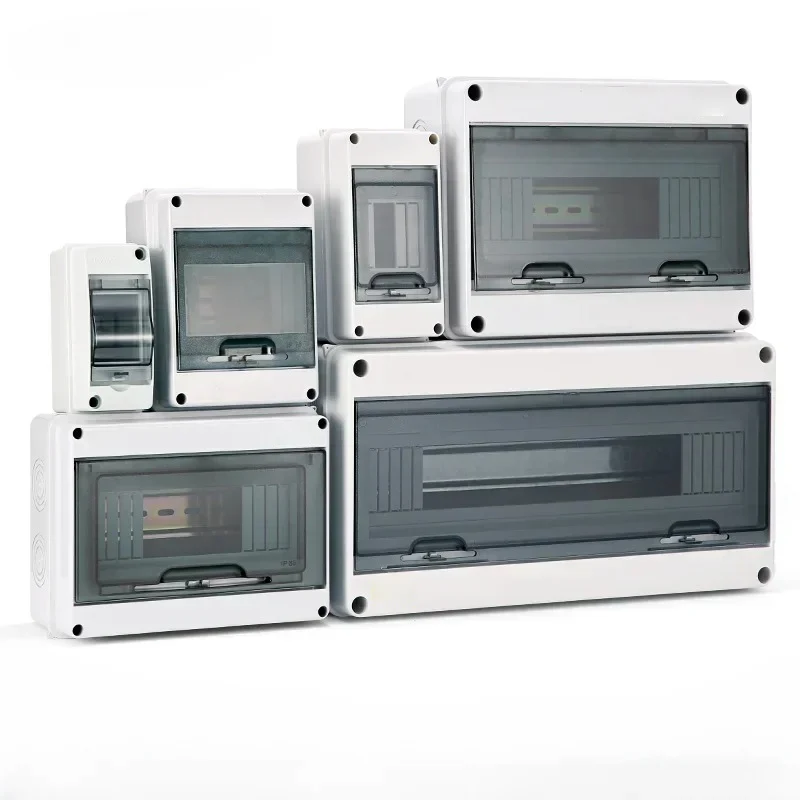
- Dust and heat ingress: outdoor or semi-outdoor installations (common on poultry farms and rooftops) need at least IP54 enclosure protection, otherwise dust builds up on the contact mechanism and you get arcing or a stuck lever within a season. A sealed wall-mounted plastic changeover box handles this far better than an open panel-mount unit exposed to Punjab’s summer dust.
- Undersized neutral bar connections: I’ve seen loose neutral lugs on changeover boxes cause intermittent flickering that customers initially blame on the inverter or the generator, when it’s actually a torque issue on the switch terminal itself. Worth checking terminal torque during commissioning, not just at first install.
- ATS control board damage from voltage spikes: WAPDA supply swings and generator switching transients both stress the ATS’s internal control electronics. Pairing an ATS with a proper surge protection device ahead of it adds real protection, especially in areas with a history of lightning-related surges.
What I’d Actually Recommend
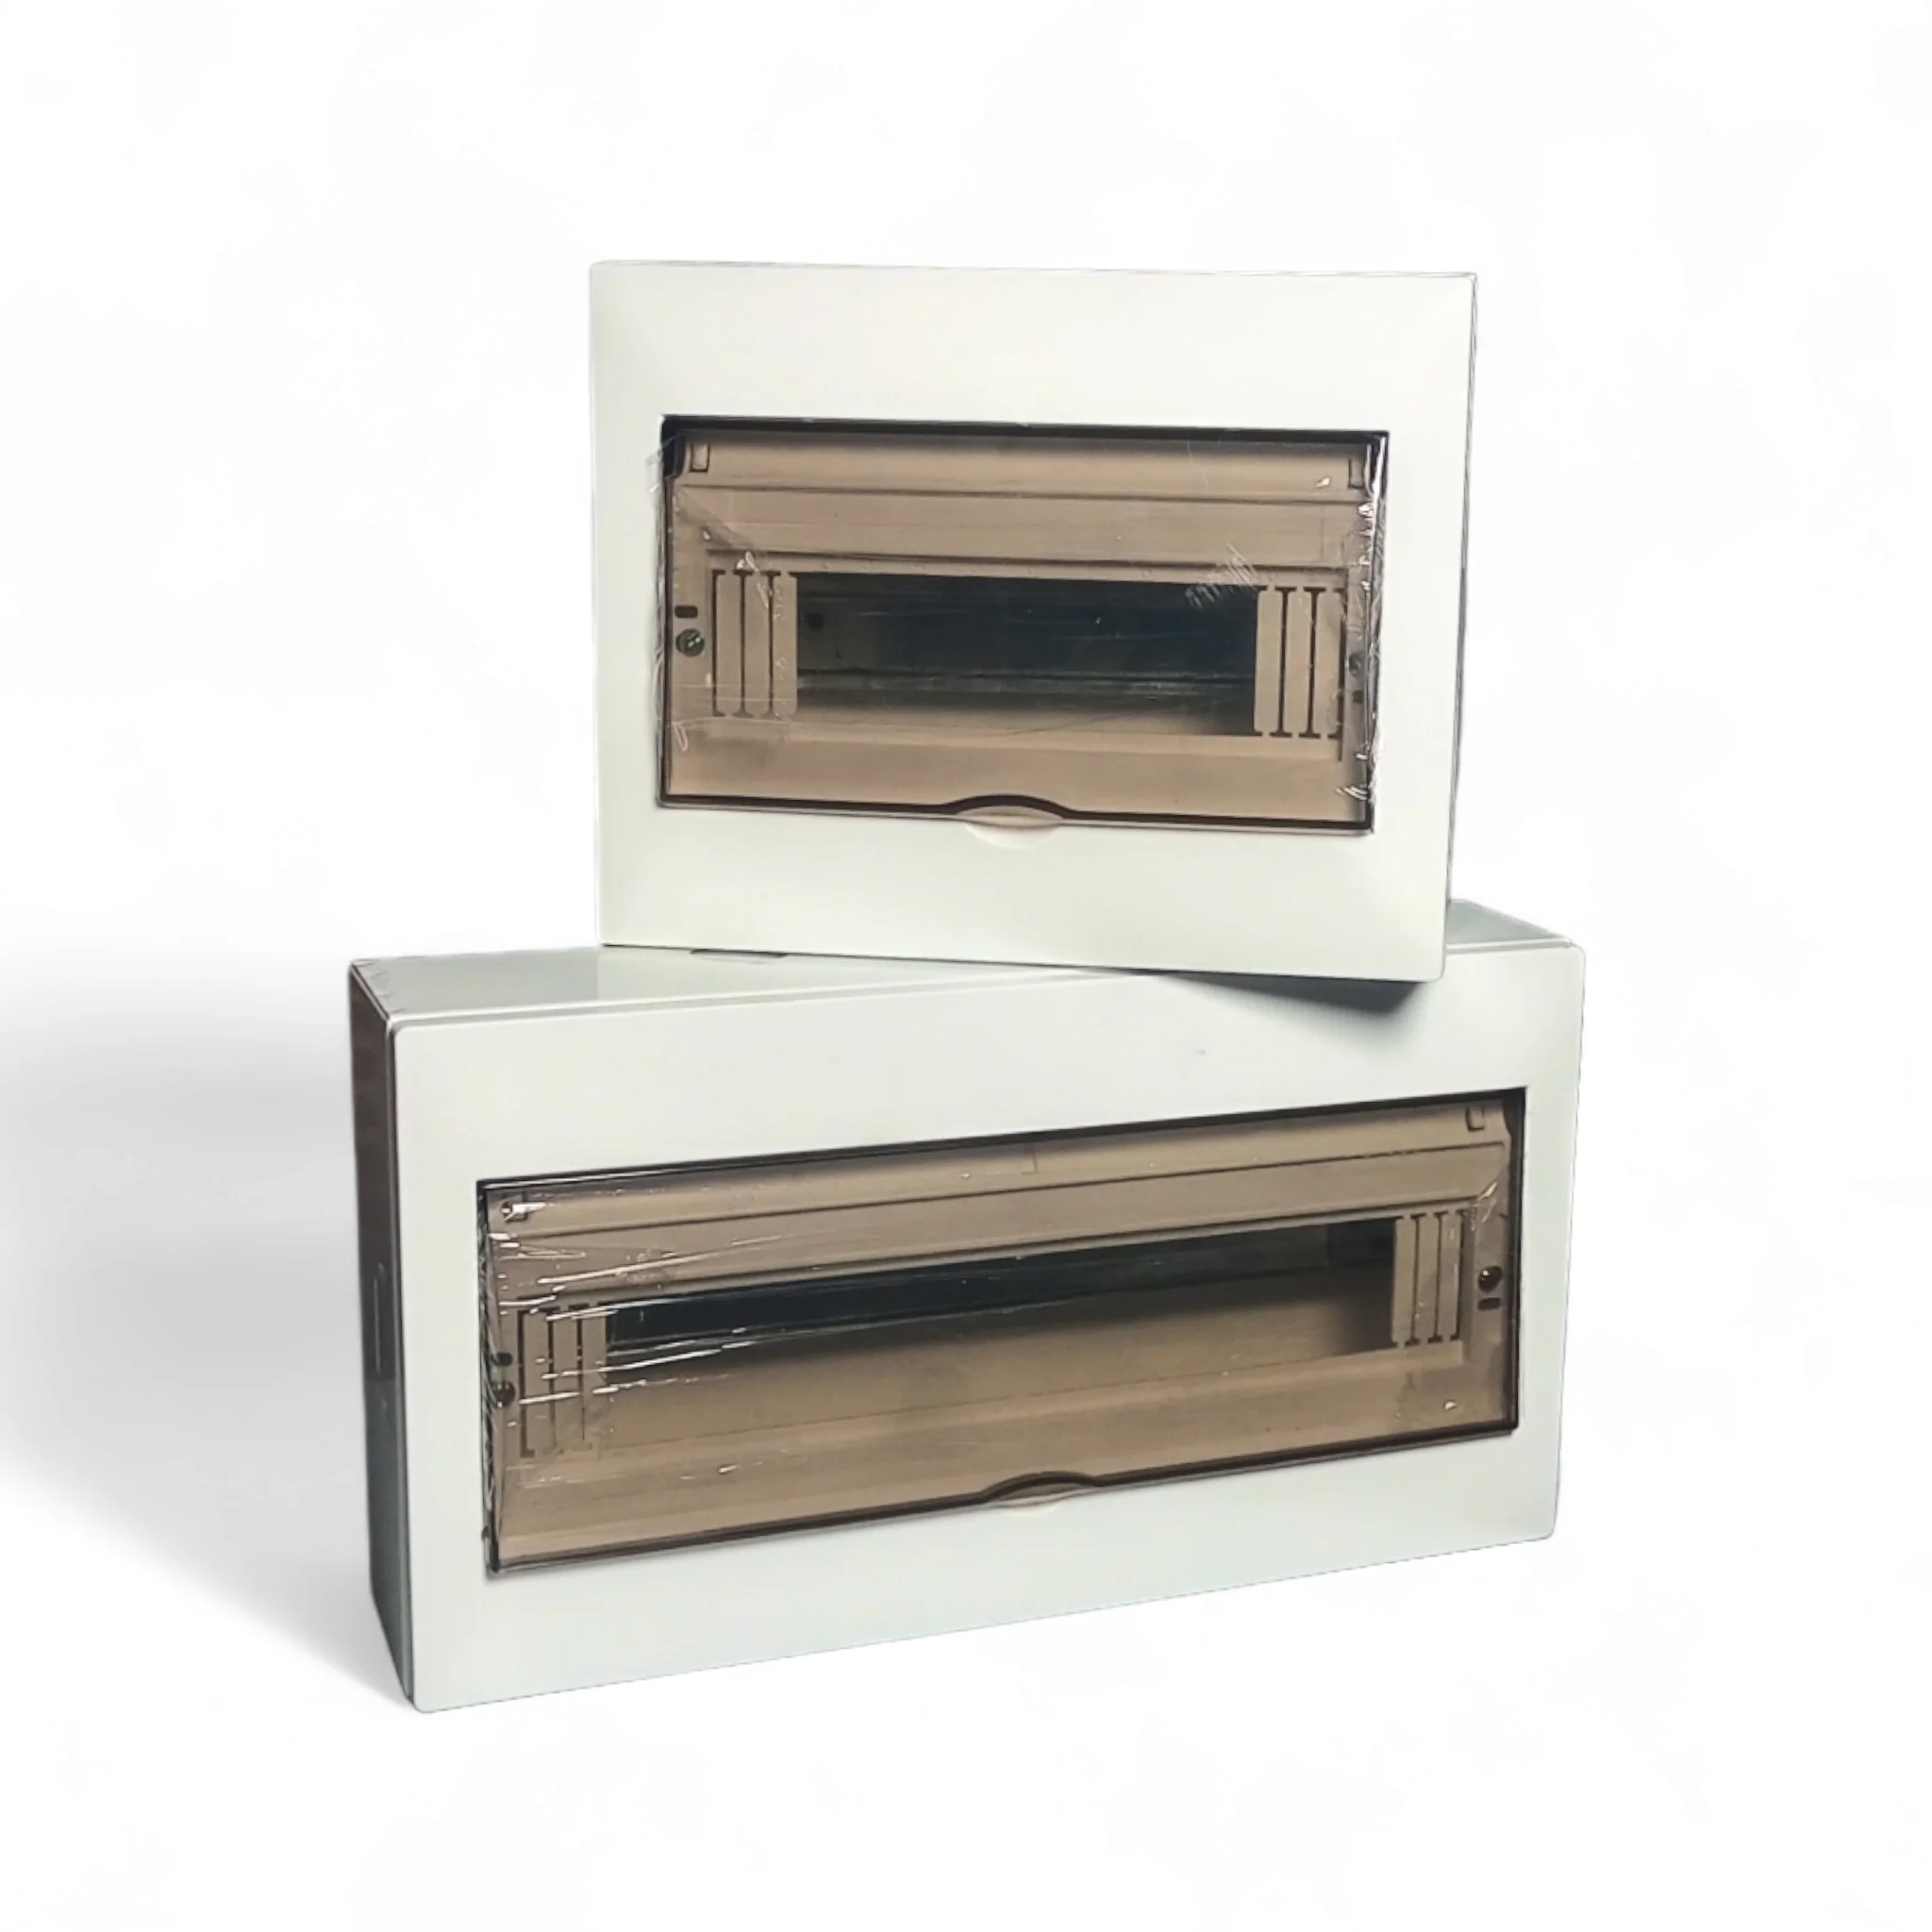
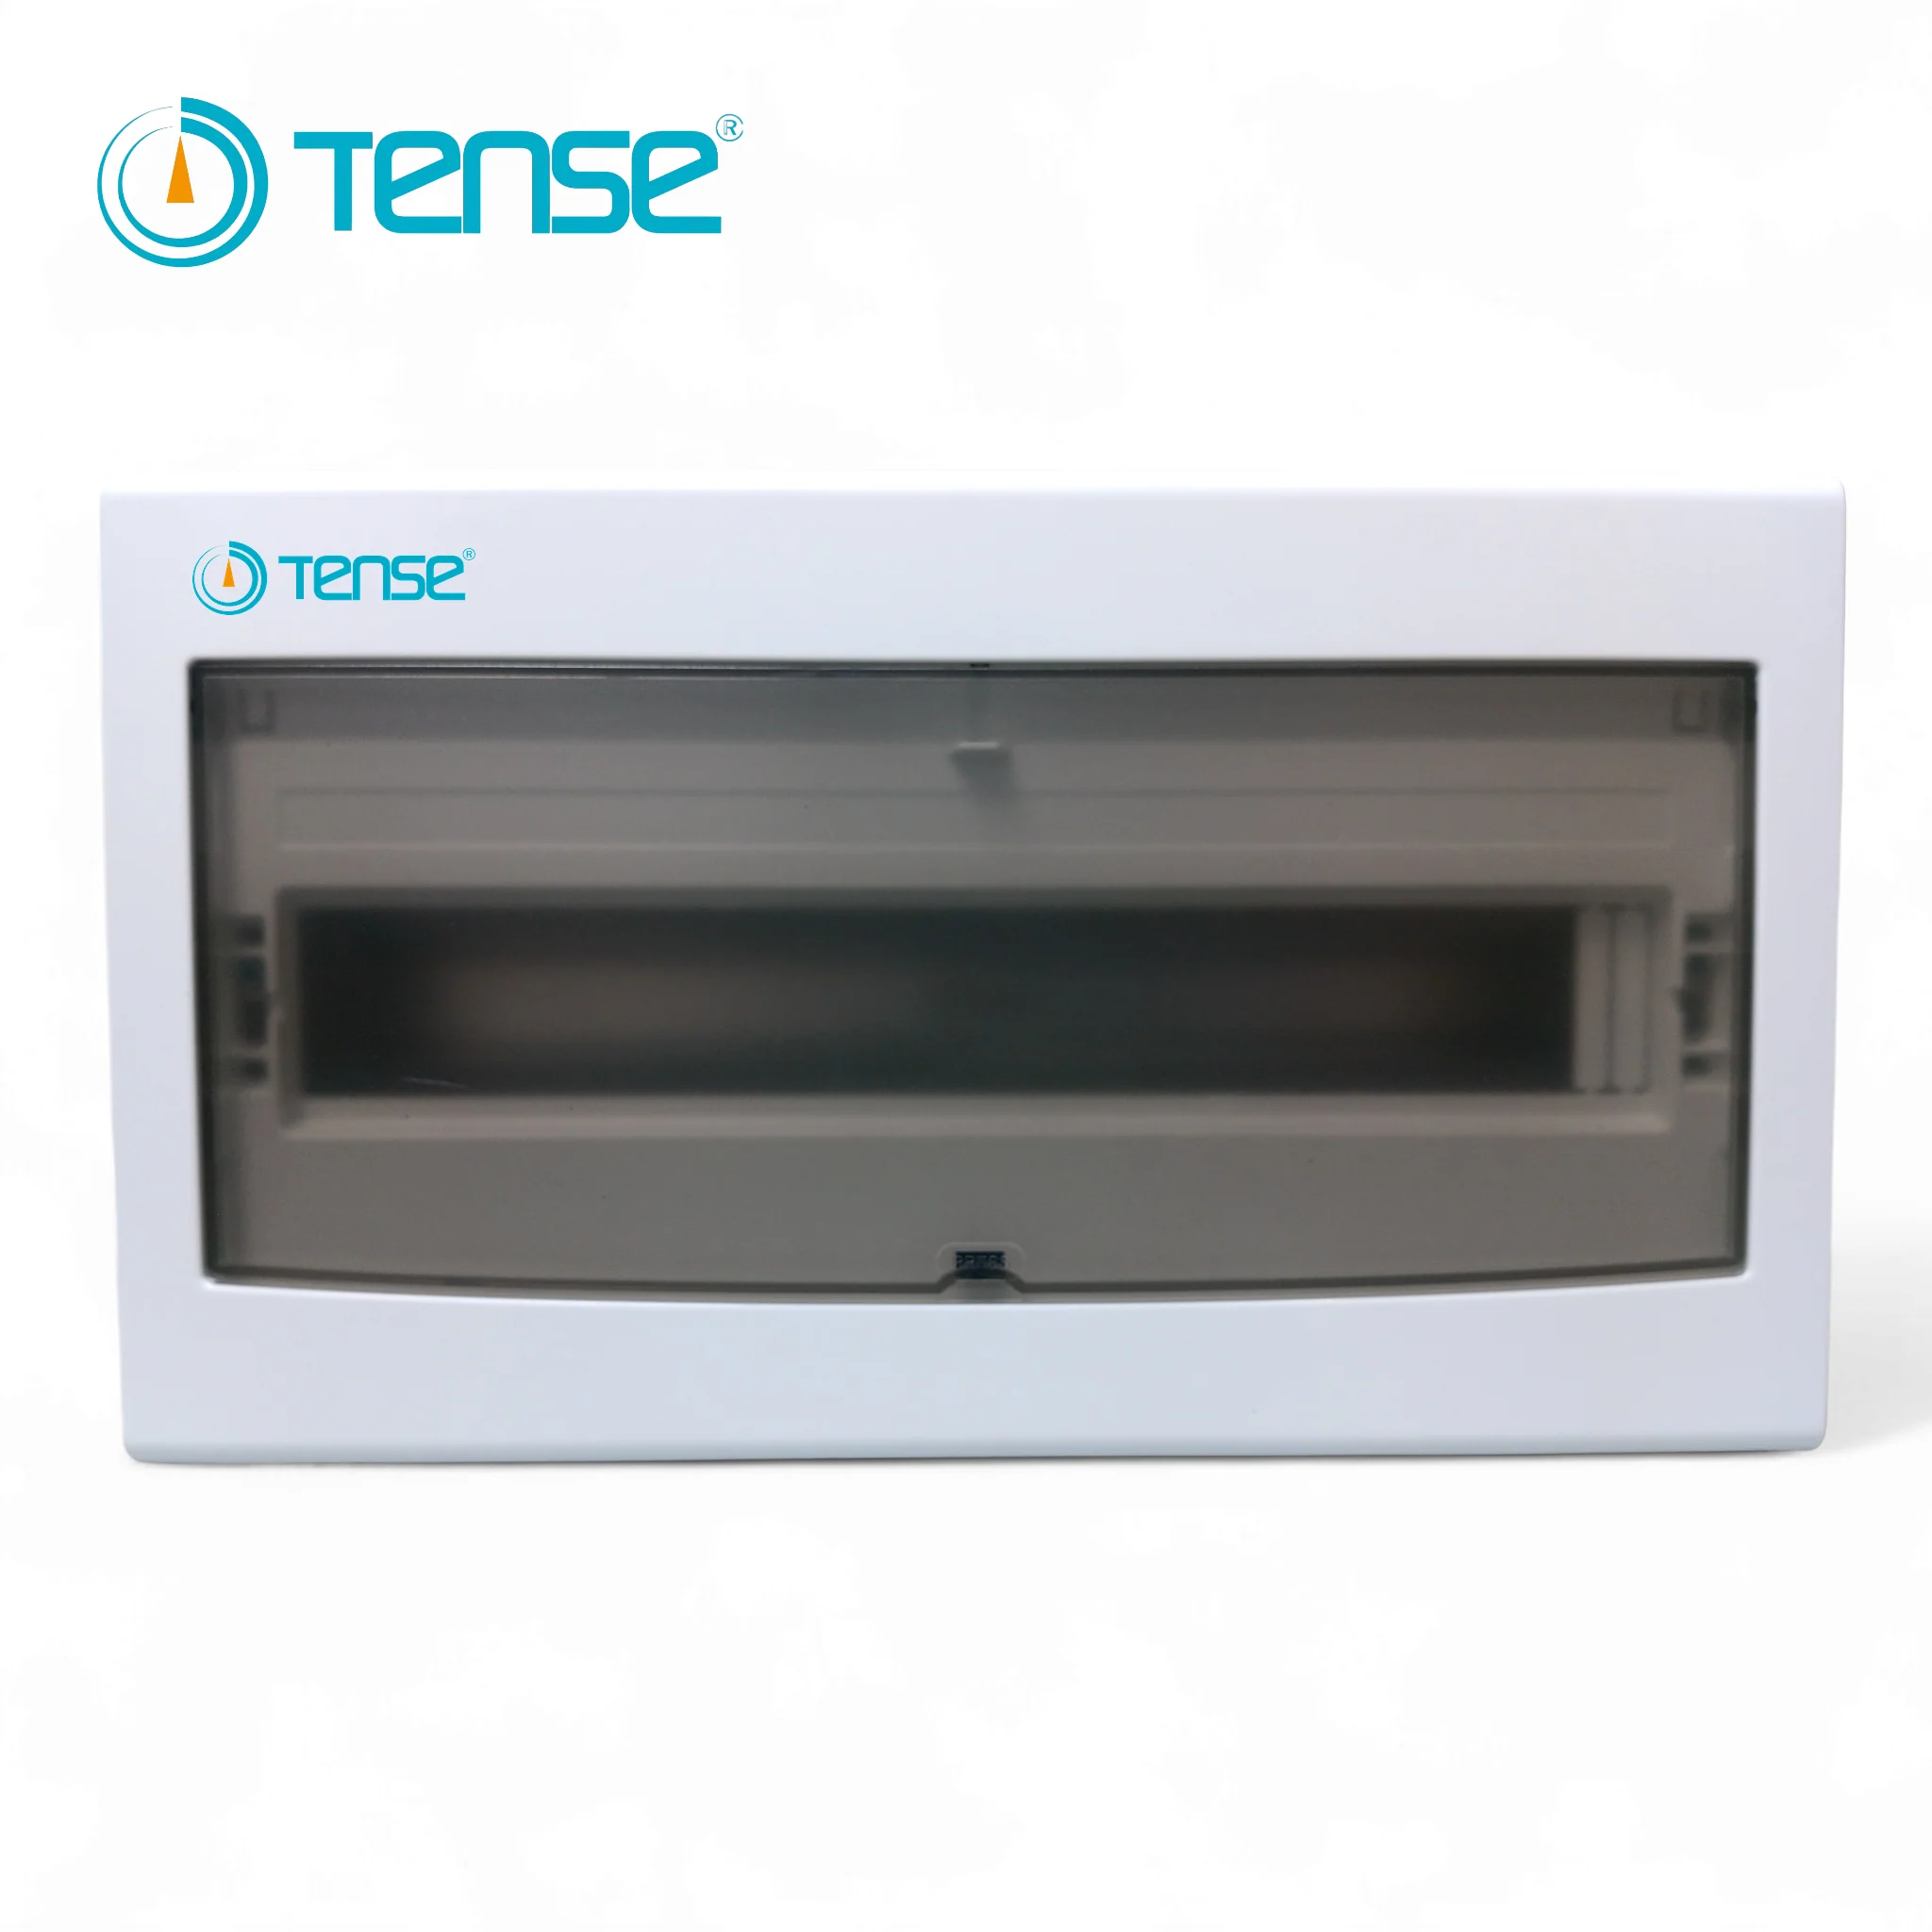
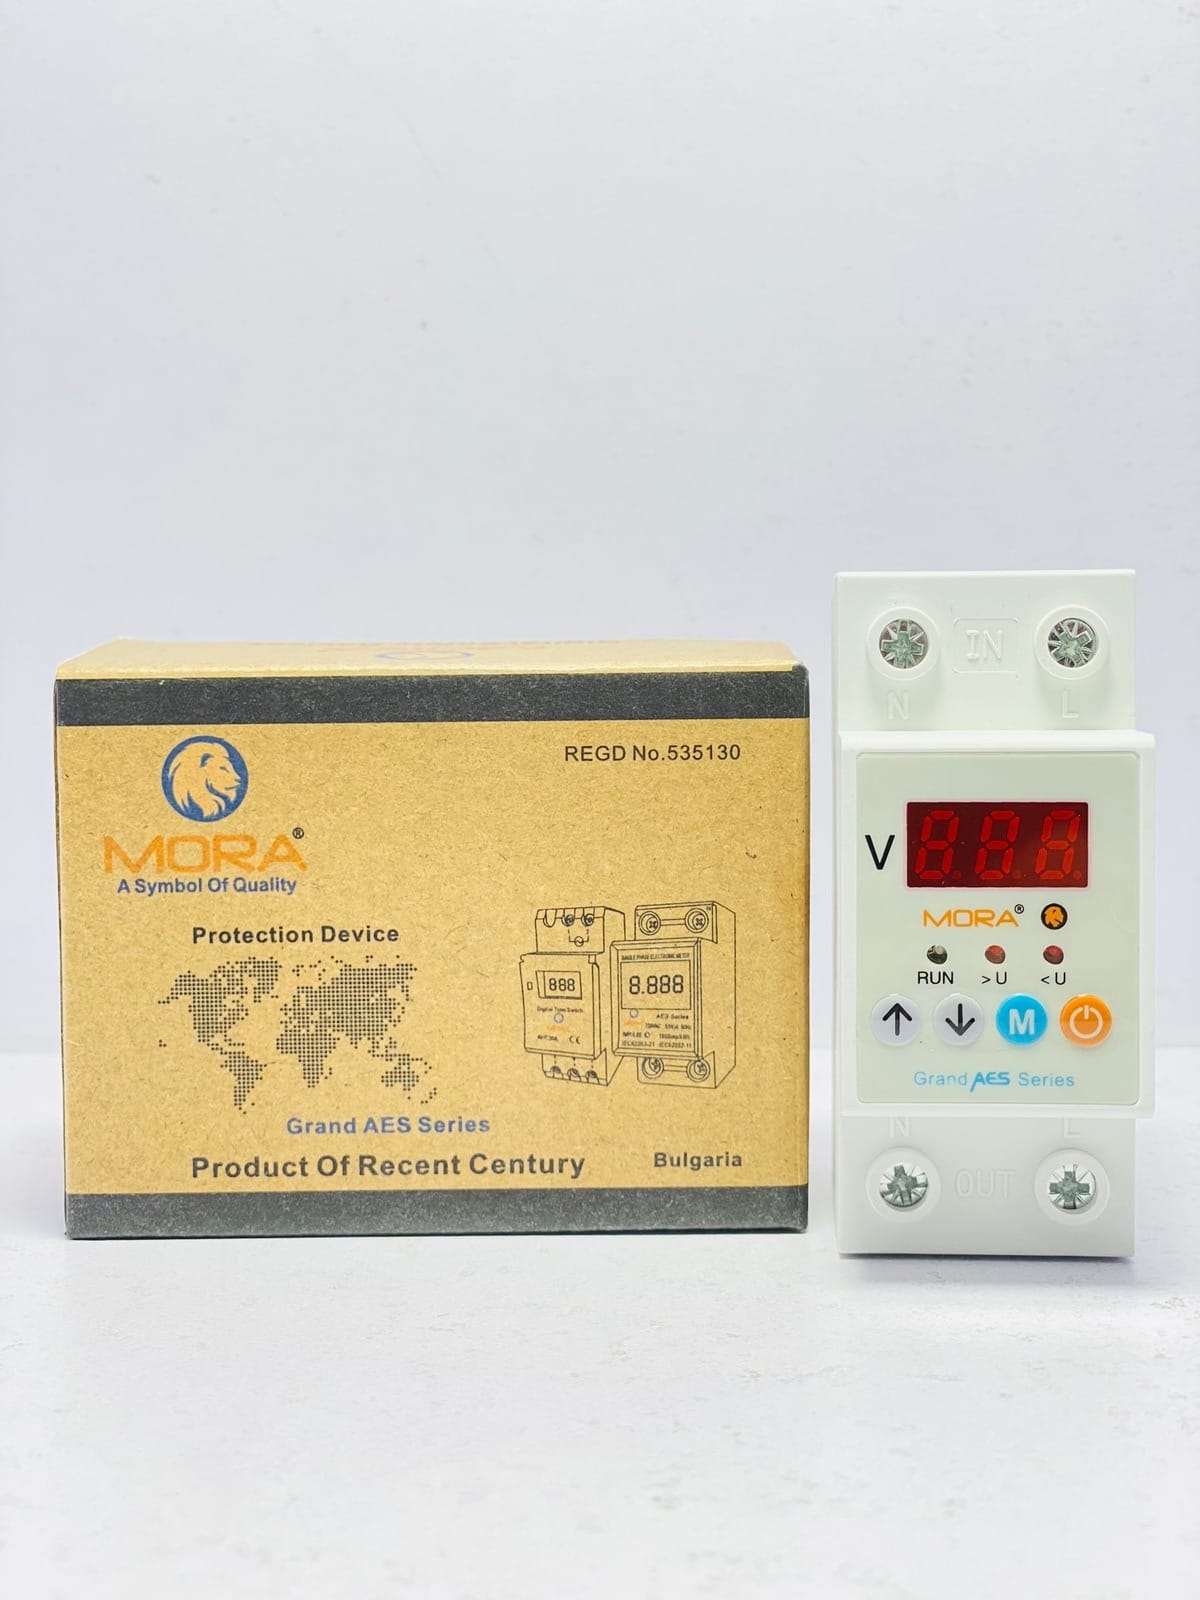
For a simple home with grid plus generator, or grid plus a solar inverter that already handles its own switching internally, a manual 2-pole changeover switch rated with 25% headroom above your peak load is the sensible, low-maintenance choice. There’s a good wall-mounted plastic changeover switch box option worth looking at if you want something sealed against dust with clean DB-style wiring.
For a commercial site, poultry farm, or any unattended location running three-phase equipment, spend the extra money on a proper ATS from the ATS category rather than trying to save on a manual unit and hoping someone’s around to flip it at 3am. And if you’re doing this as part of a net metering solar install where the DISCO requires isolation between grid export and generator backup, it’s worth reading through how the switching requirements interact with your net metering setup before you finalise the panel design, since NEPRA’s net metering rules do care about how these sources are isolated from each other.
Whichever way you go, don’t buy the switch in isolation from the rest of your distribution board. Pole count, bus bar rating, and enclosure IP rating all need to match the rest of your distribution box setup, or you’ll end up with a mismatched install that looks fine on day one and starts giving trouble the first time load-shedding runs long and the switch cycles a few hundred times in its first summer.