










Wall-Mounted Changeover Box Installation

What You’re Actually Installing
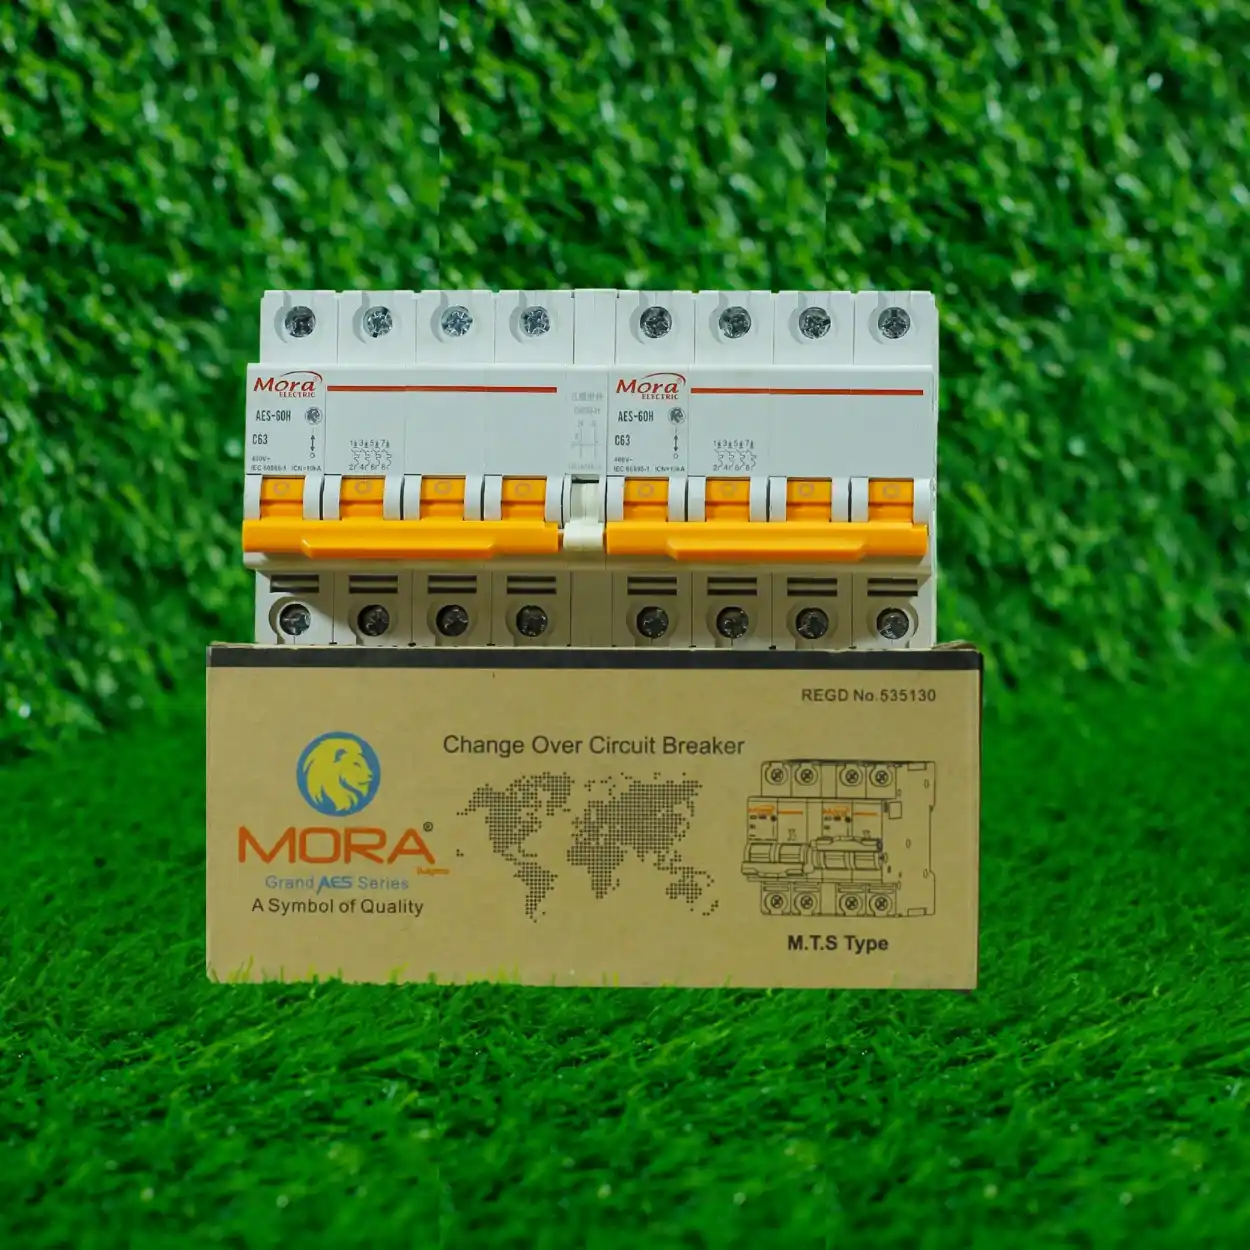
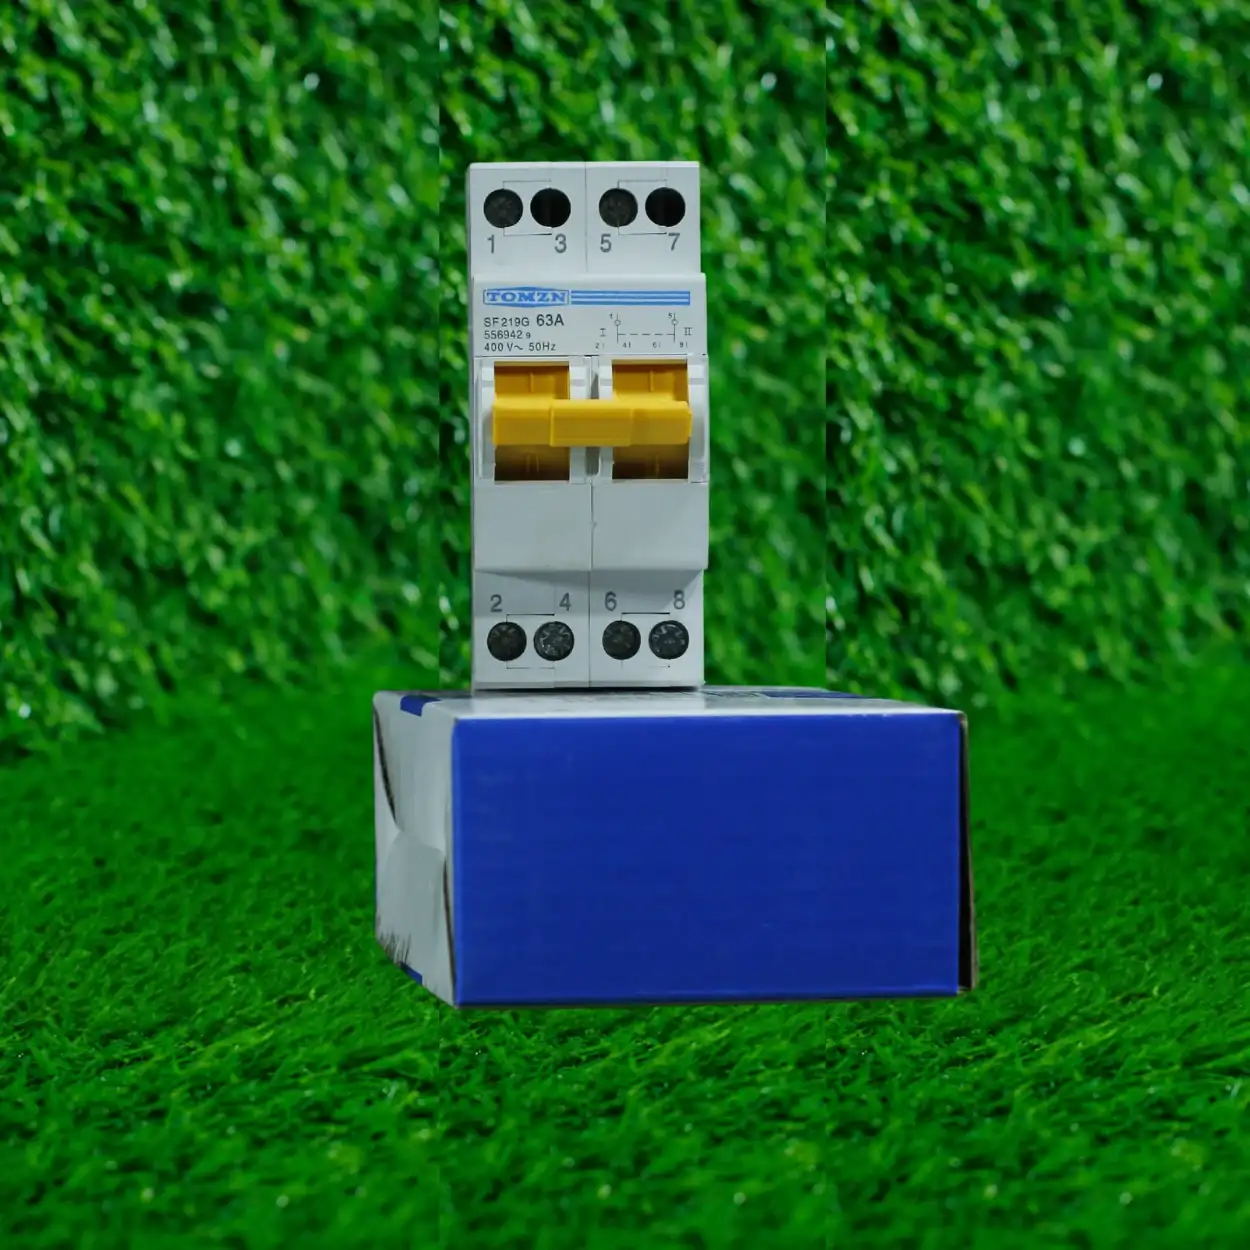
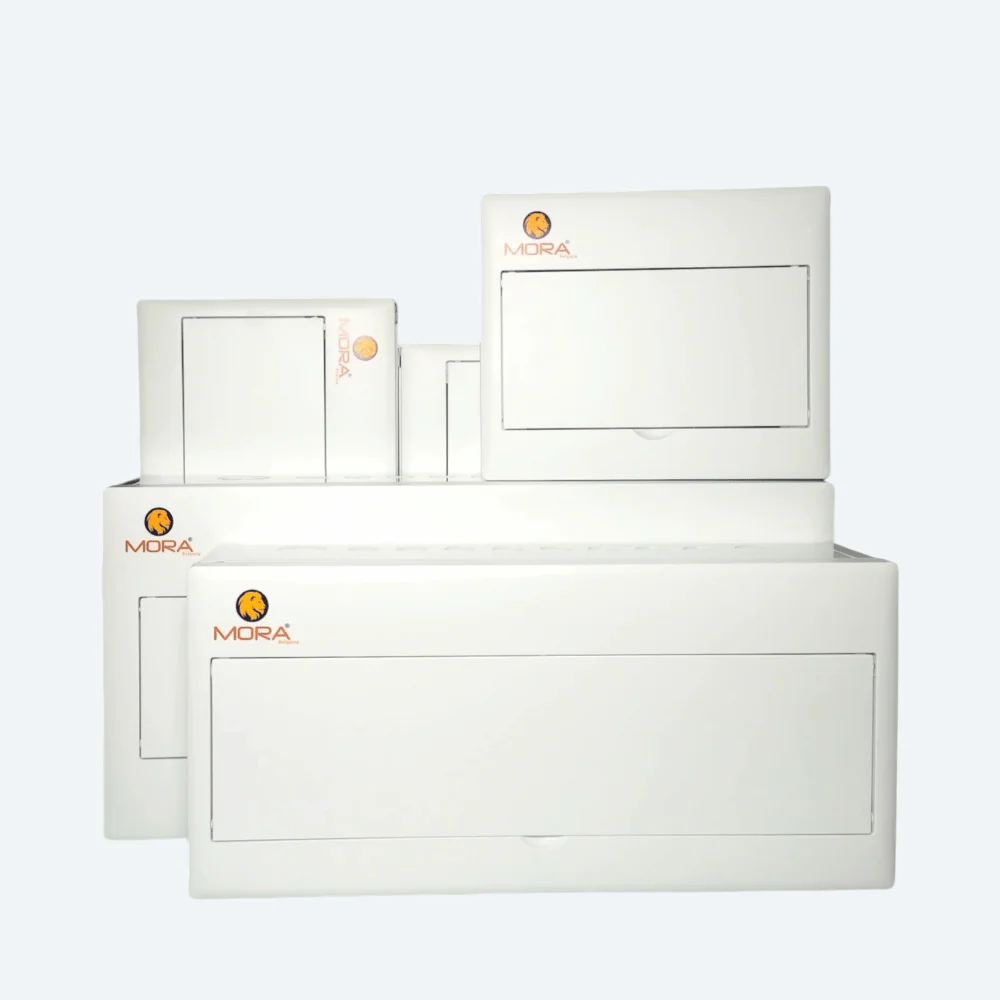
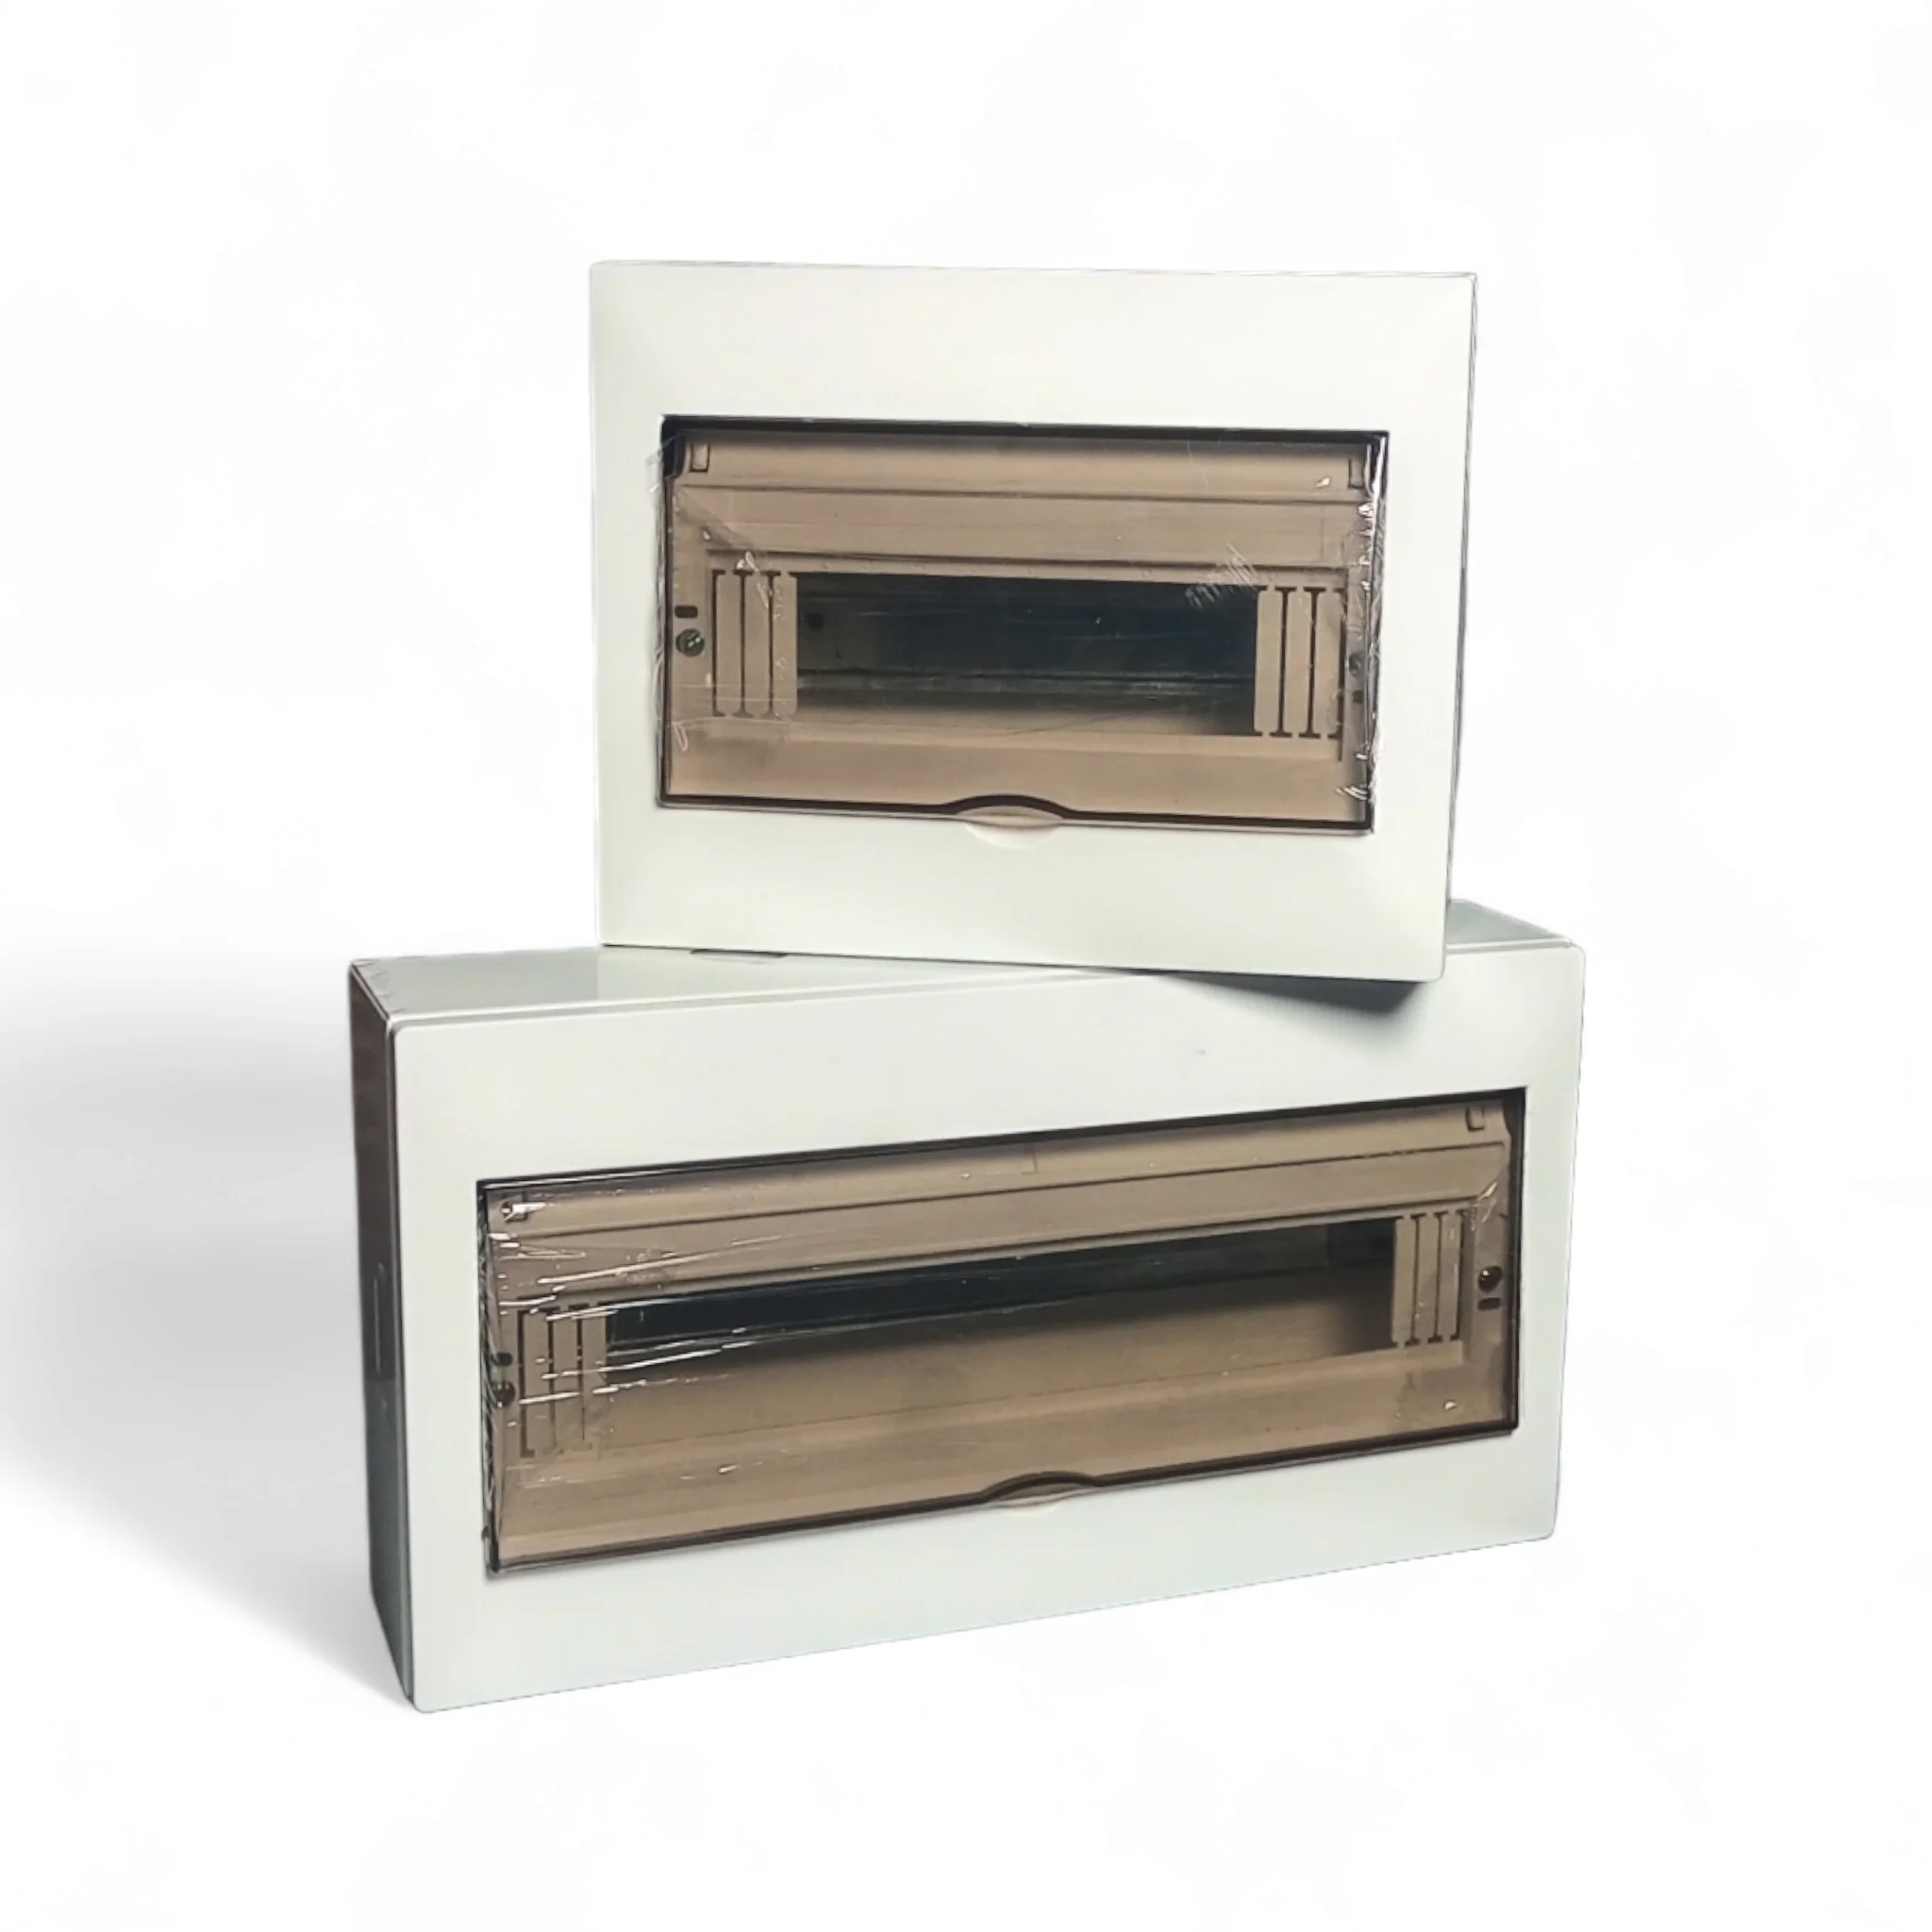
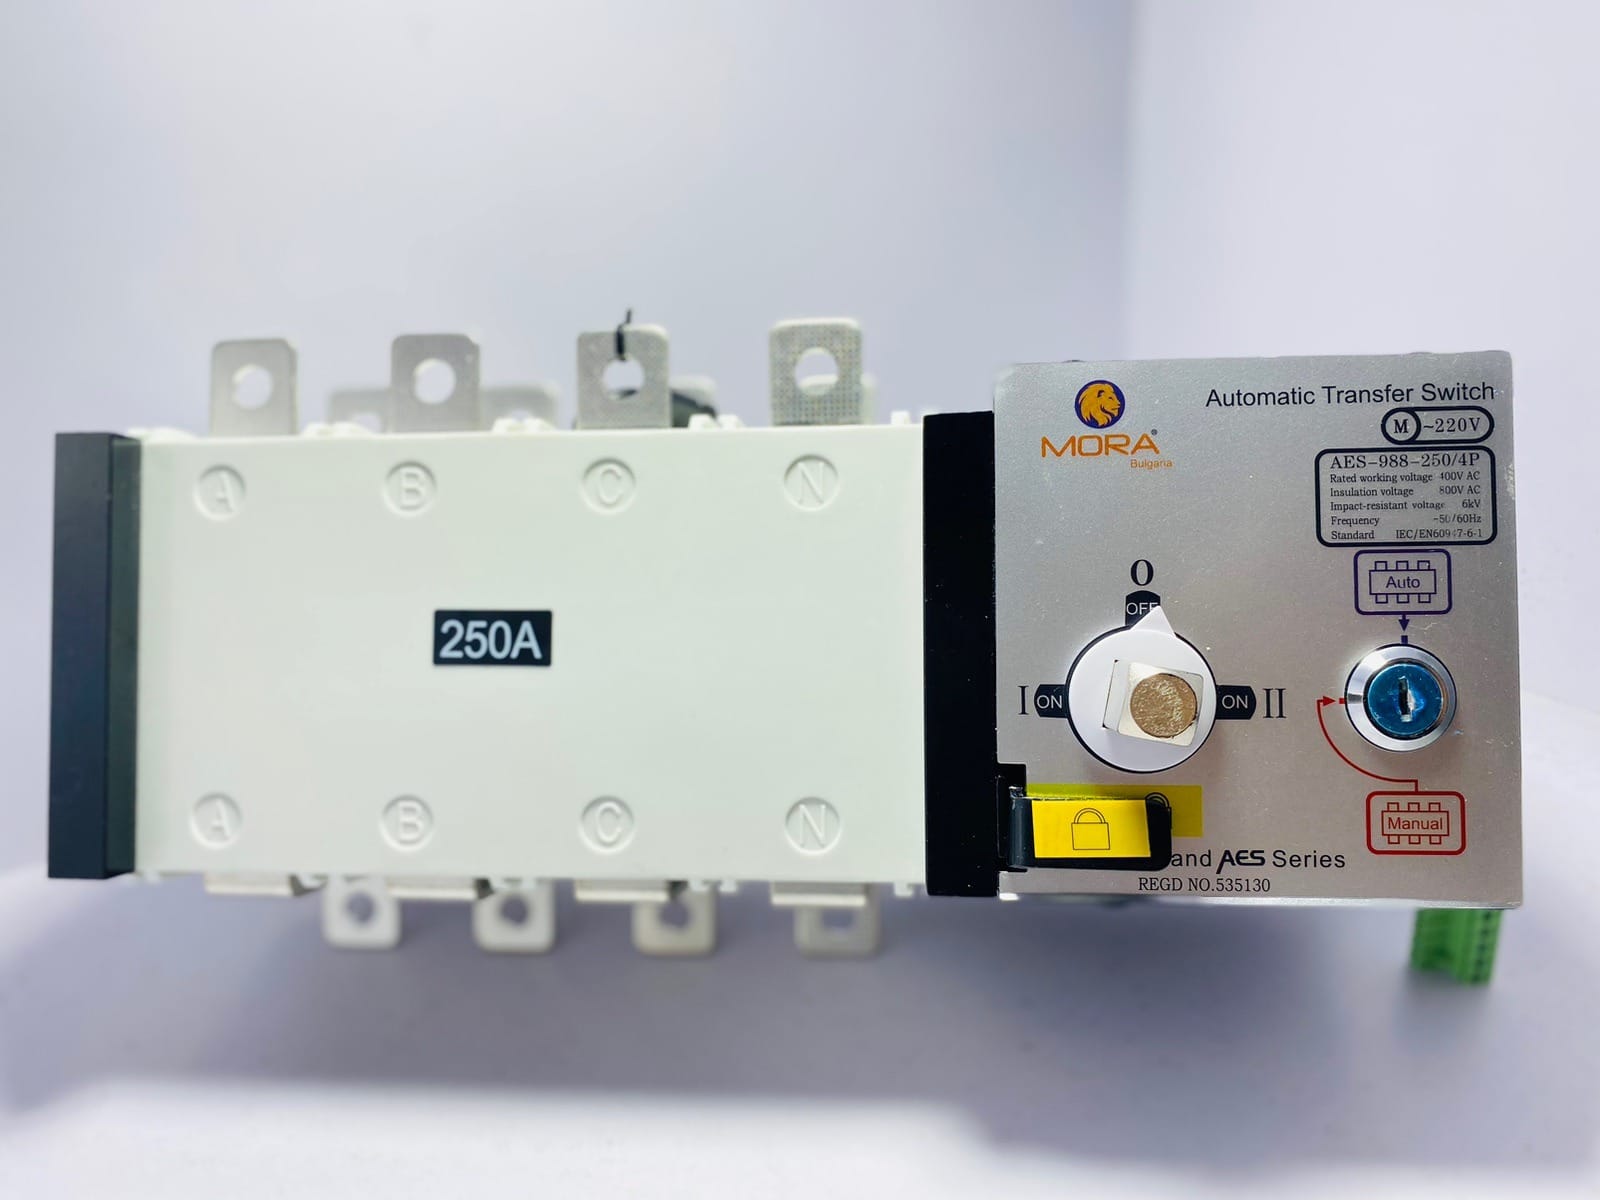
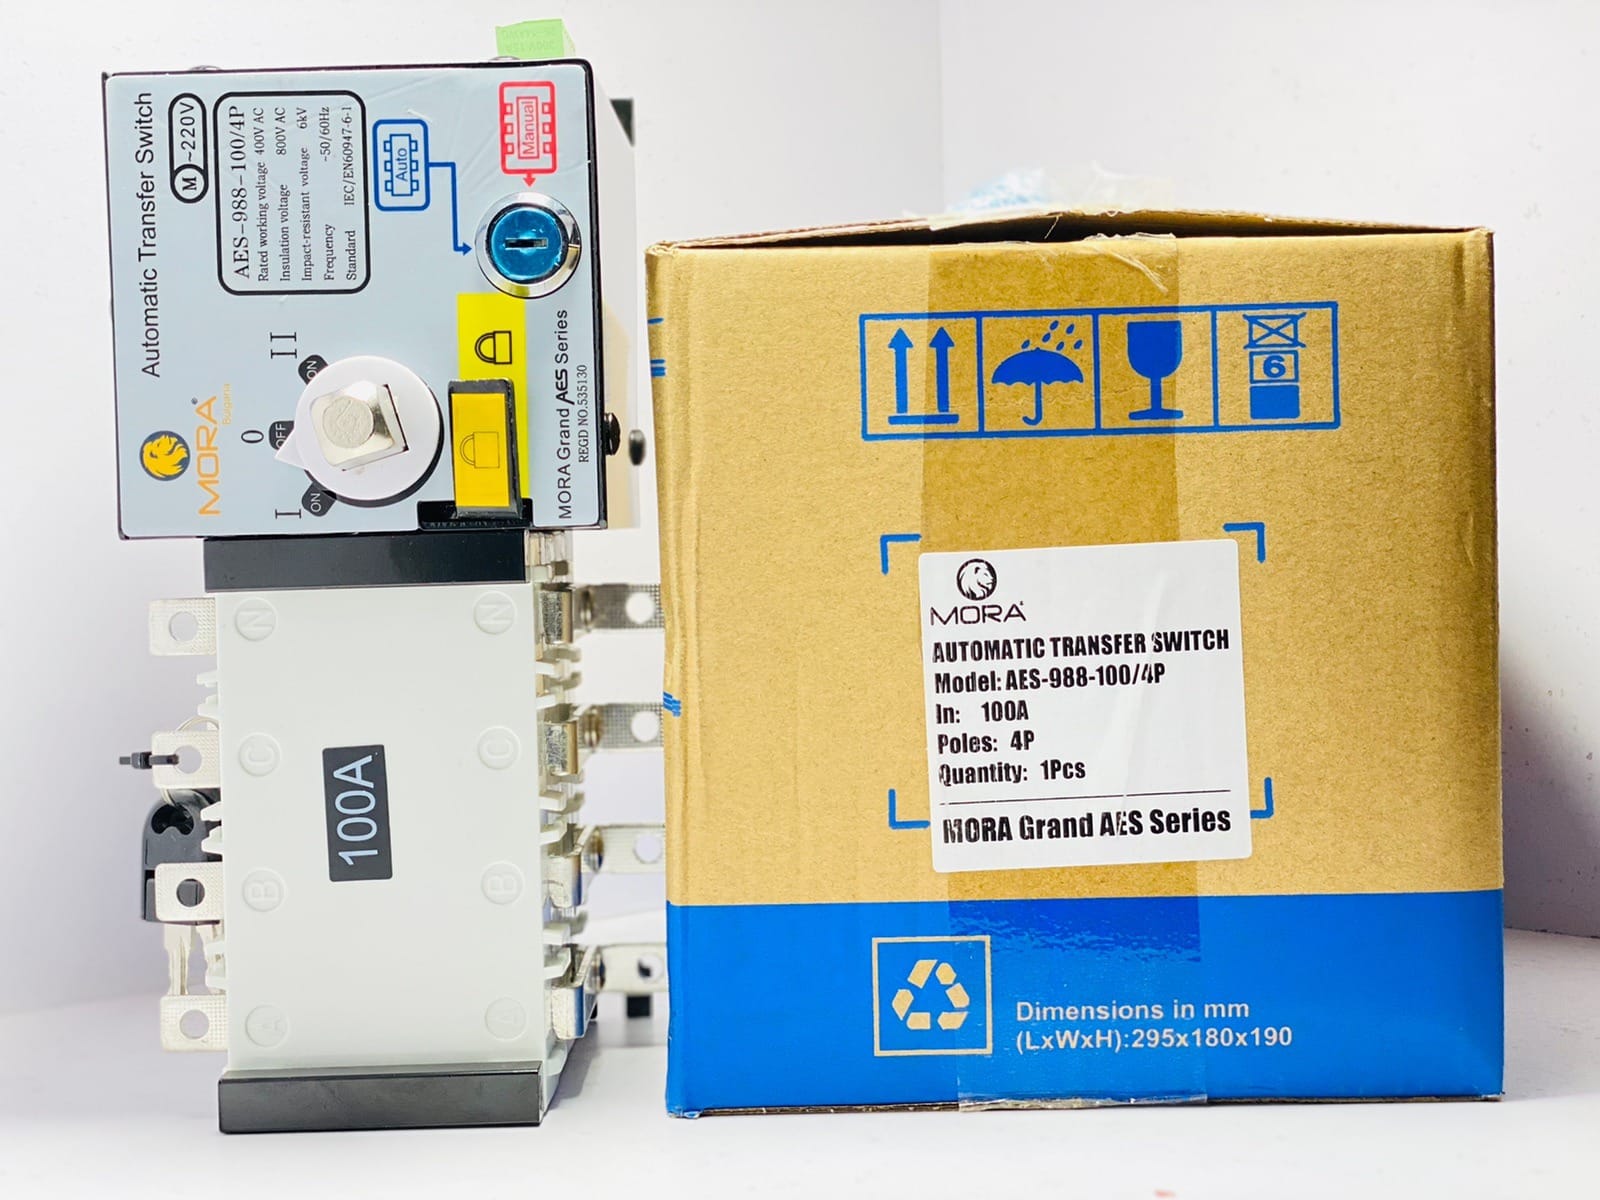
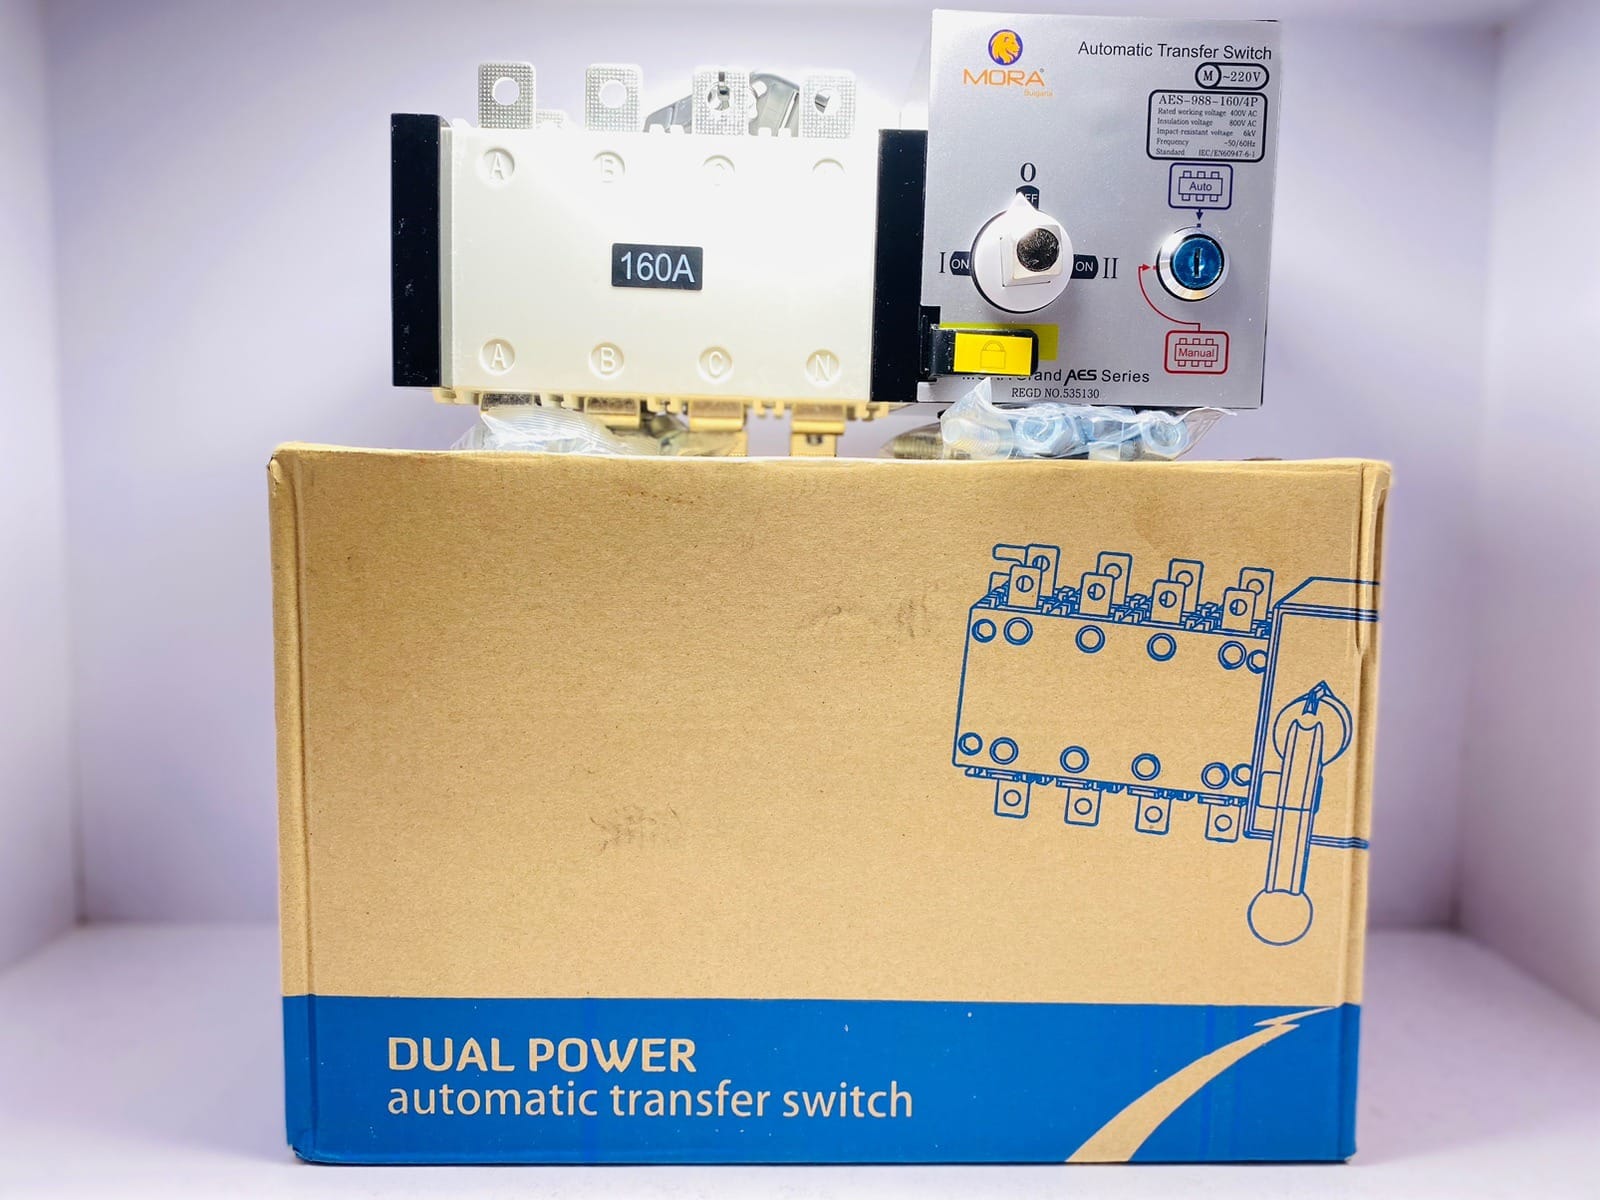
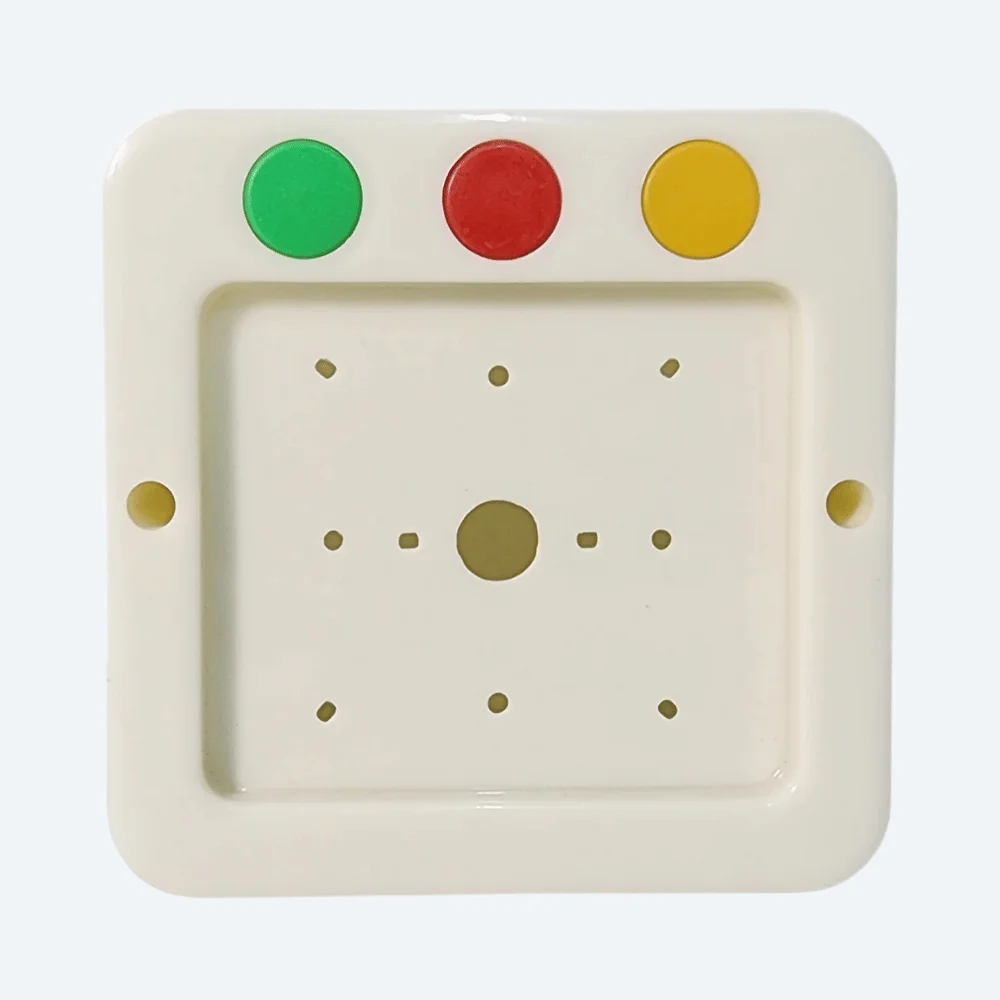
A wall-mounted changeover switch box is your gateway between two power sources. In Pakistan, this usually means mains supply from WAPDA (or your DISCO) and a backup source like a generator, solar inverter, or UPS. The box houses the ATS (automatic transfer switch) or manual changeover switch, plus protective devices like MCBs, surge protectors, and distribution terminals. It’s not just a plastic container with terminals inside. It’s the nerve center that decides which source your house or office actually draws power from, and it needs to be installed right the first time.
Before You Touch the Wall
Site Assessment and Planning
I start every changeover box job by standing in the customer’s home and asking three hard questions. First, where is the mains entry point and where is the backup source? Running 10 meters of heavy cable through walls because the box is mounted in the wrong location is a nightmare, and you’ll see this mistake on older installations everywhere. Second, is there adequate ventilation around the proposed location? On jobs where I’ve mounted a box in direct sun or in a closed cupboard, I’ve seen breakers trip from thermal overload even during moderate load, especially during summer in Lahore when ambient temperature hits 45-48 degrees Celsius. Third, is the wall strong enough and dry? A wall with seepage or poor concrete won’t hold a loaded box securely, and moisture creeping into terminals causes nuisance faults that’ll have you troubleshooting for weeks.
The ideal height is 1.2 to 1.5 meters from the floor. This keeps it out of reach of children and pets, lets you see and access it easily without a ladder, and puts it above water splash if there’s any risk of flooding in that area. Don’t mount it lower than 1 meter unless there’s a physical reason (very narrow passage, for example), and avoid mounting it directly above a sink, kitchen counter, or any water source.
Supply Voltage Check and Earthing Assessment
Before drilling a single hole, grab a multimeter and check your incoming mains voltage. WAPDA supply in most of Punjab swings between 200V and 250V depending on load and time of day. Note down what you’re seeing. Some of the older changeover switches I’ve installed have nuisance tripping under low-voltage conditions because the coil doesn’t have enough pull, or because the ATS logic circuit loses sensitivity. If you’re seeing voltages below 180V regularly, you need a voltage stabilizer before the ATS, not after.
Next, check the earthing. Most older buildings in Lahore and other cities have earthing that’s questionable at best. I’ve pulled out earthing rods that have corroded completely or were never properly driven into moist ground. Before you install, drive a new earthing rod at the switchboard location if the building doesn’t have one already. This is non-negotiable. Without proper earthing, your surge protection and fault clearance won’t work, and you’re exposing equipment and people to real risk.
Installation Steps
Marking and Drilling
Use a spirit level and a measuring tape, not just eyeballing. Mark the four corner holes for the mounting bracket, and double-check that the box will be level. If you’re drilling into brick or concrete, use a masonry bit and take your time. Rushing this step means you’ll crack the wall or drift off-center, and then the box either won’t sit flush or you’ll have a crooked installation that looks unprofessional and puts uneven stress on the mounting brackets.
For a plastic wall-mounted box, use plastic rawl plugs and 6mm bolts. For a metal box, use appropriate anchors based on the wall material. On poultry farms and agricultural sites where I’ve installed these, I always use stainless steel hardware because normal steel rusts in that environment, and a rusty bolt means a loose box after a few months.
Cable Entry and Termination Prep
Before mounting the box, prepare your cable entries. Most wall-mounted boxes come with knockouts or pre-drilled entry points. Don’t just force a cable through a hole and seal it later. Measure your incoming and outgoing cables, use appropriate cable glands or conduit entries, and make sure the glands are the right size for your wire diameter. Undersized glands crush the insulation and create a short waiting to happen. Oversized glands let moisture and pests in.
I always run incoming mains and backup source cables in separate conduits or at least keep them well spaced inside the box. Crossing them, bundling them tight, or letting them press against each other under thermal stress accelerates insulation degradation. On one commercial job in Karachi, I found the customer had bundled the generator feed and mains feed together under cable ties, and after two years of cycling between sources during load-shedding, the insulation had worn through and we had a partial short.
Mounting the Box
Once the wall is prepped, mount the box securely. Tighten all four bolts evenly, not one at a time. If you over-tighten one corner, the plastic box can warp or crack. Check the box is level again before moving on. For a plastic box, you shouldn’t need to over-tighten anyway. Hand-tight plus a quarter turn with a wrench is usually enough.
Internal Terminal Arrangement and Breaker Installation
This is where the actual electrical work starts. Your incoming mains cable (typically 16A, 20A, or 32A depending on sanctioned load) goes to the main changeover switch input. From the changeover output, you run to the distribution terminals or to individual breakers. The backup source (generator or inverter) connects to the second input of the ATS.
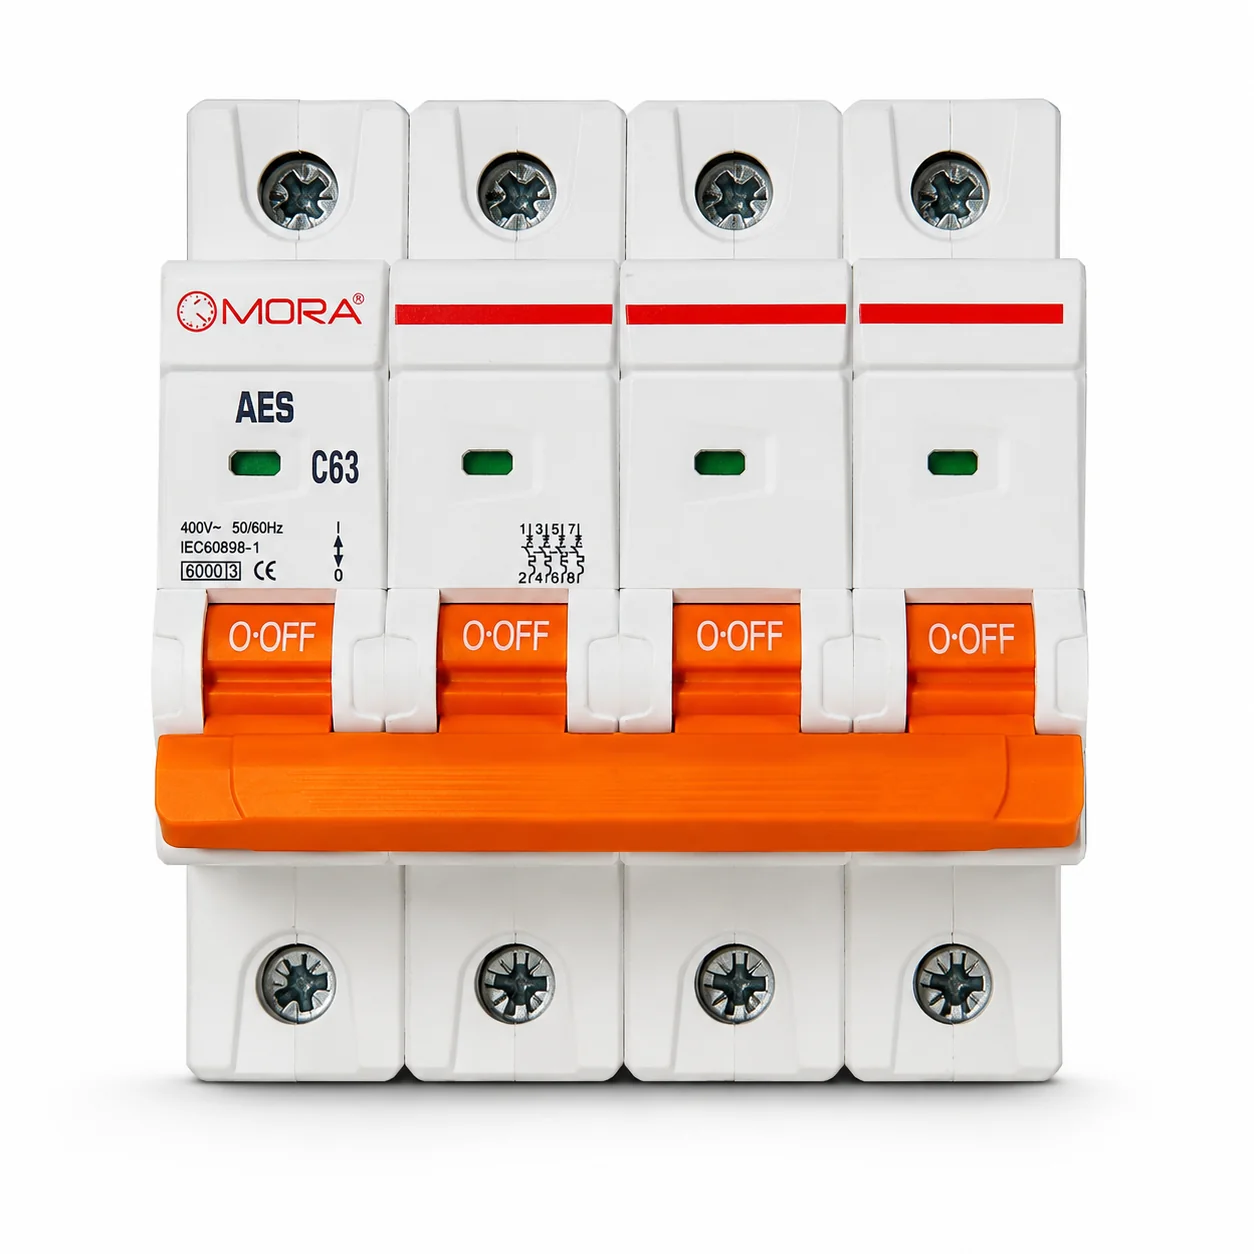
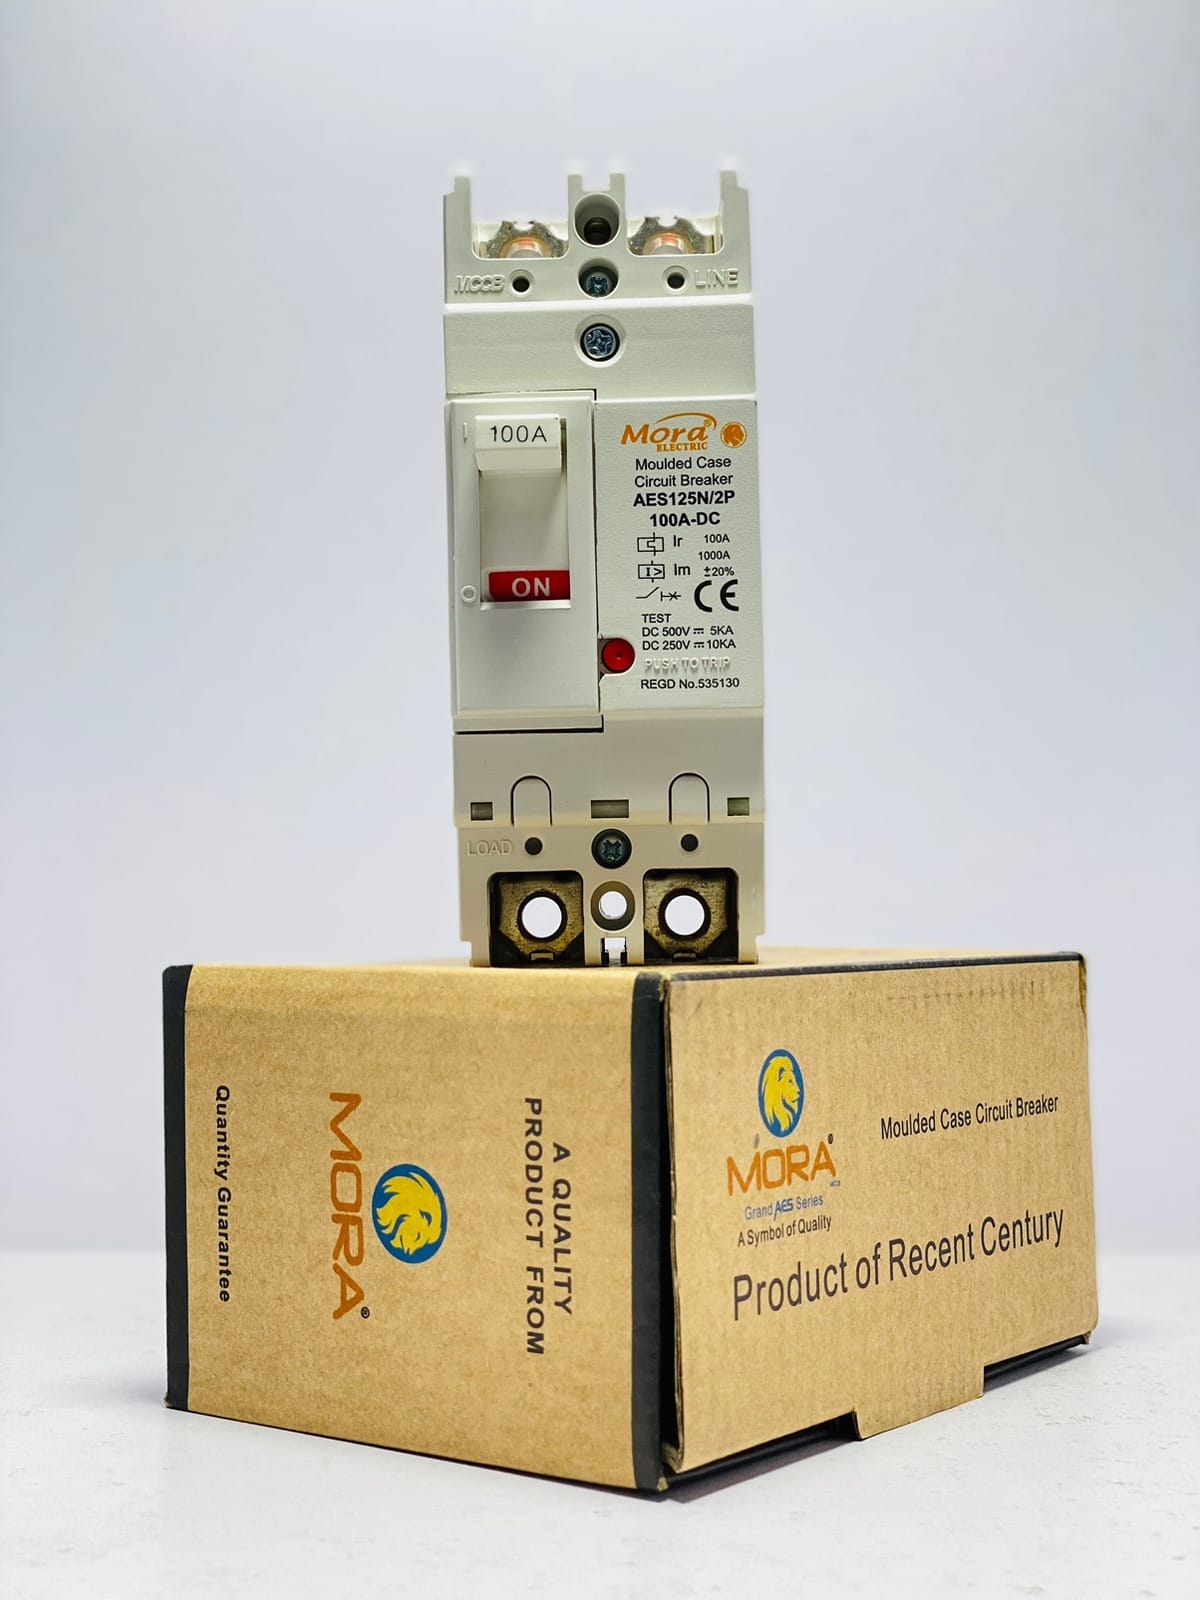
Install a main MCB on the mains input side, typically rated higher than the changeover switch itself so it doesn’t nuisance trip. A common mistake is putting a small breaker upstream of the ATS, which then trips every time there’s a minor surge or voltage spike, and the whole idea of an automatic changeover falls apart. Choose your MCBs based on the actual demand. For a residential site with a 5kW solar inverter, you might use a 32A MCB. For a small office, 16A. For a poultry farm with fans, feeders, and lighting, probably 63A or higher, depending on the sanctioned load.
Mount all breakers on the DIN rail inside the box, and make sure the rail itself is level and secure. Use proper crimp terminals on all wire ends, not just twisted wire shoved under a screw terminal. Loose terminations heat up under load, especially after 2-3 years of daily cycling through load-shedding on and off.
Protective Devices and Earthing Integration
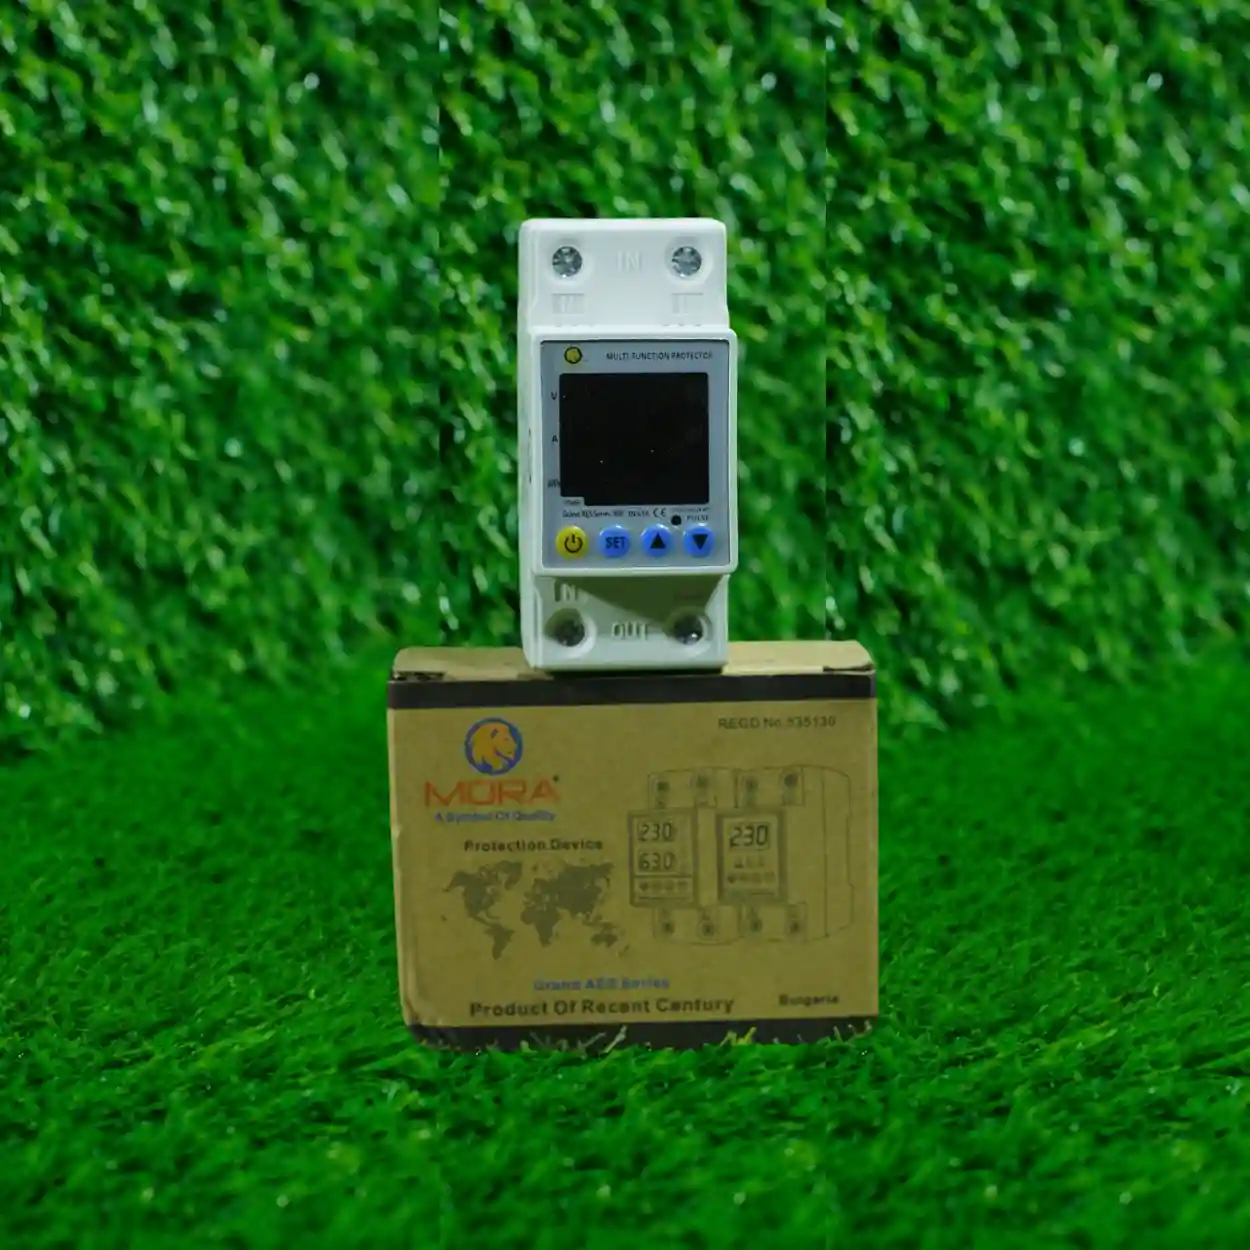
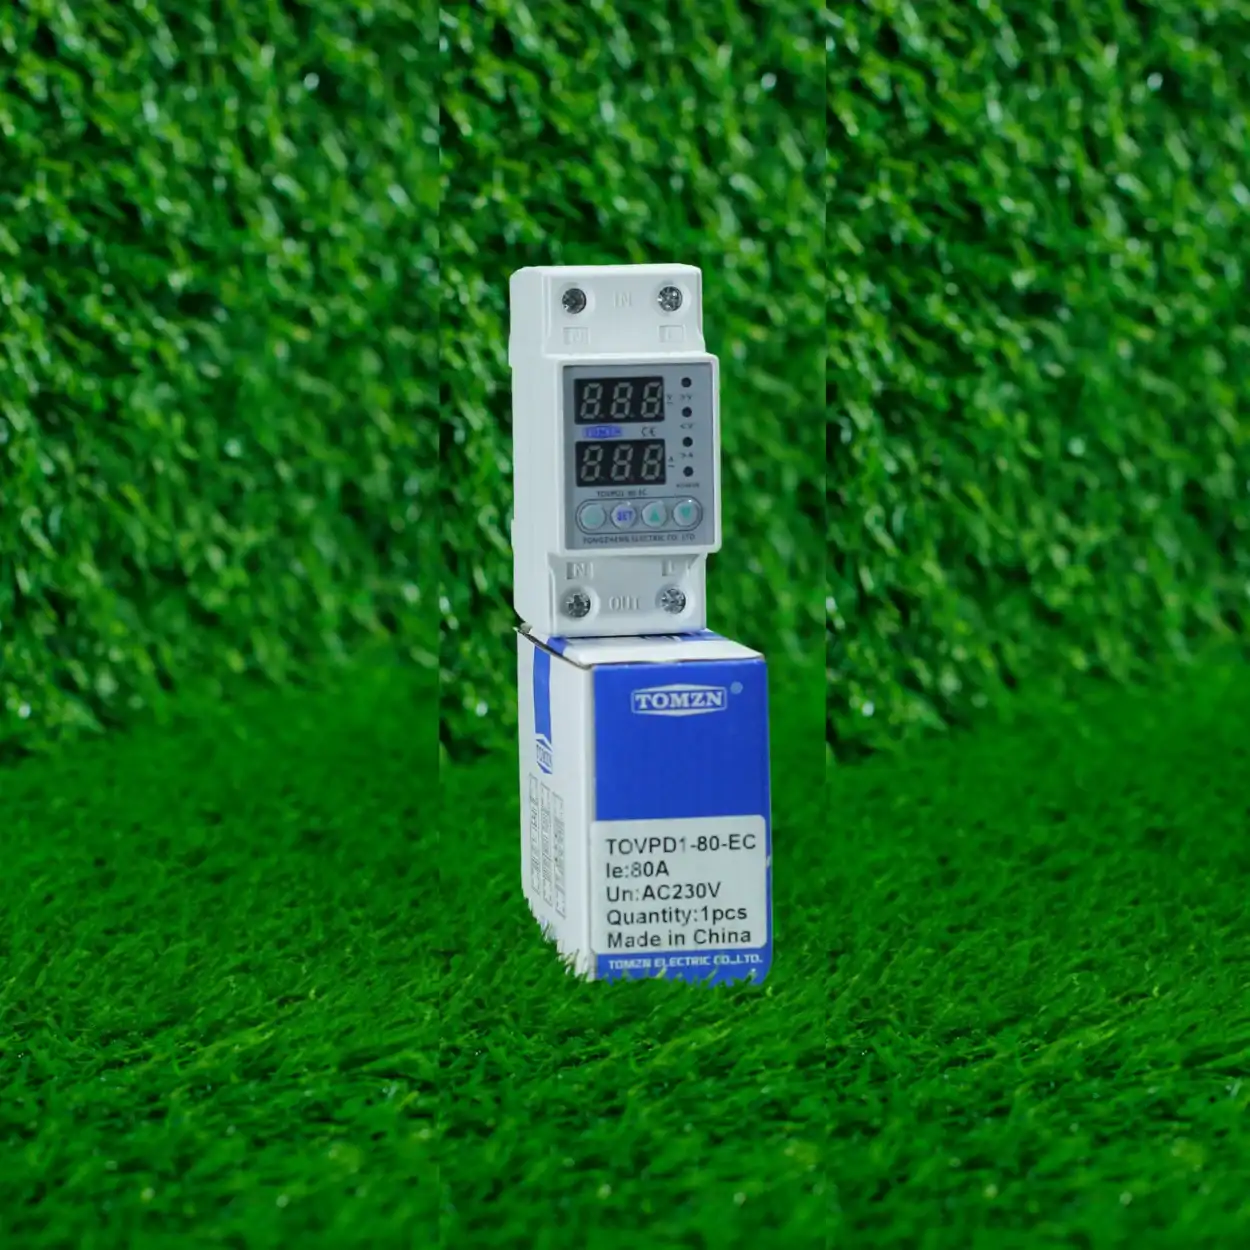
After the main switchgear, add surge protection if it’s not built into your ATS already. A surge protector rated 230V, 40kA is standard for residential, and you should install it right after the main MCB, before any downstream distribution. I’ve seen too many installations without surge protection, and then when there’s a lightning strike or a power company fault that sends a spike down the line, everything downstream gets fried. It’s a cheap insurance policy.
Your earthing conductor from the earthing rod should terminate at the main earthing bar inside the box, and from there you run a separate earth wire to the neutral bar if you’re using a combined neutral-earth configuration, or maintain them separately if your ATS requires it. Check your ATS manual. Most residential ATS in Pakistan are single-phase, and they’ll have clear terminal labels. Don’t guess.
On the wall-mounted plastic changeover box side, the plastic body itself isn’t conductive, so there’s no risk of electrocution from touching the box if a terminal inside becomes live. But the breakers inside are still live as long as the main switch hasn’t disconnected the source. Always assume the box is live. Use an isolating lock if you need to work on it without power.
Wiring Best Practices for Pakistani Conditions
Use copper cable only, never aluminum. I’ve seen aluminum used on sites trying to save a few hundred rupees, and the termination points always start oxidizing within a year, especially in humid coastal areas. The connection resistance increases, the joint heats up, and eventually you get a fire. It’s just not worth it.
Size your cables for the load plus a 20-30 percent safety margin. For a 5kW solar system with a 32A ATS, use 10mm or 16mm DC-rated cable internally, depending on the distance and your inverter’s output. Standard domestic 3-core or 4-core PVC insulated cable works fine for the main distribution runs, but make sure it’s rated for the voltage and the breaking capacity of your breaker.
Label everything clearly. The amount of times I’ve arrived at a job to do maintenance and found unlabeled wires running into the box is embarrassing. Use printed labels on the wires themselves, and a printed label inside the box near the terminals. This saves hours of troubleshooting later and keeps anyone else working on the system safe.
Testing Before Handover
With everything wired and secured, run these checks before you tell the customer the job is done.
- Mains voltage test: Check the incoming voltage at the main terminals with the mains supply on and no load. Should read 220-230V in Pakistan. Record it.
- ATS operation test: If it’s an automatic switch, simulate a mains failure by switching off the mains MCB. The ATS should sense the loss and switch to the backup source automatically within 2-5 seconds (depends on the ATS model). Switch it back and check the changeover happens smoothly.
- Manual test: Operate the manual selector switch several times to make sure it moves freely and seats properly in each position.
- Load test: Plug in a lamp or small appliance, switch between sources, and verify the load works on both sources without flickering or tripping the breaker.
- Earthing test: Use a multimeter set to continuity or resistance mode. Check that the earthing conductor runs from the earthing rod terminal, through the earthing bar, and makes contact with the metal body (if it’s a metal box) or the earthing conductor that links to any downstream panels. You should see zero or near-zero ohms.
Safety Testing Tip
If you’ve installed a distribution box with surge protection, you can also test the SPD by checking its status indicator (if it has one). A green indicator means it’s ready. Red or no indicator means it might have been damaged or activated, and you should replace it.
Common Installation Mistakes I’ve Fixed
Mounting the box too low: I’ve seen boxes installed at waist height or lower, which looks terrible and makes troubleshooting harder. Stick to the 1.2-1.5 meter range.
Wrong cable gland size: This causes the cable insulation to fray or tear, and you can’t seal it properly. Measure the cable diameter first.
Forgetting to lock the changeover switch: Some customers think they can just leave the switch in the middle or flip it manually during load-shedding. It defeats the purpose of an ATS. If they don’t trust the automatic switching, get them an ATS with a manual override, but don’t leave it in the middle.
Poor earthing: I’ve had to dig up and re-drive earthing rods after installation because the initial rod was corroded or in dry ground. Check earthing resistance with a proper tester if you have one. It should be below 5 ohms for a residential installation.
Overloading the box with unnecessary devices: Some installers try to cram a surge protector, voltage stabilizer, and isolation switch all into one wall-mounted box. It gets hot, it’s cramped, and maintenance becomes a nightmare. Use quality component brands and don’t overcomplicate the circuit.
After Installation, What to Tell Your Customer
Once the box is live and tested, give the customer a clear explanation of how to use it. Show them the manual switch position (if it has one), explain when to use manual mode versus automatic, and remind them that the backup source (generator or inverter) needs to be maintained and tested regularly. A generator that hasn’t been run in three months might not start when the mains fails, which defeats the entire purpose.
Recommend a maintenance check every 6-12 months, especially in high-temperature or high-dust environments. On poultry farms and agricultural sites, I recommend every 6 months because the dust and ammonia from animal facilities accelerates corrosion of terminals and can activate nuisance faults.
If they’ve got a solar system or a generator, make sure they understand the ATS is protecting the circuits downstream from overload, not providing unlimited backup. A 5kW solar system with a 32A ATS can only deliver 32A at 230V, which is about 7.36 kW peak power. Load management still matters.